

Upcycling Worn Jars into Chic Home Decor: A DIY Guide in 59 Seconds
In this short yet detailed guide, we’ll walk you through the process of turning old jars into trendy home decor pieces. Get ready to create beautiful candle holders, charming planters, or practical storage jars—step by step—in just under a minute! Let’s bring those forgotten jars back to life!
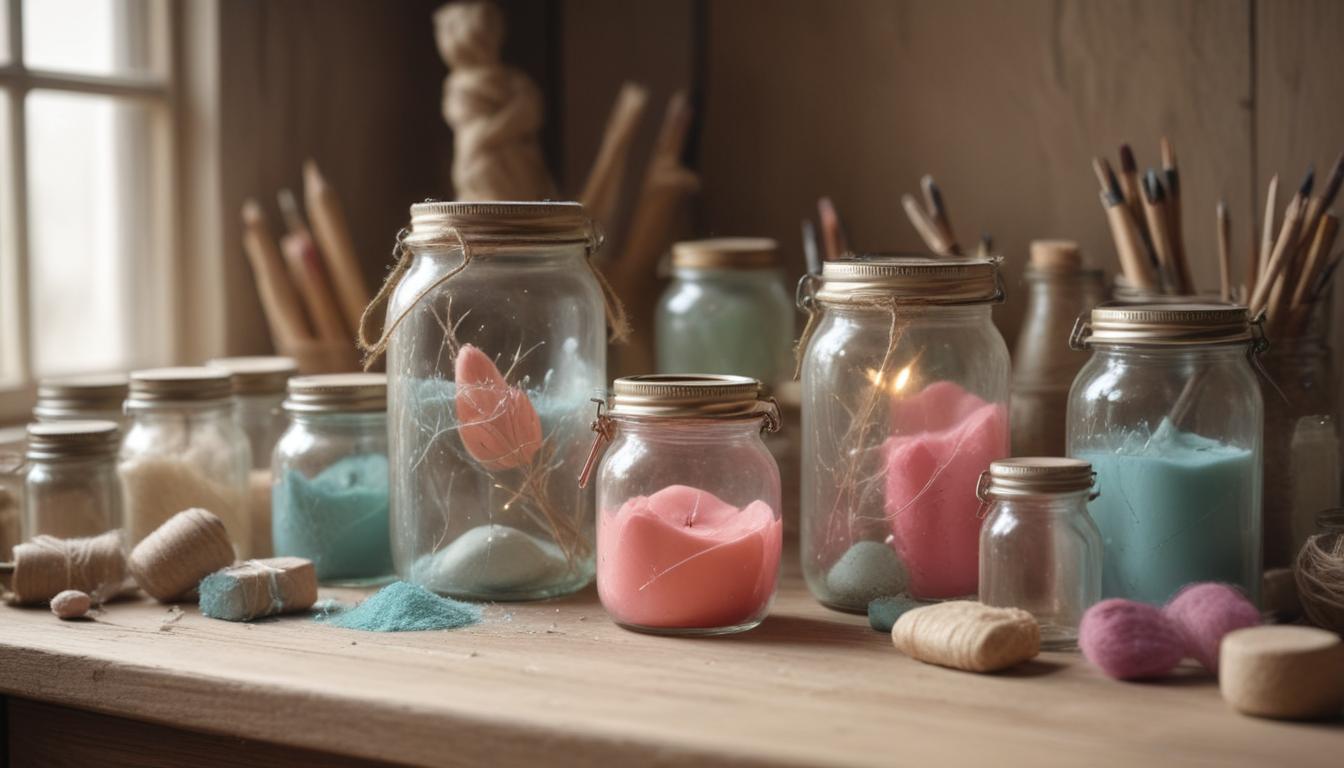
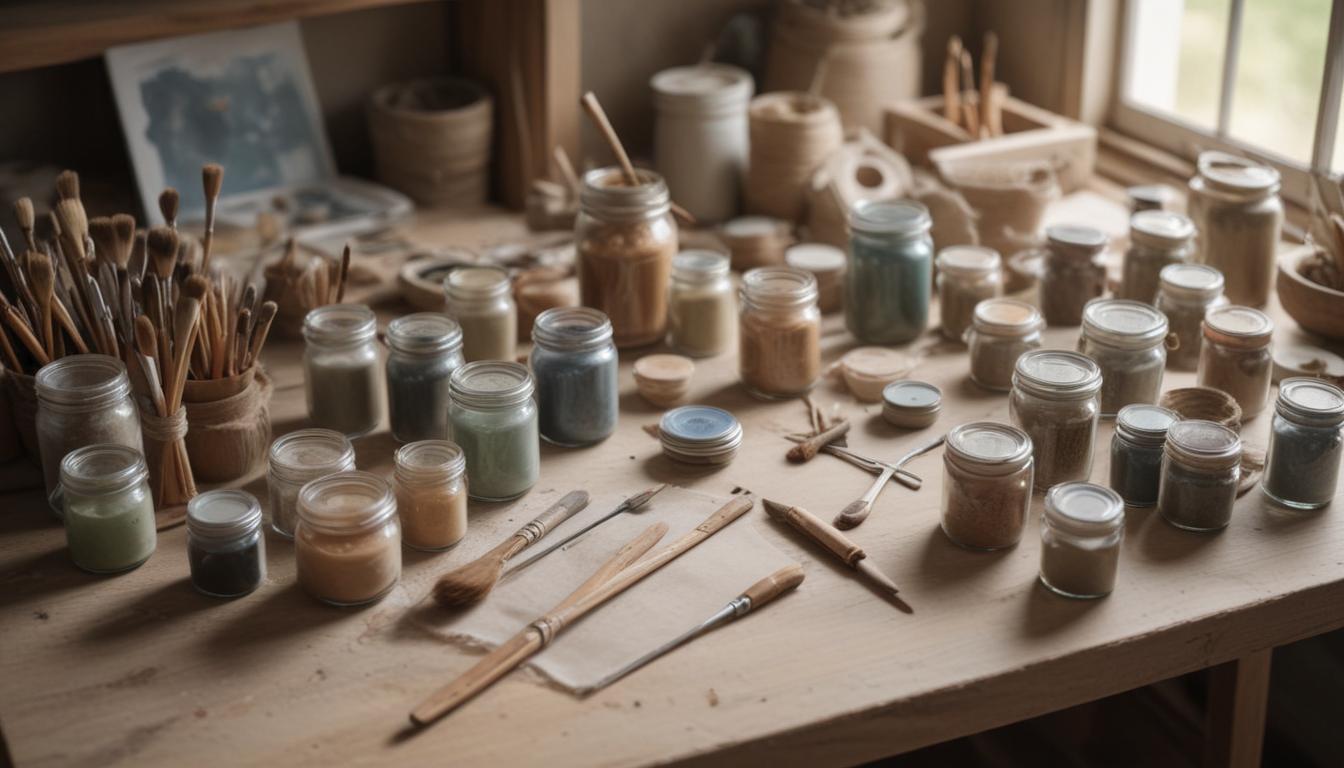
Gather Your Materials
To start your upcycling adventure, you’ll need a few simple supplies. Here’s what to grab:
- Empty jars: Any size or shape will work—don’t shy away from quirky designs.
- Chalk paint: Perfect for a rustic, matte finish.
- Epoxy resin: Great for achieving a glossy, polished look.
- Paintbrushes: For all your intricate detailing needs.
- Twine: Give your jars a cozy, farmhouse vibe.
- Stencils: Add unique designs or text with ease.
- Light-grit sandpaper: Preps the jars for better paint or resin application.
Having everything at your fingertips ensures a smooth and fun crafting experience!
Prepare Your Jars
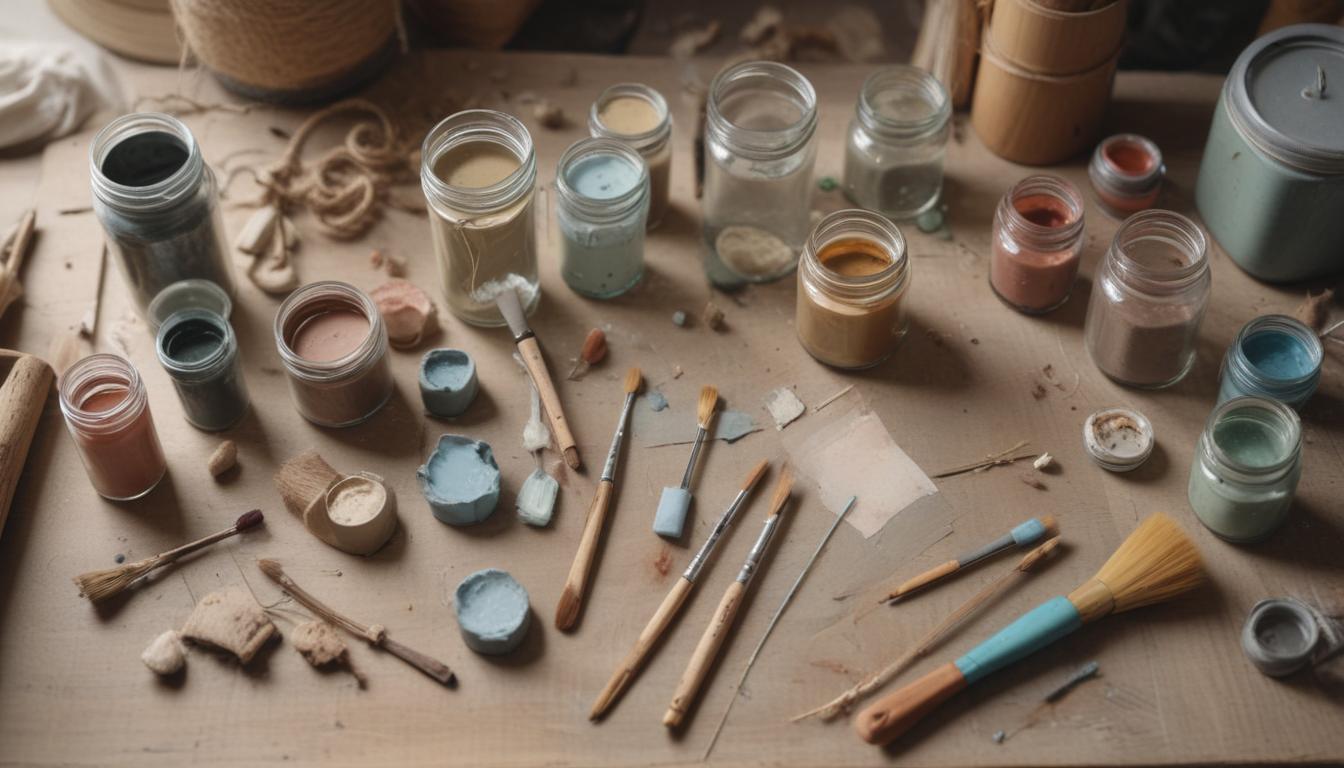
The prep work is essential to ensure your paint or resin adheres properly. Let’s get those jars ready:
- Thoroughly clean each jar with warm, soapy water to remove dirt and grease.
- Use baking soda or a commercial label remover to eliminate stubborn sticky labels.
- Lightly sand the surface of each jar with fine-grit sandpaper. This gives the paint or resin a better grip.
- Dry the jars completely to avoid streaks or adhesion issues during the decorating stage.
With clean and prepped jars, you’re now ready for the fun part!
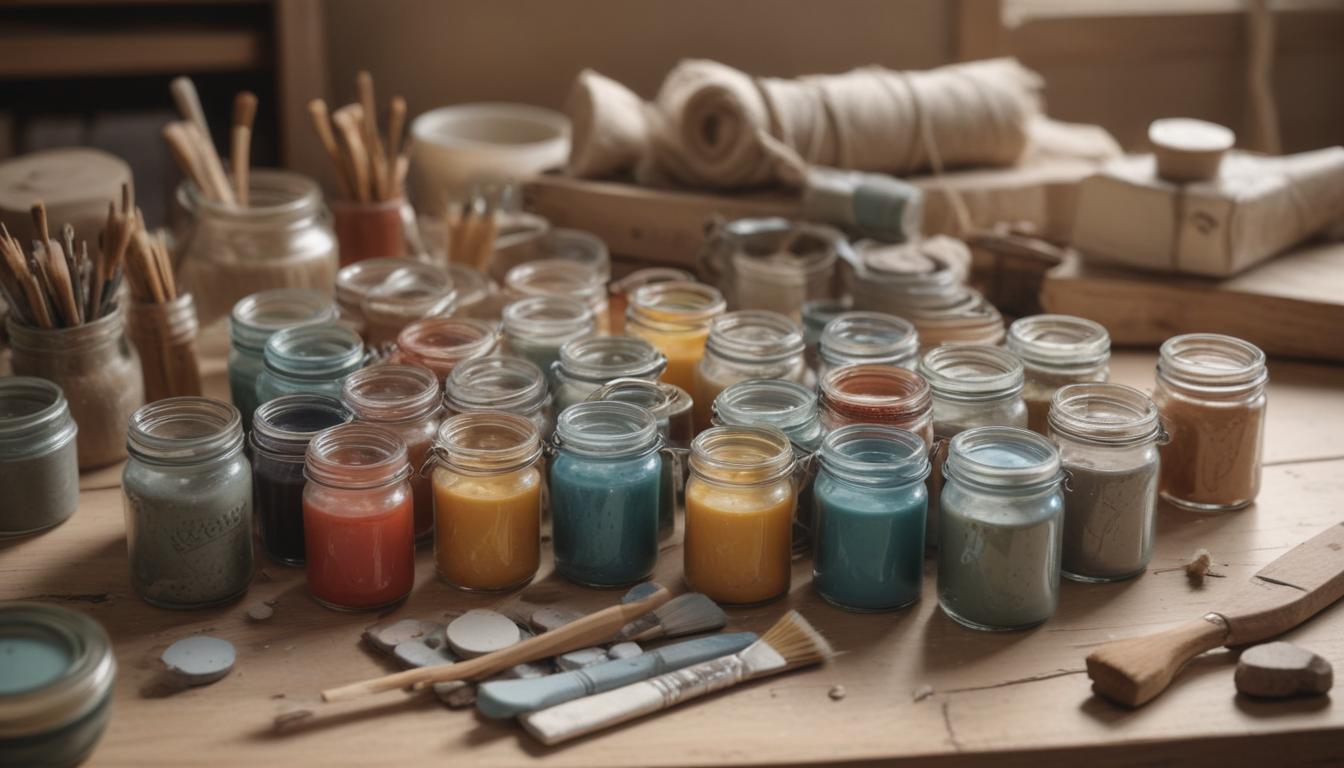
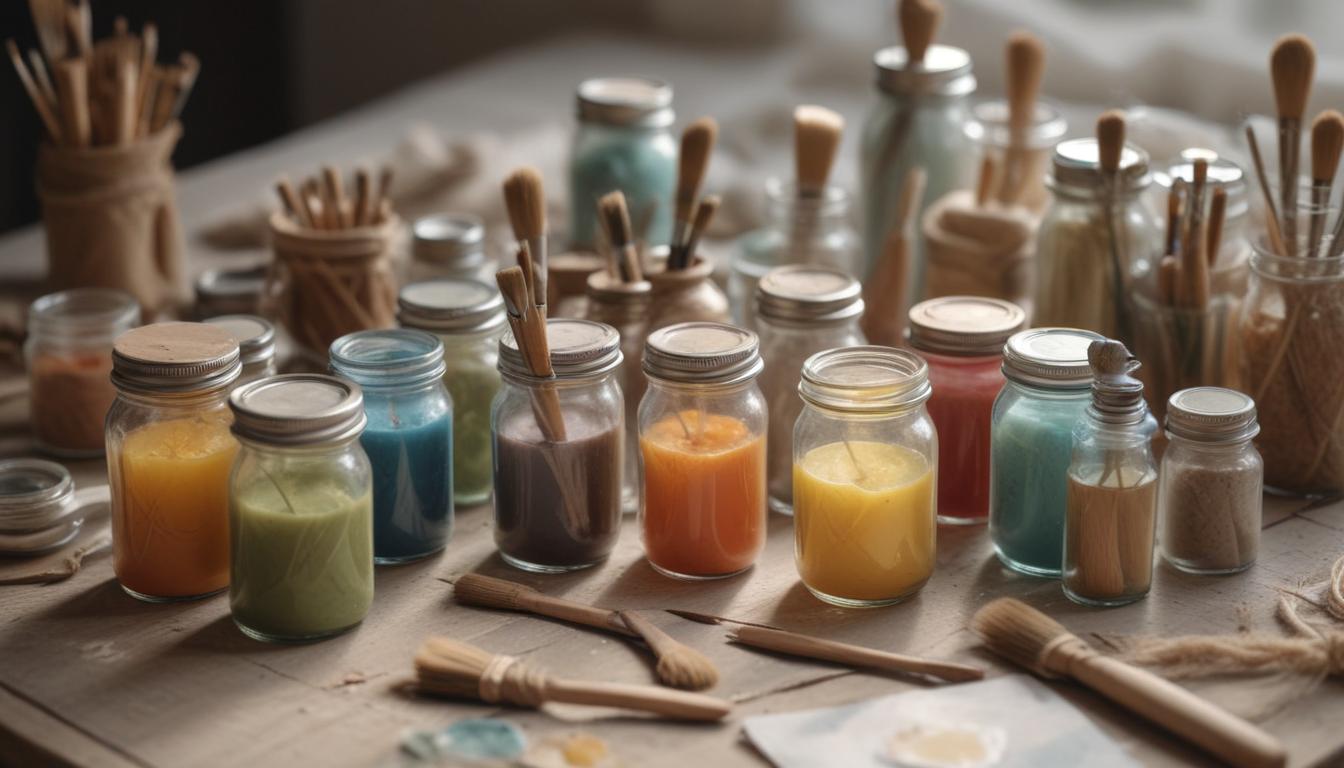
Paint or Resin the Jars
This is where your jars start to transform! Choose between a farmhouse-inspired look or a glossy modern vibe to suit your style:
- For a rustic effect: Use chalk paint in layers, and lightly distress the edges for a weathered charm. Stencil on patterns or words for a personal touch.
- For a sleek finish: Apply even layers of epoxy resin, adding metallic pigments or glitters for a sophisticated pop.
Your imagination is the limit—experiment with colors, textures, and patterns as you go!
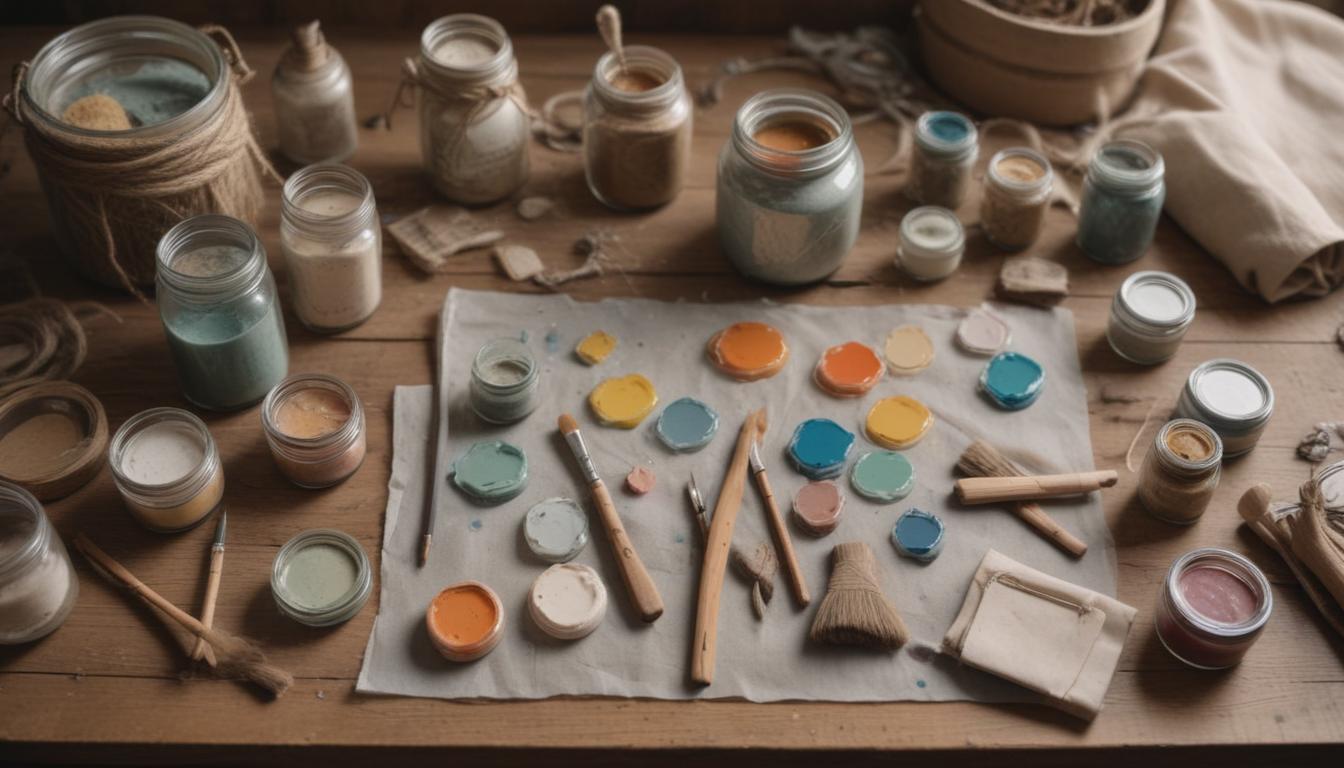
Embellish Your Design
This is the step that makes your jar truly one-of-a-kind! Add charming details tailored to vibe with your home decor:
- Wrap twine: Secure it around the neck or body for a farmhouse look.
- Glue on embellishments: Think floral decals, tiny shells, or patterned pebbles.
- Customize further: Use adhesive letters or stickers to add names, labels, or seasonal touches.
These small additions will elevate the personality and uniqueness of your jars.
Styling Ideas

Congratulations, your jars are ready! Now let’s put them to use. Check out these creative ideas:
- Candle holders: Insert tealight candles to create cozy and romantic lighting.
- Planters: Add soil and succulents for a green, refreshing accent.
- Storage jars: Label them to keep spices, candies, or even office supplies organized.
Display these jars on shelves, mantels, or tables to inject charm and functionality into your living space.
Maintenance Tips
To keep your jars looking pristine and chic, here are some maintenance pointers:
- Clean them gently using a soft, damp cloth—especially if you’ve used resin.
- Avoid exposing resin-coated jars to extreme heat or direct sunlight to prevent warping.
- Swap out decorations or contents based on the season. For example, use small pumpkins or pinecones in the fall, or holly branches during winter.
This way, your beautiful jars stay relevant and versatile all year long!