

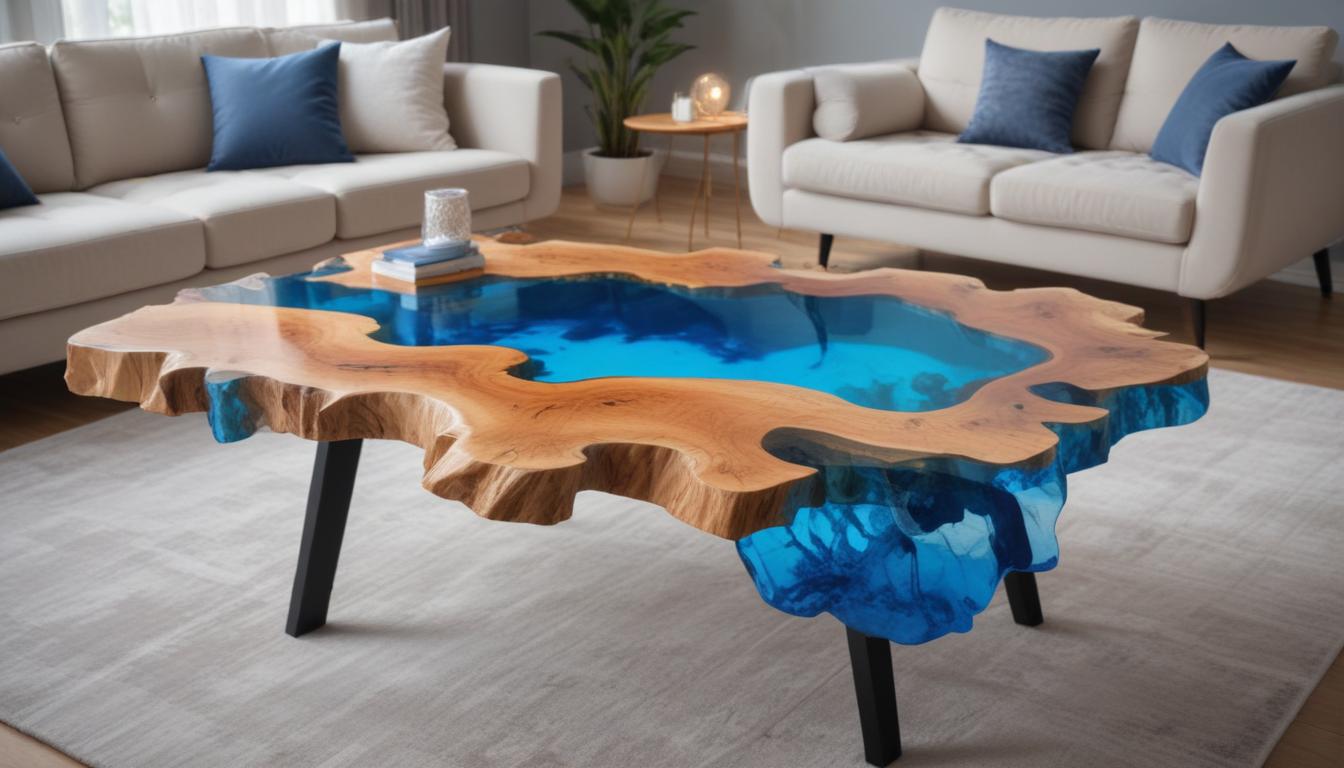
Transforming a Simple Table into a Stunning DIY Resin River Table: Step-by-Step Guide
Looking to elevate your home decor with a unique statement piece? Resin river tables have become a major trend in the crafts and DIY community, blending the natural beauty of wood with the dazzling depth of resin art. Today, we’re breaking down how you can transform an ordinary slab of wood into a stunning resin river table, inspired by popular YouTube DIY creators. If you want to create your own eye-catching centerpiece and impress your guests, read on for a step-by-step journey.
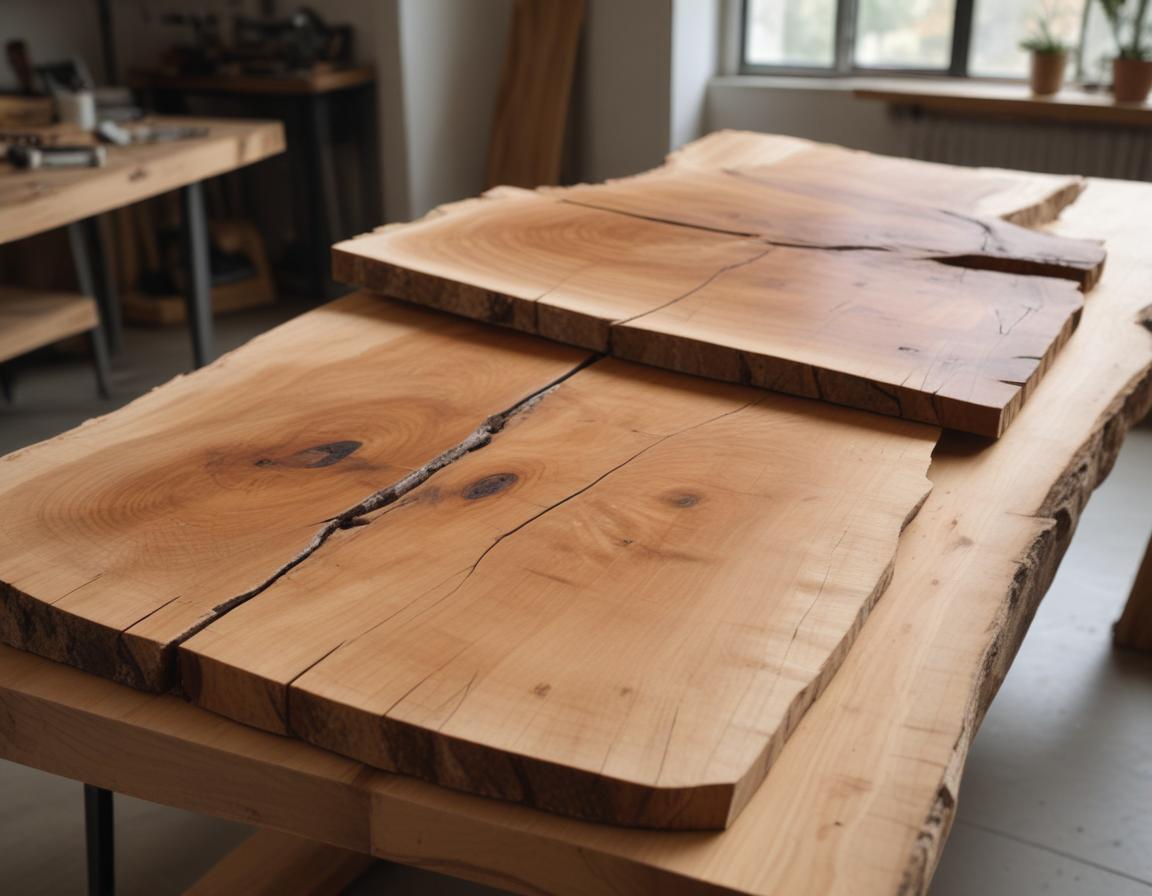
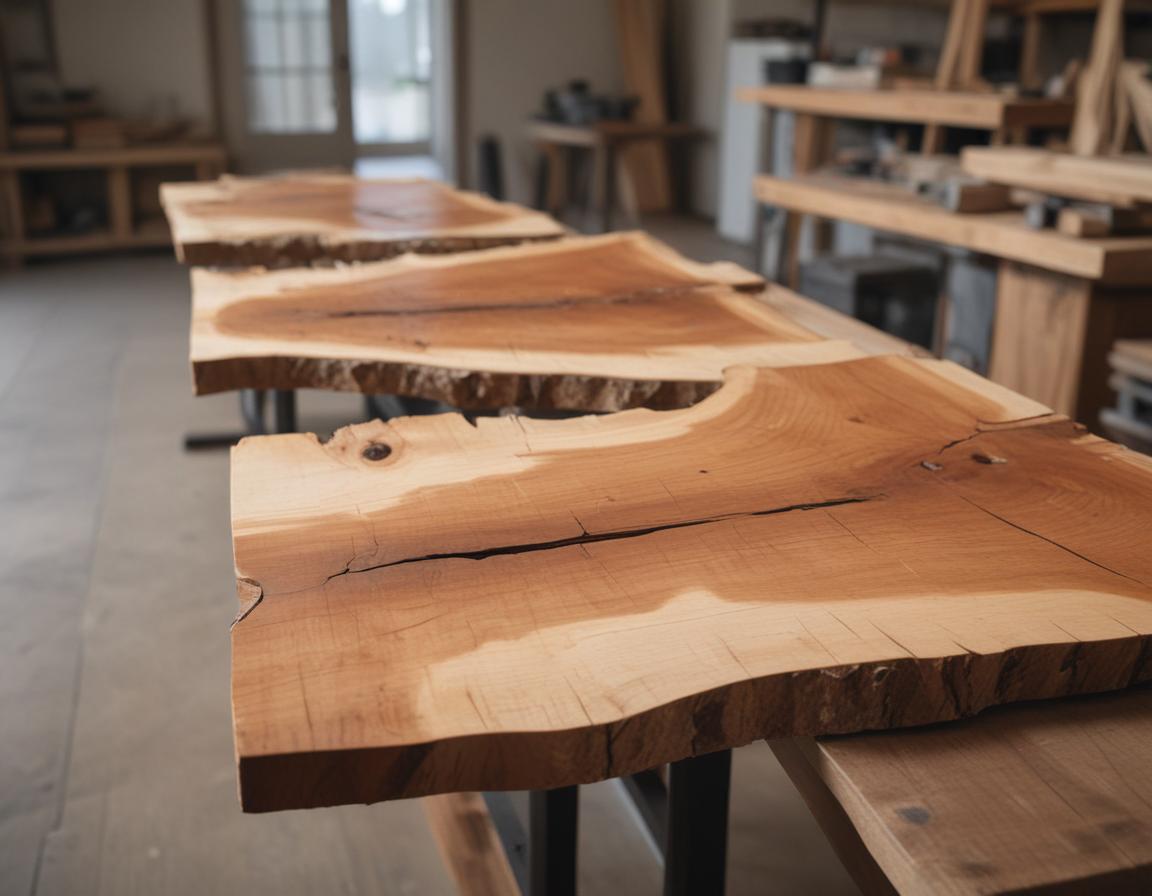
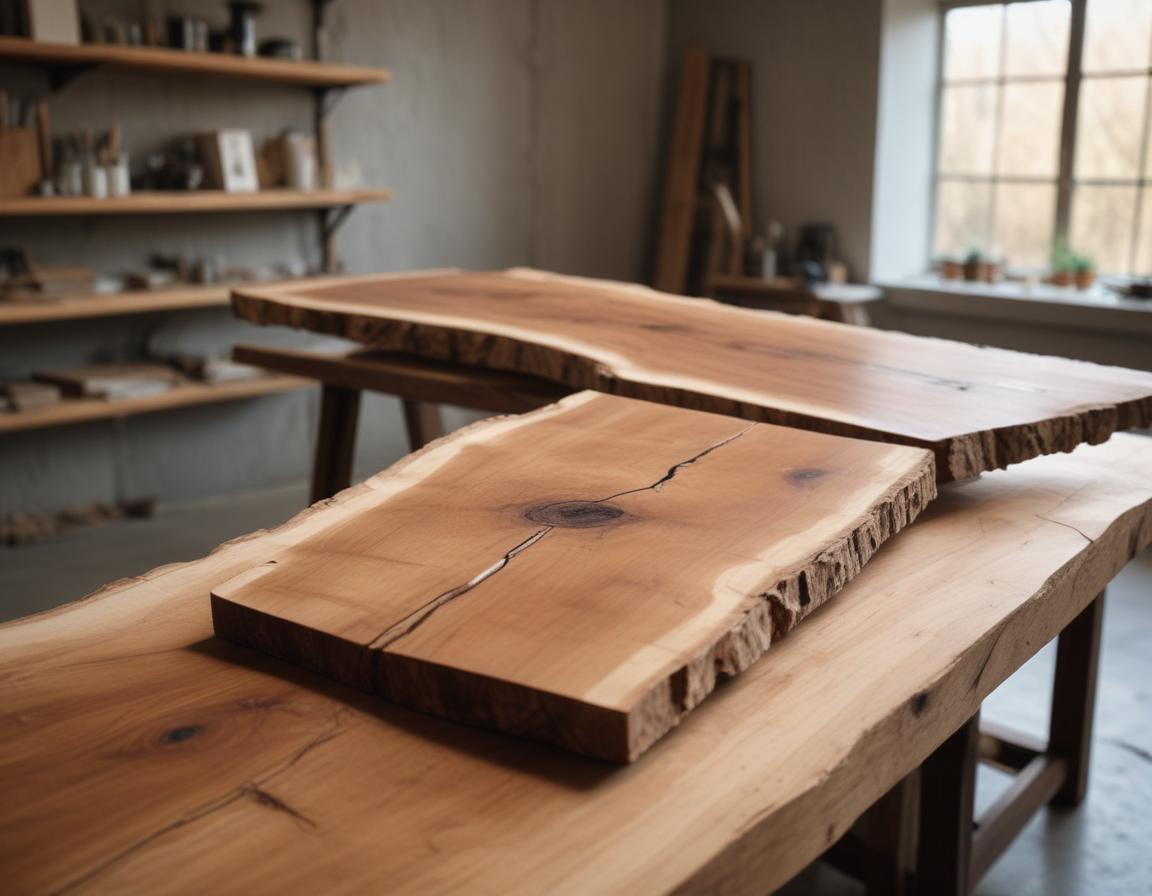
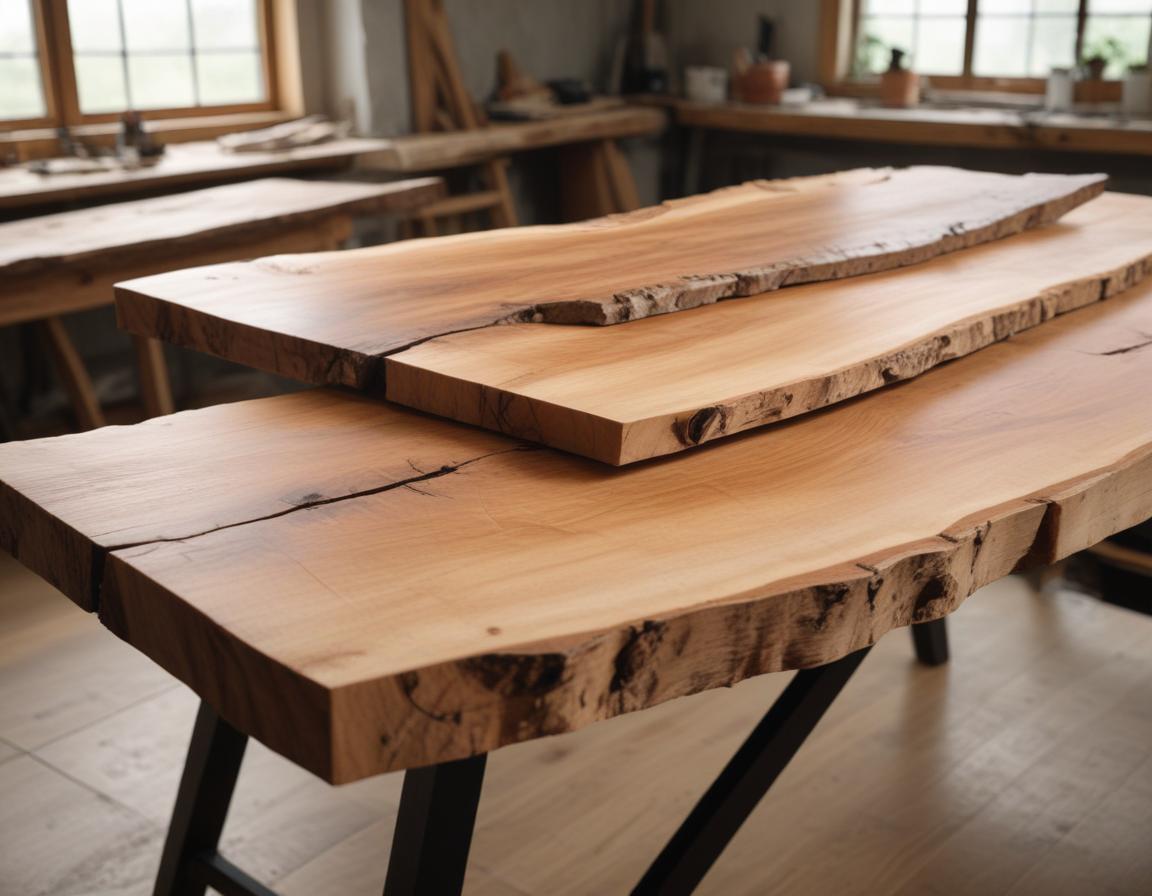
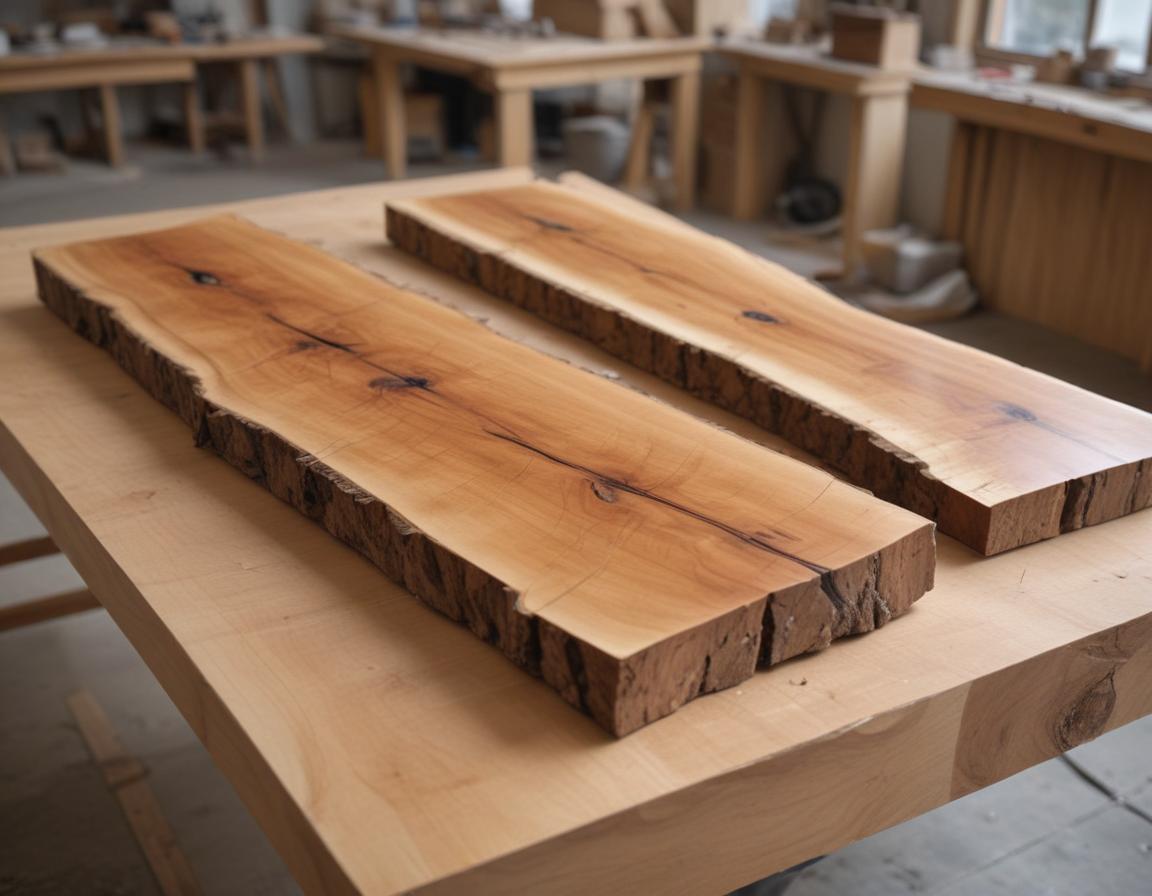
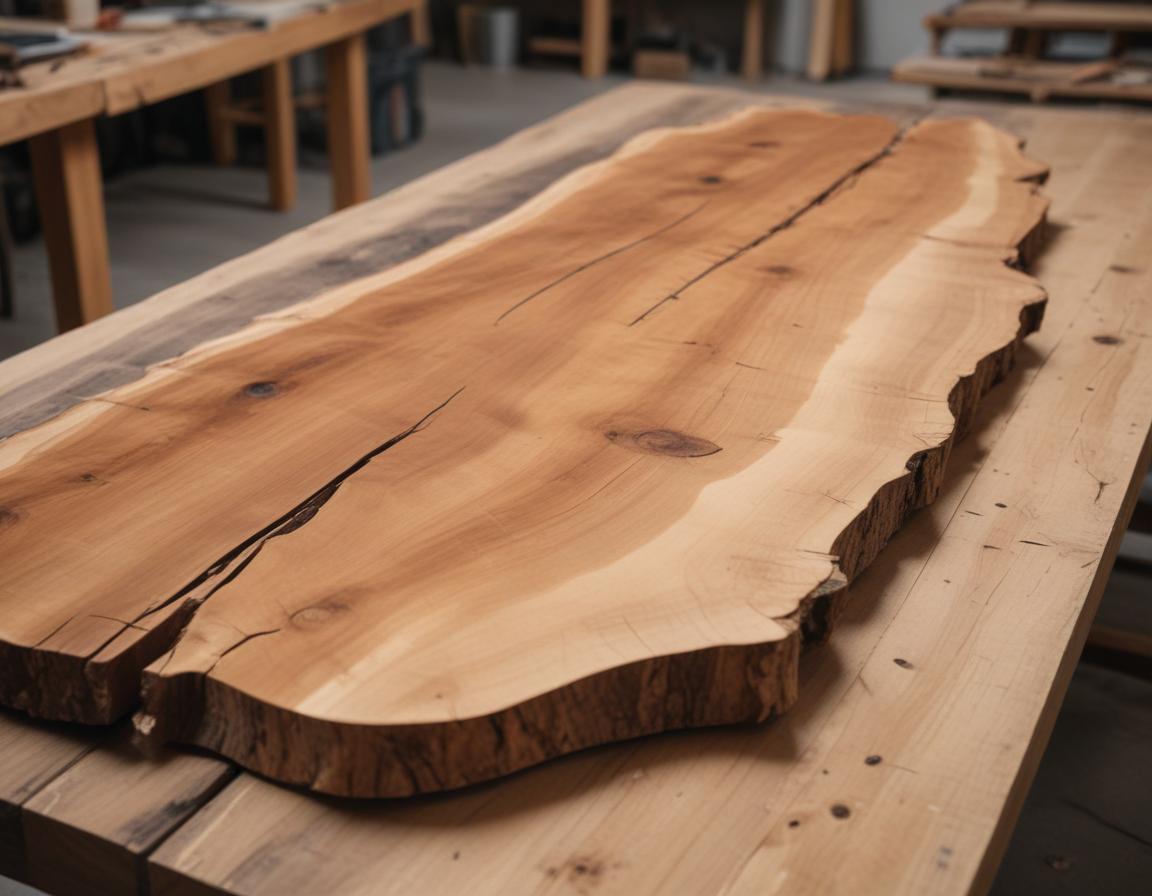
Step 1: Preparing Your Slabs
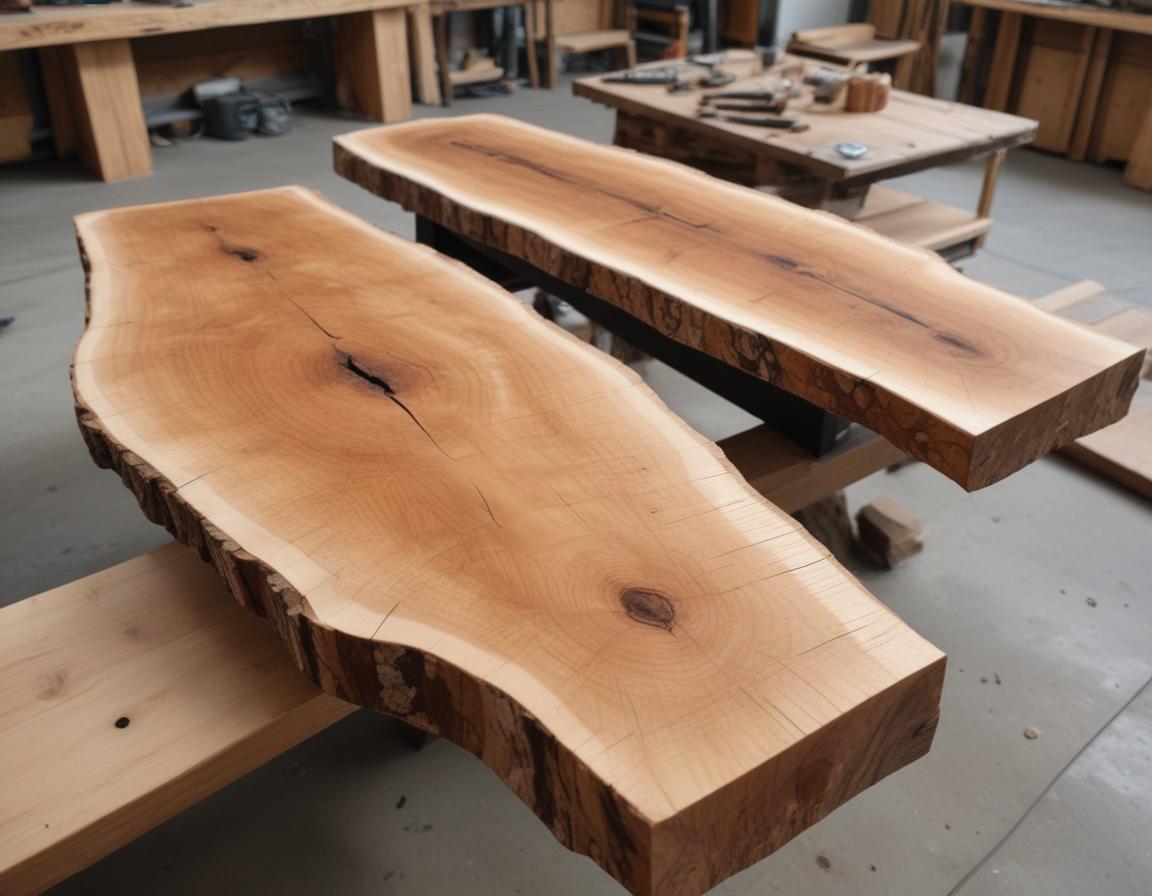
Start by selecting two matching slabs with natural edges. Cut them to your desired length and arrange them with their live edges facing each other, leaving a gap in the middle for the ‘river.’ Use a table saw to ensure the outer edges are straight for joining later. Sand both slabs thoroughly, as smooth surfaces help resin adhere and reduce bubbles.
It’s crucial to measure and plan your slabs for symmetry to ensure your finished product is well-balanced and aesthetically pleasing. The preparation determines the foundation of your table, so take time for precision and detail.
Step 2: Building a Mold
You’ll need a leak-proof mold to contain the resin. Construct a simple box from melamine board (which resin won’t stick to), securing joins with release tape and sealing edges with silicone caulk. Place the slabs inside with their live edges facing each other, leaving a river gap.
Pay close attention to creating a tight and perfectly sealed mold to prevent leaks, which could ruin all your hard work. The mold is the blueprint for your finished table, so precision is key.
Step 3: Sealing the Wood
To prevent bubbles from forming, brush a thin layer of mixed resin over all surfaces of the wood that will touch the resin. Allow this ‘seal coat’ to cure according to the manufacturer’s instructions.
- This step minimizes resin absorption by the porous wood.
- It ensures no unwanted air disrupts the river’s clarity.
By prioritizing proper sealing, you lay the foundation for a sleek, professional finish.
Step 4: Mixing and Coloring Your Resin
Mix your epoxy resin and hardener in a clean container, meticulously following the instructions. Add pigment powder or dyes to achieve your chosen river color. Popular options include turquoise and deep blues, but this step is where your creativity can shine.
Pro Tip: Stir your mixture gently to avoid introducing air bubbles that could mar your work. Whether you’re opting for bold, rich colors or soft, translucent hues, be sure to mix completely without rushing.
Step 5: Pouring the River
Slowly pour the colored resin into the gap between the slabs. If the river channel is deep, pour in layers, allowing each one to cure before adding the next.
Don’t forget to use a heat gun to eliminate surface bubbles and ensure a flawless finish. By taking your time, you’ll achieve a beautiful and seamless river that truly stands out.
Step 6: Curing
Allow the resin to fully cure, which typically takes 24 to 72 hours depending on the epoxy system used. During curing, avoid any disturbances or movement.
This waiting period ensures the resin hardens uniformly, offering maximum clarity and durability for your table. Trust us, the end result will be worth the patience!
Step 7: Removing the Mold and Finishing
Once the resin has cured, dismantle the mold. Trim any uneven edges with a table saw, and carefully sand the surface with progressively finer grits.
Finish with a polishing pad to achieve maximum clarity and a vibrant shine. Complete the project by sealing the wood with oil or polyurethane and attaching your chosen legs. Voilà! Your masterpiece is ready for use.