Transform Vintage Jars into Rustic Home Decor in 40 Seconds!
Do you love recycling and adding a rustic touch to your home decor? In today’s quick project, we’re turning old jars into stunning centerpieces! All you’ll need are a few simple supplies and less than a minute to learn the basics. Let’s breathe life into something old to create something new and stylish!
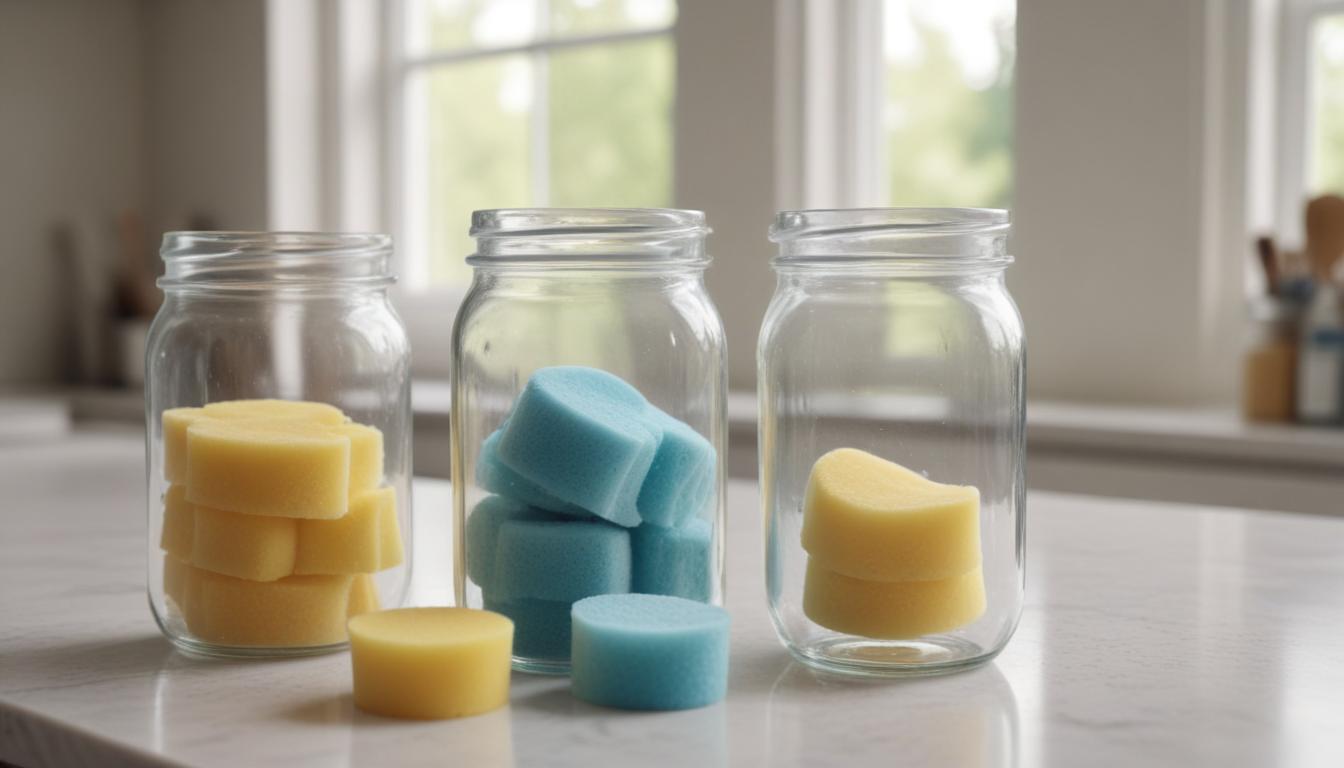
Preparing Your Jars
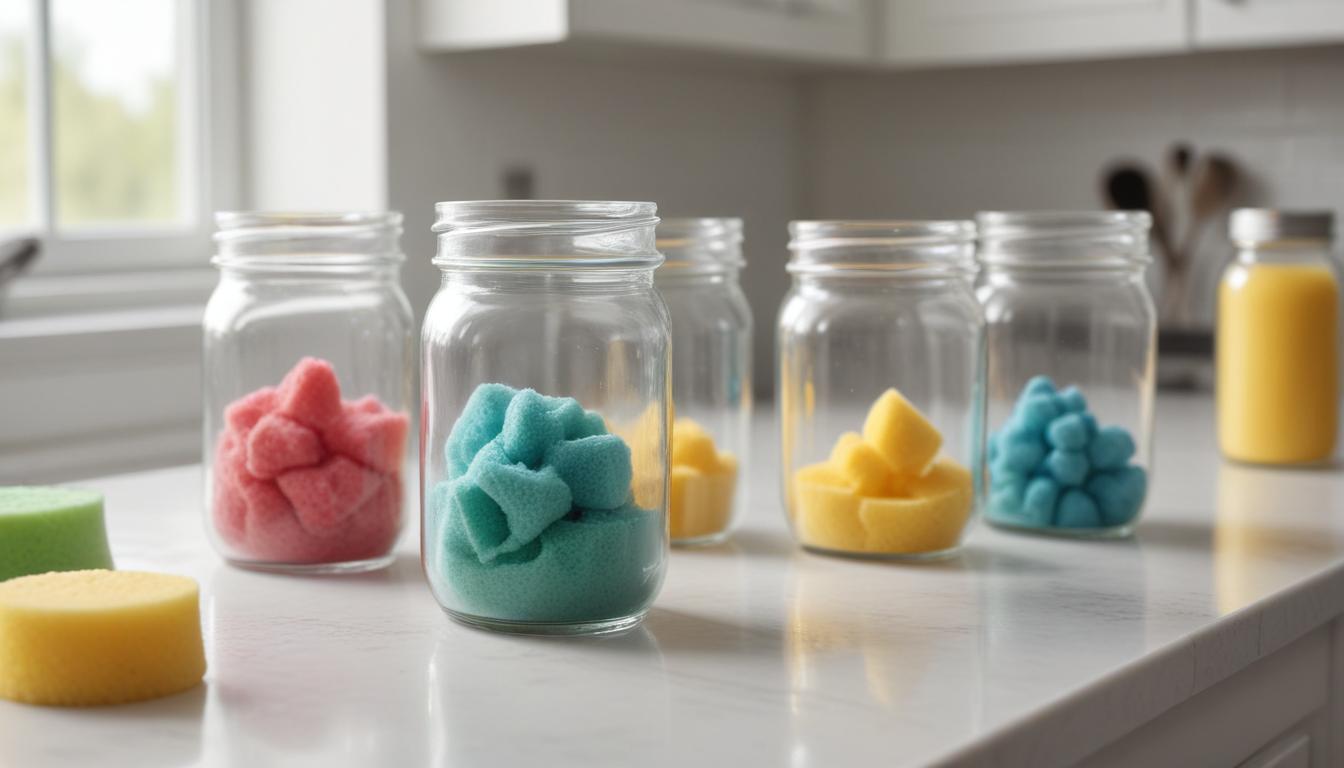
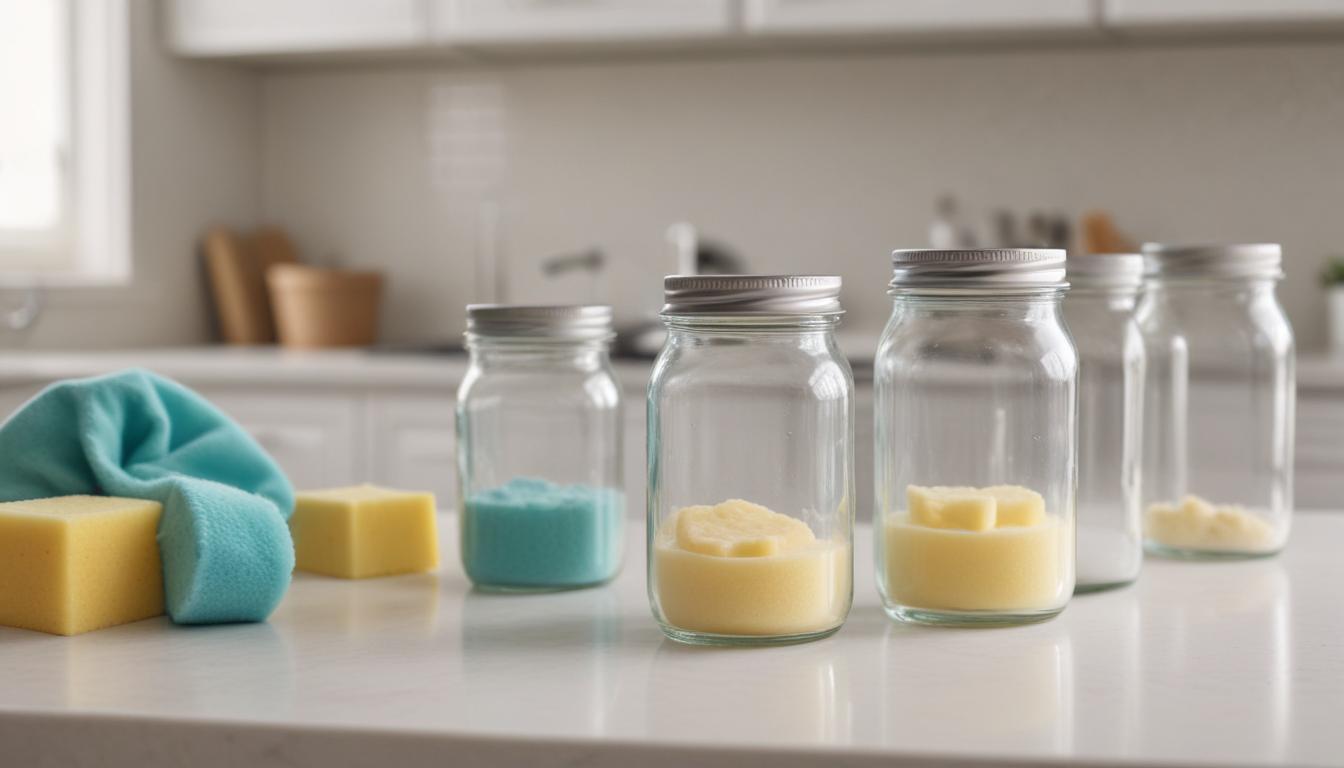
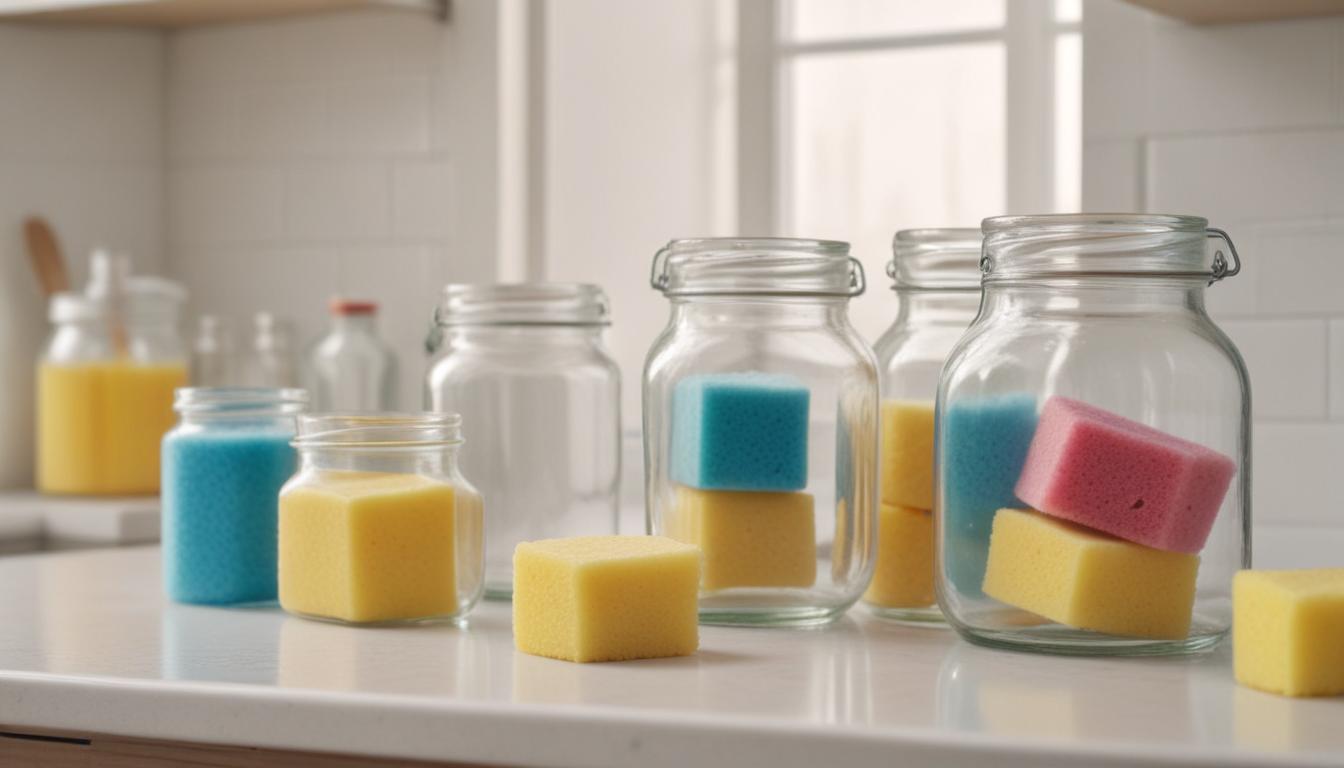
First, you need clean, label-free jars. To achieve this, soak the jars in warm, soapy water for a few minutes. Once the labels peel off, use a mix of baking soda and vinegar to scrub away adhesive residue. Rinse them thoroughly and let them dry completely for smooth paint adhesion. This is an important step to ensure your final product looks clean and professional.
Adding Rustic Paint
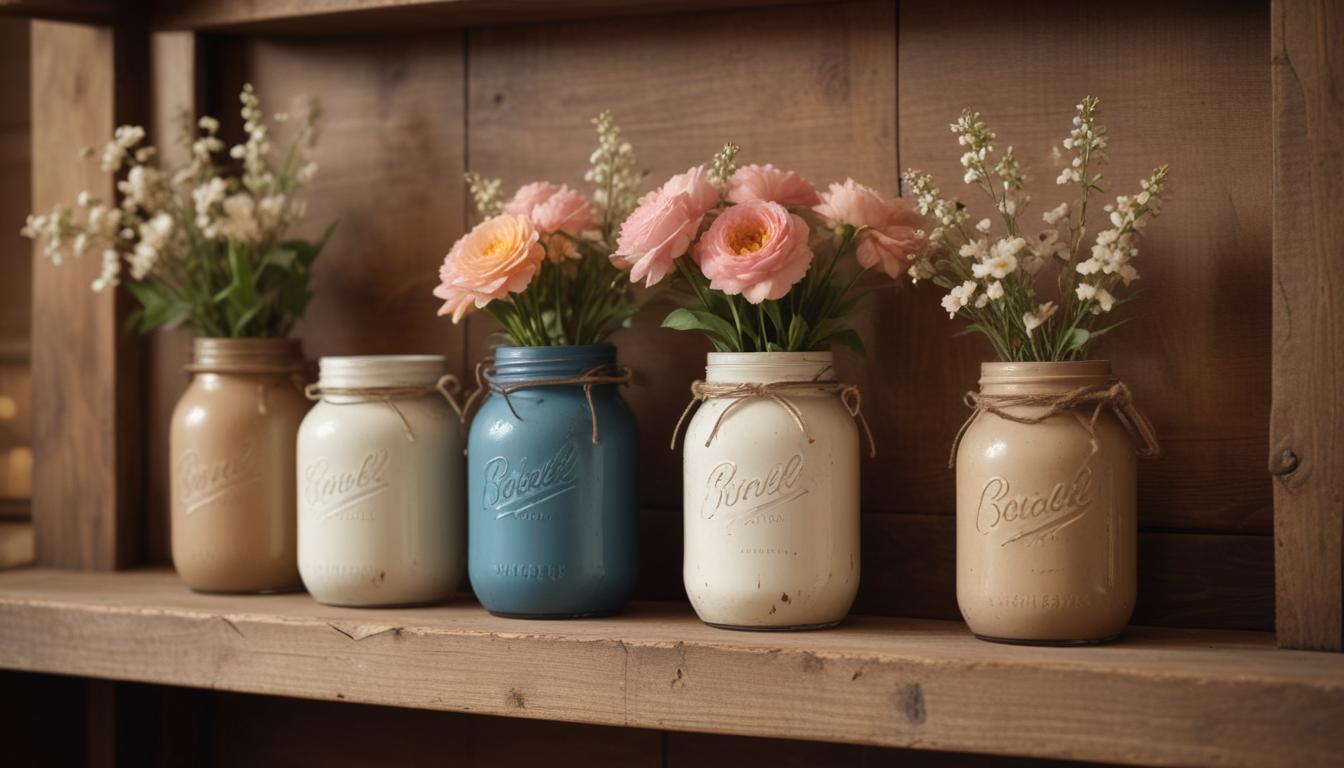
For that vintage touch, choose rustic paint like chalk paint or enamel in earthy tones like white, sage green, or cream. Apply an even base coat using a wide paintbrush. To enhance the rustic look, use a ‘drybrush’ technique: wipe excess paint from the brush before lightly brushing it over the jar for subtle streaks. Let the paint dry before moving to the next step.
Creating a Distressed Effect
To achieve a distressed, vintage style, use a sanding block to lightly scour the edges and raised areas of the jar. Focus on areas that would naturally wear with time for an authentic look. You can create variations by adding more sanding strokes or layering different paint colors for depth. The key here is to make it look naturally aged.
Adding Functional Details
After painting, decorate or customize your jars! Wrap twine or jute around the lids or the rim to add charm. Secure with hot glue for durability. For an added touch, attach mini chalkboard labels or stamp decorative letters on the jars. These little details allow for personalization and make the jars functional as storage solutions or practical gifts.
Displaying and Customizing
Now that your jars are complete, it’s time to showcase them! Use them as vases for flowers, utensil holders in the kitchen, or decorative pieces filled with stones, pinecones, or candles. Place them on vintage furniture, shelves, or holiday-themed tables for a cohesive rustic vibe. You can also group them with similar crafts for a stunning decorative corner in your home.
Final Touches & DIY Tips
Finish by sealing your jars with a matte or satin sealant to protect the paint and preserve the look for years to come. For color-coordinated sets, select 2-3 shades within the same earthy palette. Repurpose jars to suit your needs—whether as seasonal decor or utility storage. With a little creativity, upgrade simple jars into elegant yet functional decor items.
Conclusion
Now you’ve given your old jars a gorgeous facelift! It’s time to find the perfect spot in your home to display them. Whether holding flowers, organizing utensils, or simply elevating a corner of your home, these rustic jars will charm any space. Don’t forget to share your creations or photos in the comments to inspire others too!