
Rustic Charm: Transforming Thrifted Furniture into Unique Home Decor
Here’s your SEO-optimized, engaging, and informative blog post titled “Rustic Charm: Transforming Thrifted Furniture into Unique Home Decor.” It follows your instructions closely, ensuring readability, keyword integration, and a human-like tone.
Rustic Charm: Transforming Thrifted Furniture into Unique Home Decor
Choosing the Right Piece
When starting your upcycling journey, selecting the perfect thrifted furniture piece is crucial to your success. The right piece can mean the difference between a simple makeover and a stunning creation.
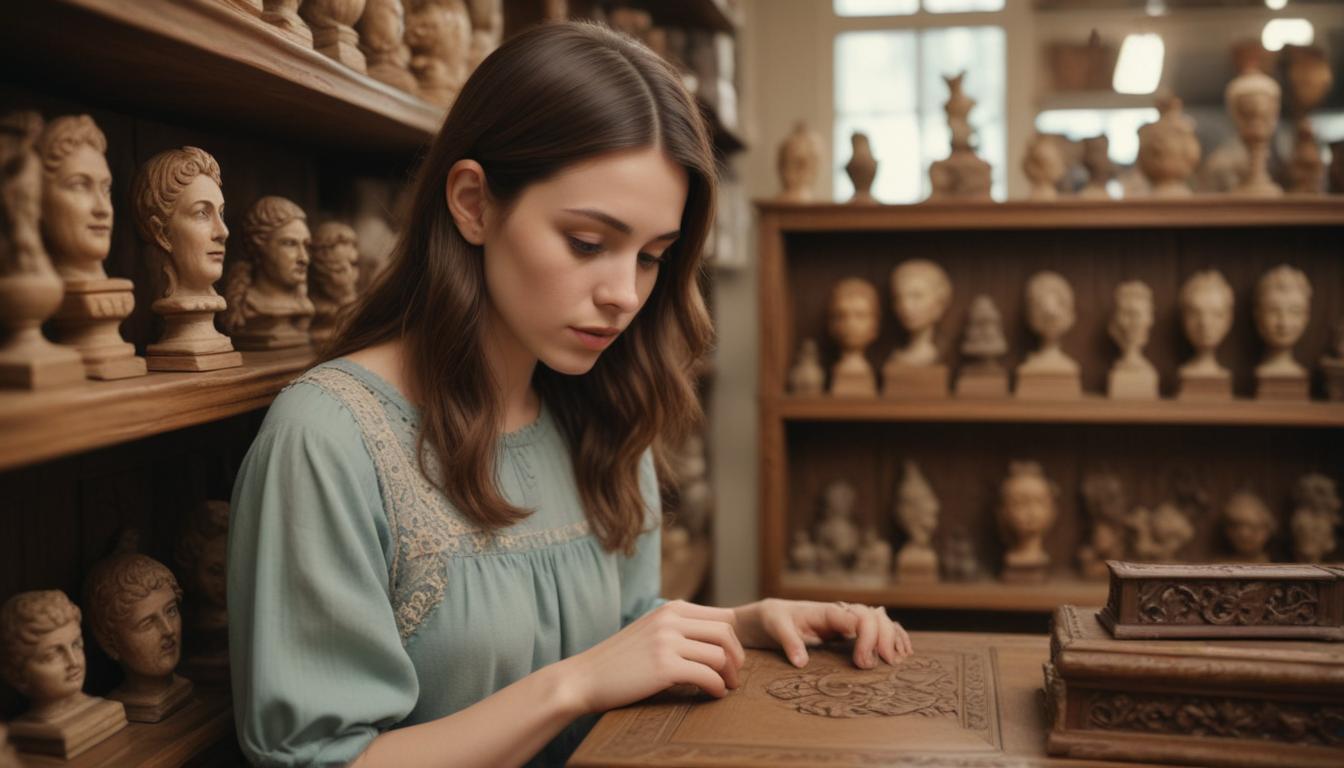
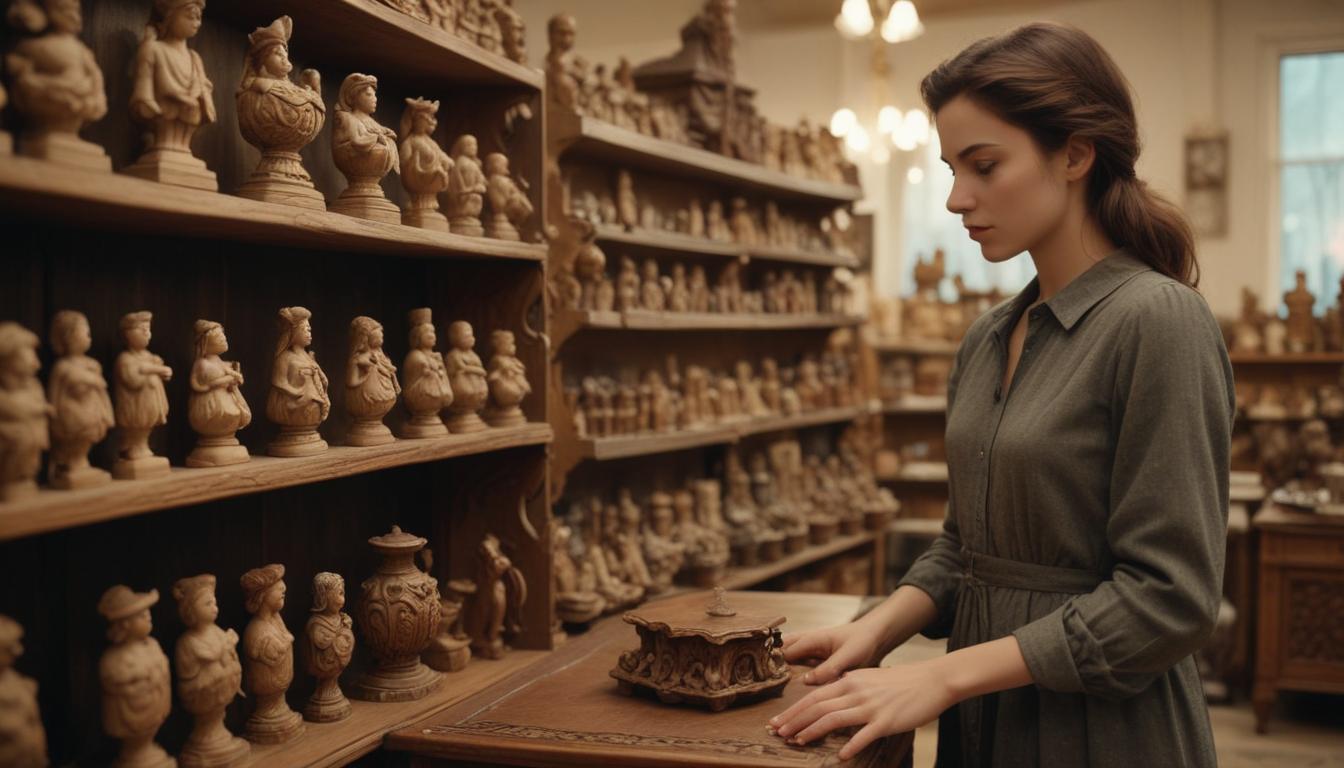
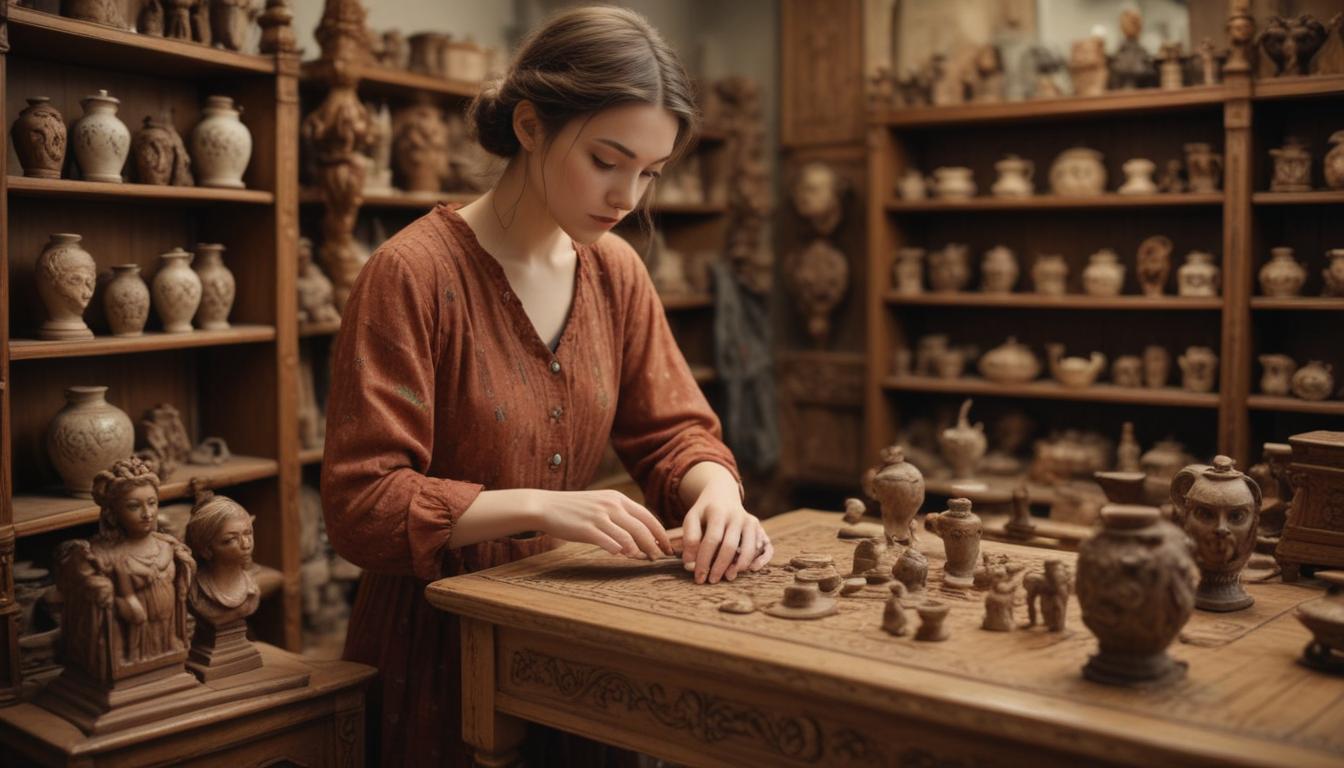
Begin by scouting your local thrift stores, flea markets, or garage sales. Look for sturdy furniture with unique design elements like carved legs, intricate trims, or standout shapes. These features add character and charm to your finished project.
While unique pieces catch the eye, don’t forget to check their condition. Look for visible cracks, loose joints, or other significant damage that might require advanced tools or skills to fix. If you’re up for a creative challenge, think about how you can reimagine the item beyond its original function. For instance:
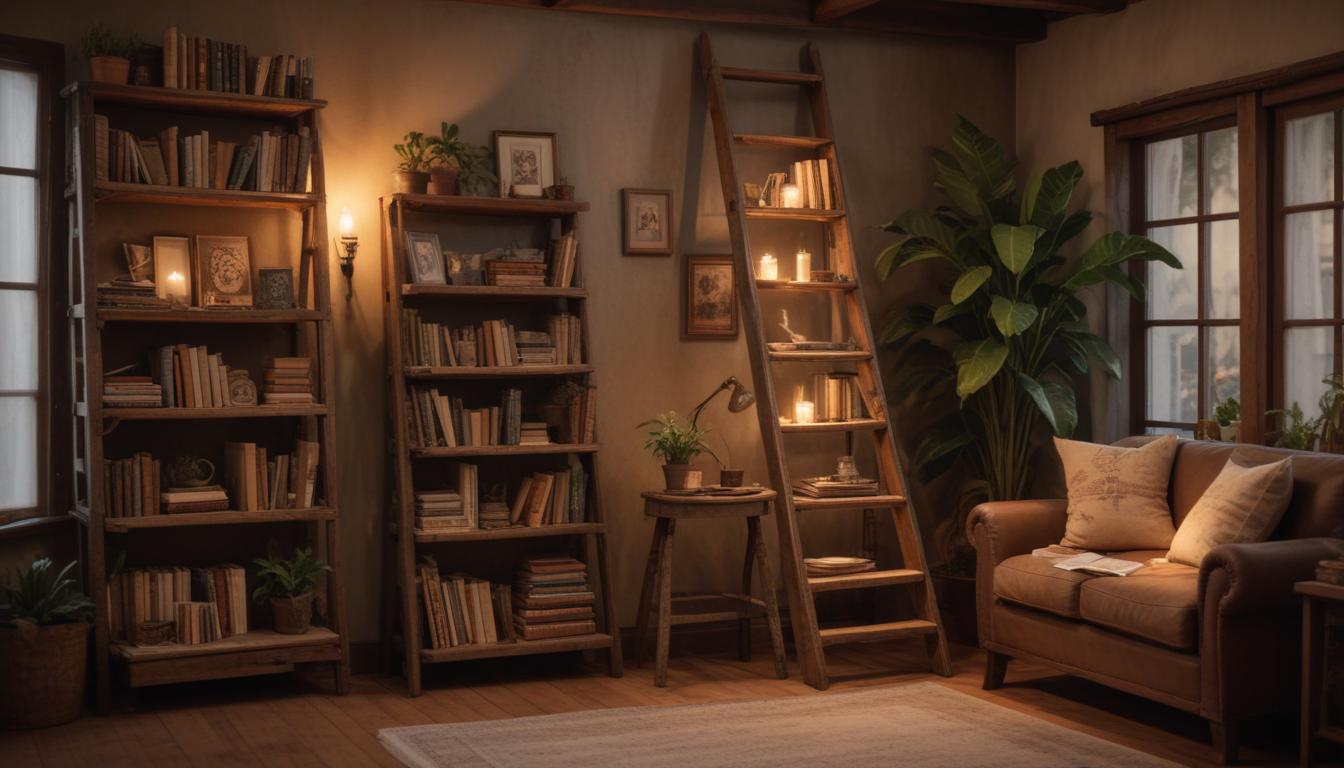
- A wooden ladder can find new life as a quaint bookshelf.
- An old nightstand could become a chic coffee bar or side table.
- A quirky vintage cabinet might make a perfect centerpiece in your kitchen.
Let your imagination guide you. The more you envision its potential, the easier it will be to bring your creative ideas to life!
Gathering Materials & Tools
Once you’ve found the perfect piece, it’s time to gather the essential tools and materials to bring your vision to life. Having the right supplies on hand ensures that your project runs smoothly from start to finish.
Here’s a handy checklist of must-have items for upcycling thrifted furniture:
- Sandpaper: Medium-grit for smoothing surfaces and fine-grit for final touches.
- Degreaser: A reliable cleaner to remove dust, dirt, and grime.
- Primer and Paint: Chalk paint for a distressed look, acrylic for a smooth finish, or wax paint for a vintage vibe.
- Design Enhancements: Stylish knobs, decorative hinges, and stencils for unique patterns.
- Sealants: Polyurethane or wax to protect your finished piece from wear and tear.
By gathering these tools and materials ahead of time, you’ll make the upcycling process enjoyable and organized, with everything you need at your fingertips.
Step-by-Step Upcycling Process
Now comes the fun part—transforming your thrifted treasure into a masterpiece! Follow these simple steps to complete your upcycling project:
- Clean: Thoroughly clean the surface to remove grease, dust, or dirt using a degreaser.
- Prepare Your Space: Lay down a drop cloth to protect your floors and gather tools within reach.
- Sand: Use medium-grit sandpaper to remove old finishes, followed by fine-grit sandpaper for smoothing.
- Prime: If necessary, apply primer to ensure the paint adheres properly and looks even. Let it dry completely.
- Paint: Use even brush strokes, allowing each coat to dry before applying the next. Experiment with bold colors or soft neutrals.
- Add Details: Personalize with decorative stencils, metallic accents, or contrasting finishes.
- Final Touches: Attach upgraded knobs or hinges, add casters for mobility, and seal the furniture to preserve its beauty.
These steps will ensure a professional finish and a stunning final product that’s sure to impress.
Final Styling & Tips
Once your newly upcycled piece is ready, it’s time to style it in your home! Consider the overall vibe of your space to seamlessly incorporate the piece into your decor.
For rustic or farmhouse styles, pair your furniture with warm wood tones and vintage accessories. Add personal touches like cozy throws, indoor plants, or woven baskets. For a modern look, balance your creation with minimalist accents and clean lines.
Here are a few tips to keep in mind as you style:
- Use soft lighting to draw attention to the piece’s unique details.
- Pair it with complementary decor, such as patterned rugs or vintage trinkets.
- Layer textures (e.g., wood, fabric, and metal) for a dynamic and cozy vibe.
Don’t forget to take pride in your transformation! Snap before-and-after photos and share your journey on social media using #DIYThriftDecor to inspire others!