

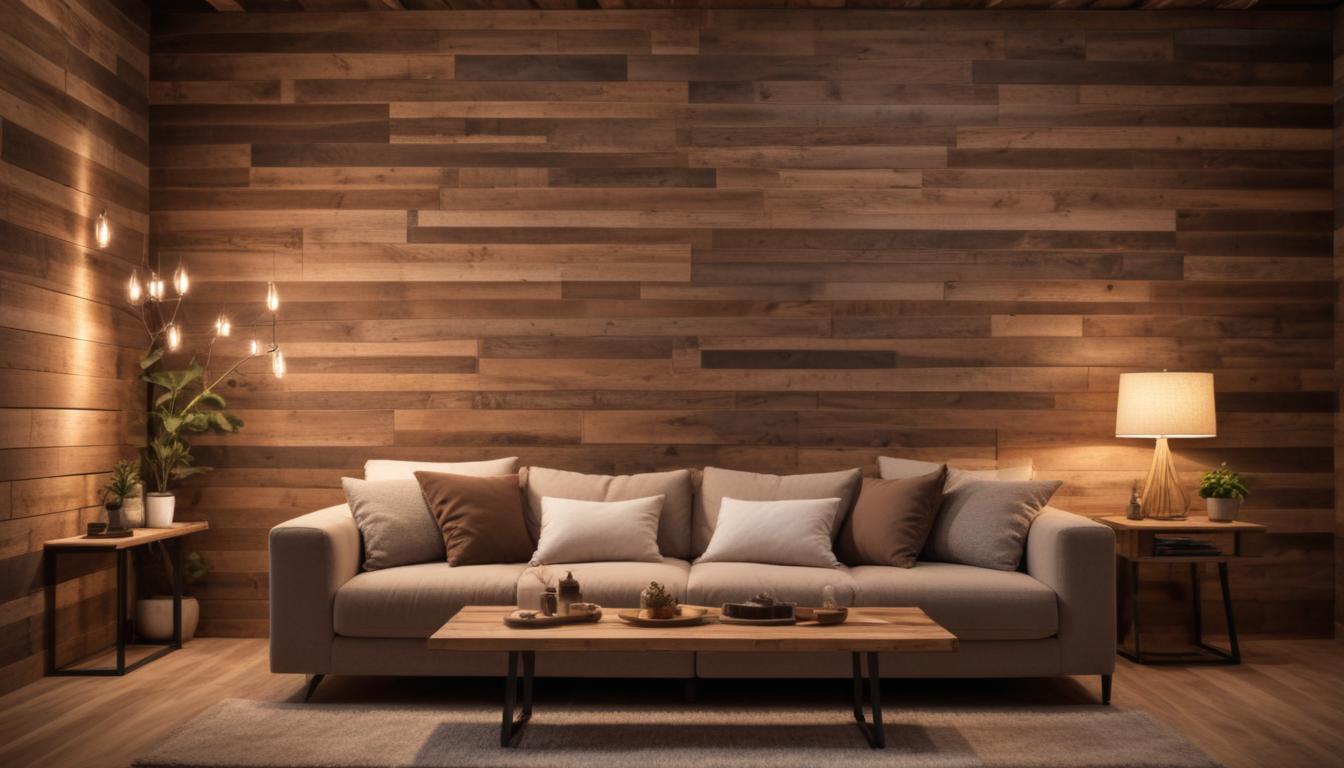
Create a Modern Rustic Pallet Wall – Easy DIY Home Decor Solution
Create a Modern Rustic Pallet Wall – Easy DIY Home Decor Solution
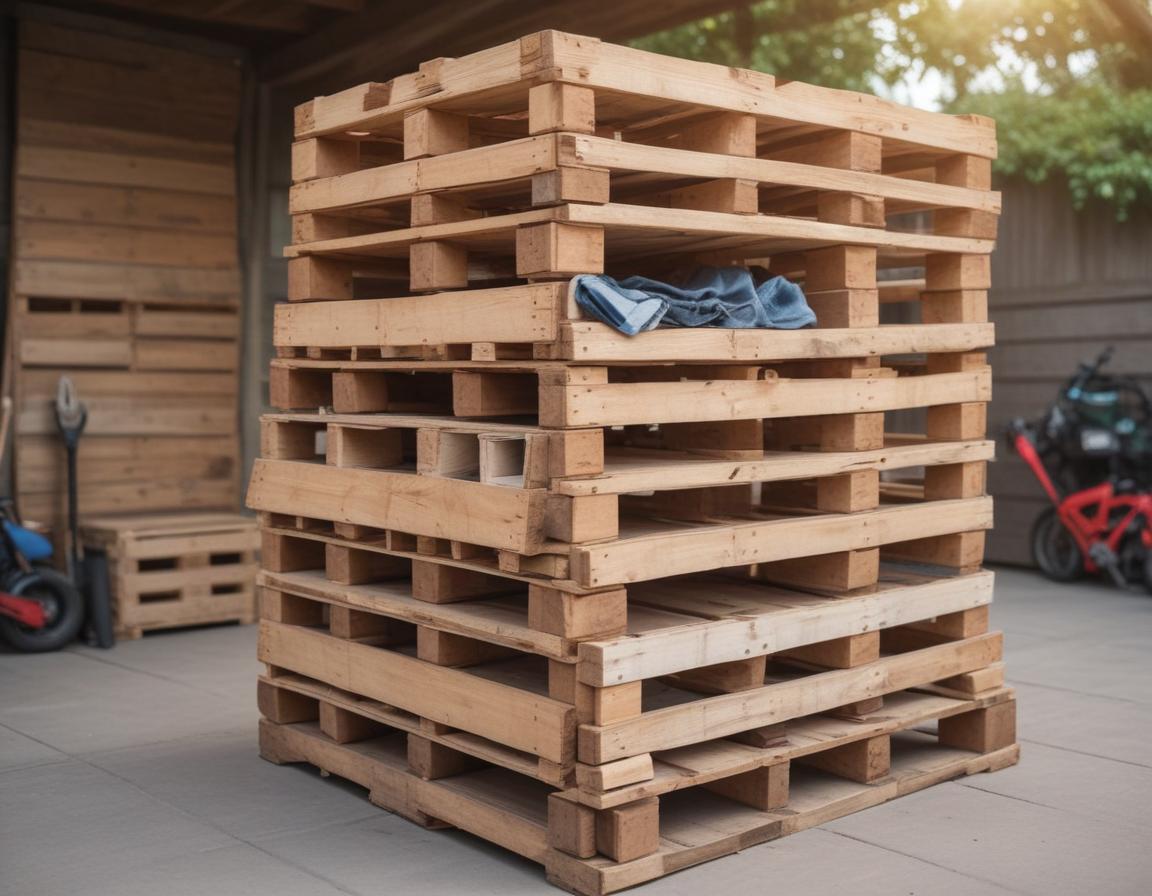
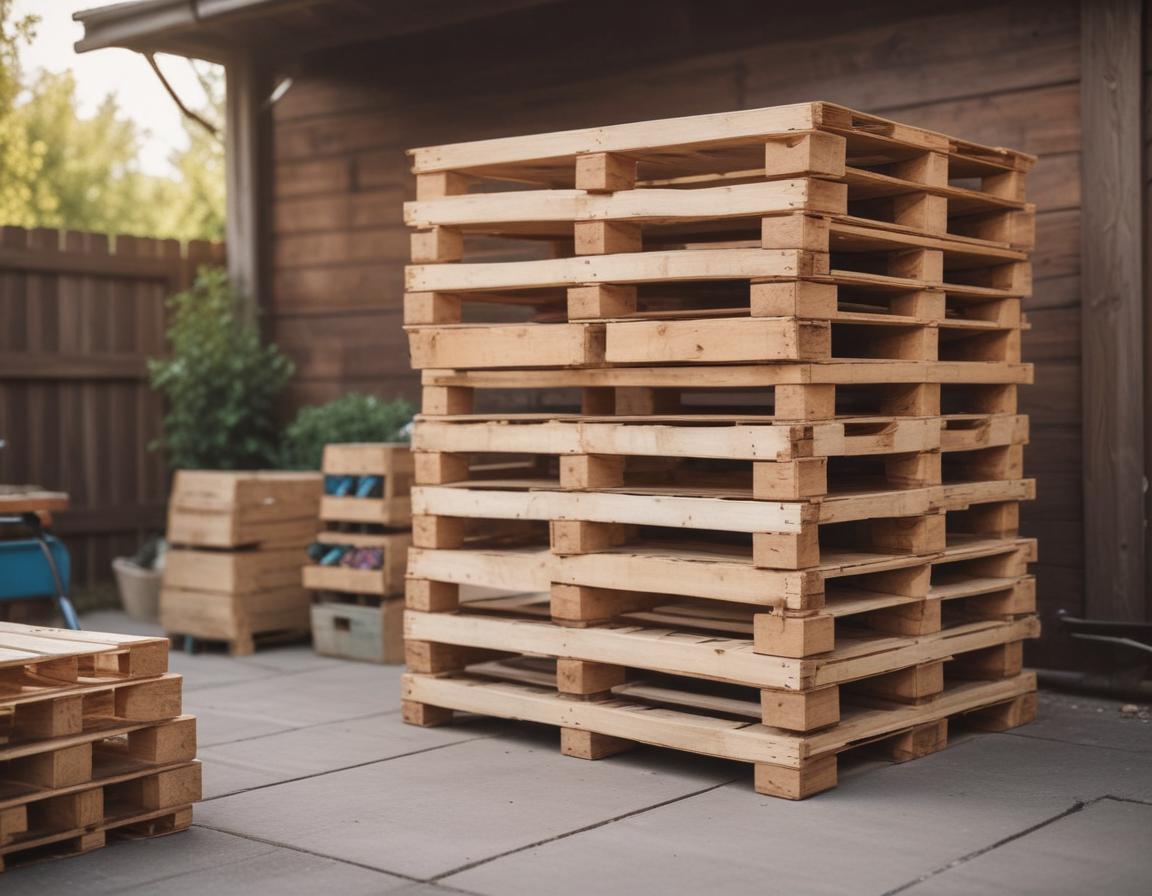
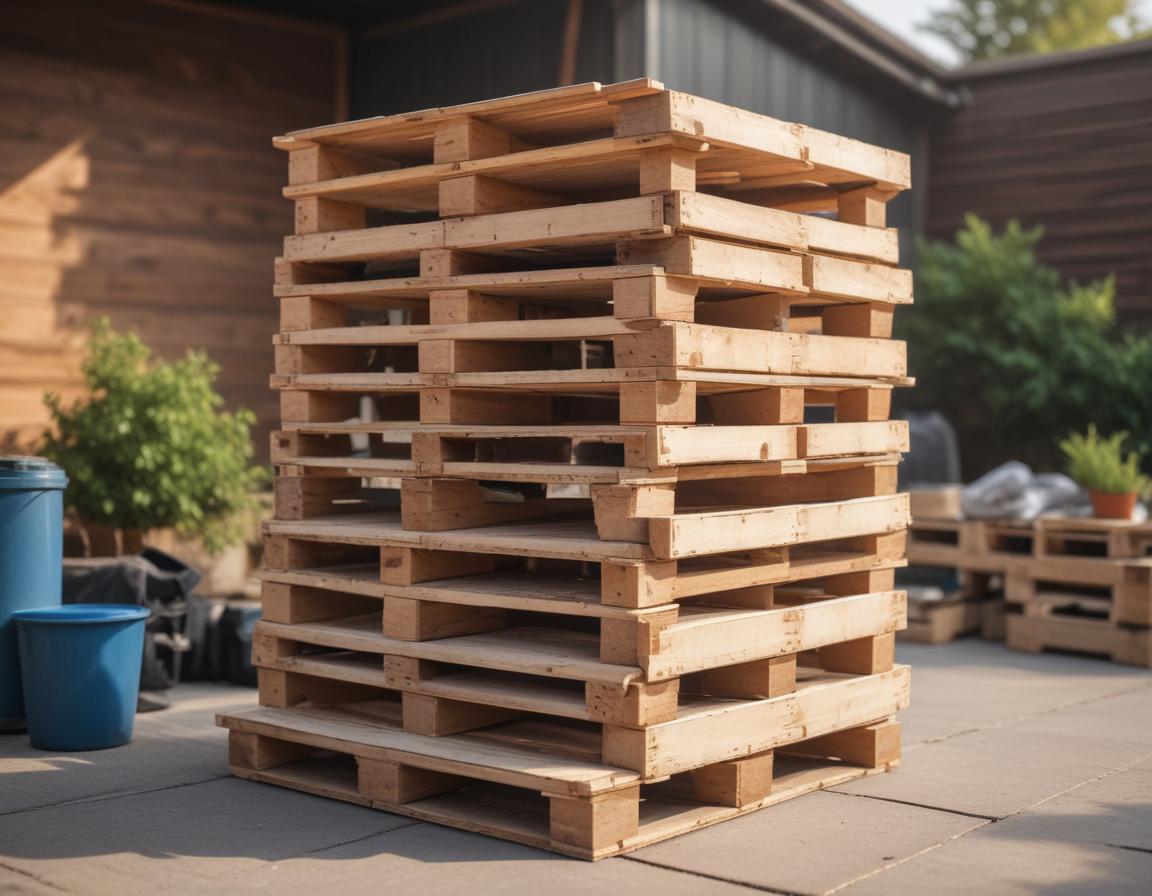
Choosing and Preparing Pallets
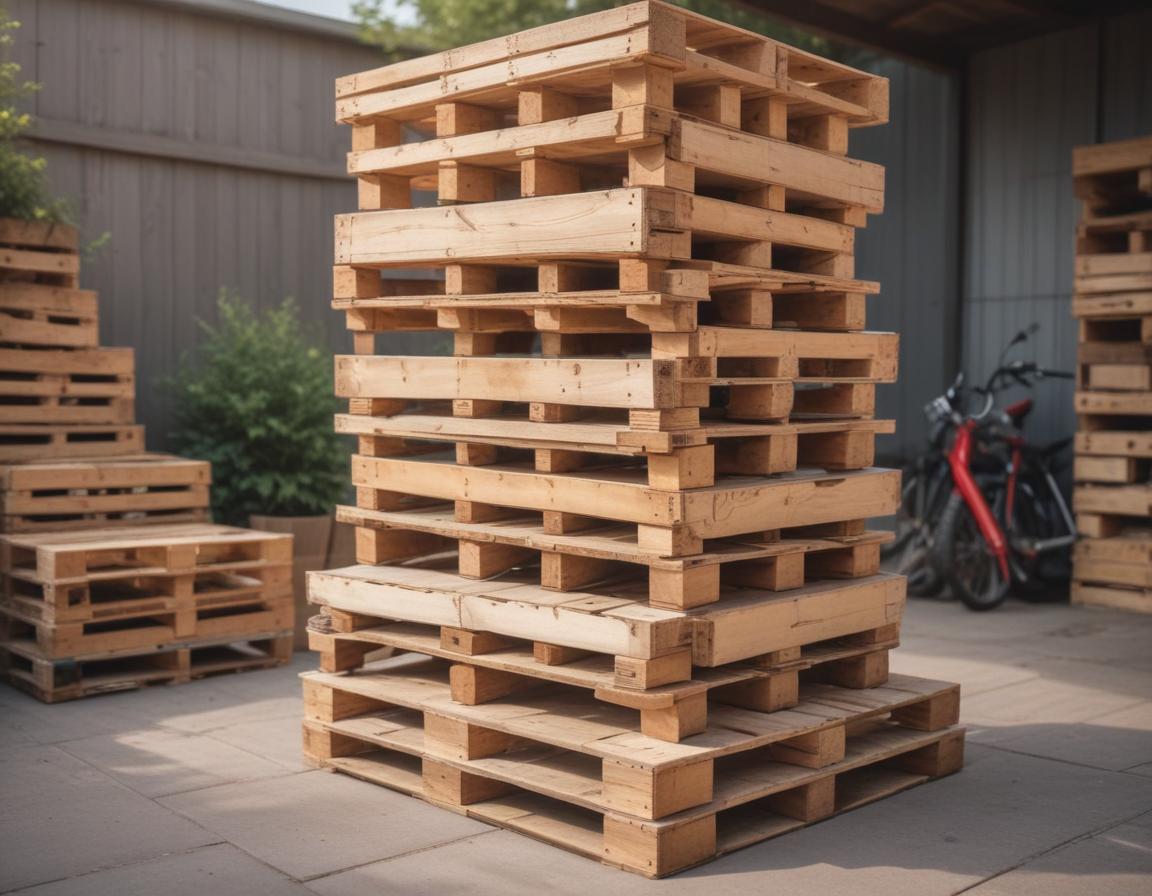
The first step in this creative adventure is selecting the best pallets for your project. It’s crucial to source pallets made from untreated and safe wood. This not only ensures that harmful chemicals stay out of your home but also maintains an eco-friendly approach. Luckily, local warehouses, supermarkets, or even online marketplaces often have these pallets available for free or at a very low cost.
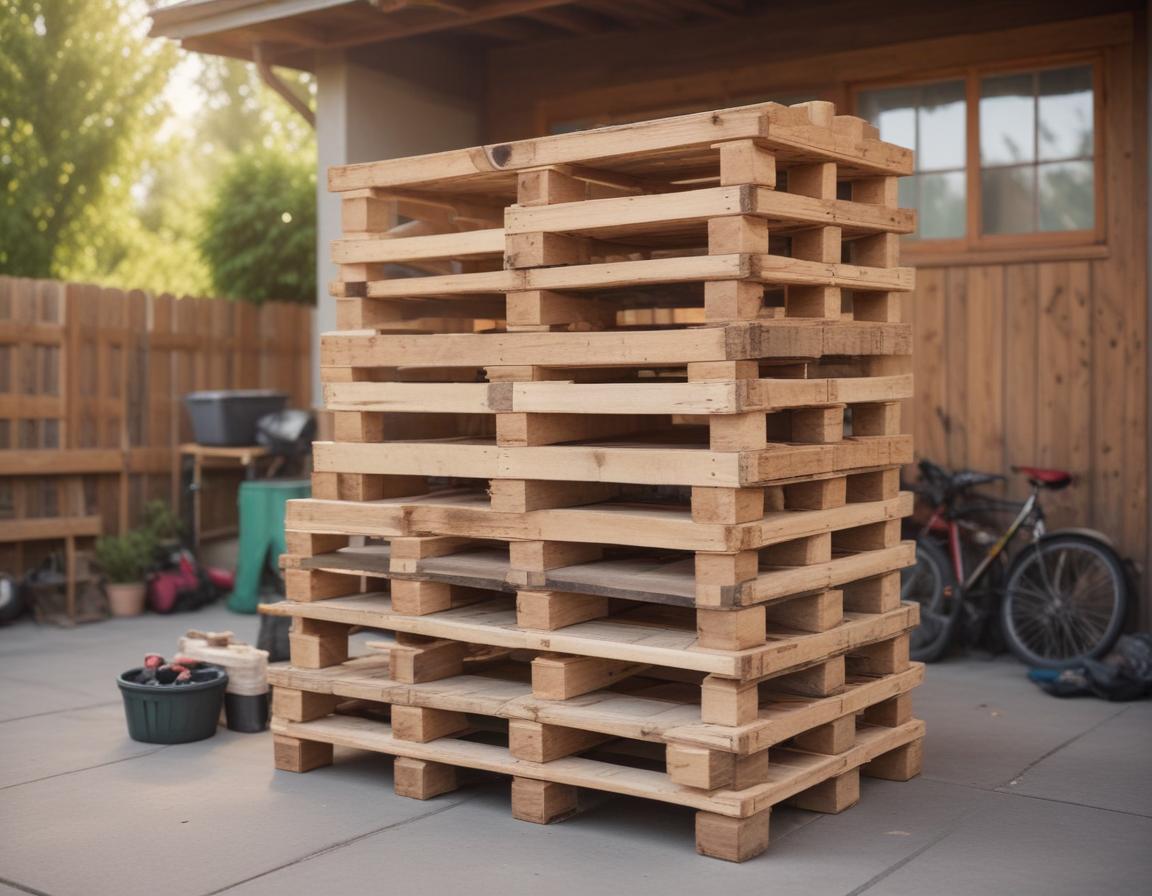
Before diving into your project, thoroughly inspect every pallet for damage or pests. Clean them properly, as they may carry dirt, oils, or residues from previous use. Sanding is another key preparation step—it makes the wood safer to handle and levels out the surface for a polished look. Whether you choose to stain the wood for a modern finish or keep it raw for that authentic, rustic vibe, ensuring the pallets are in great shape will set the stage for a professional-looking wall that you’ll be proud to display.
Measuring, Planning, and Layout Design
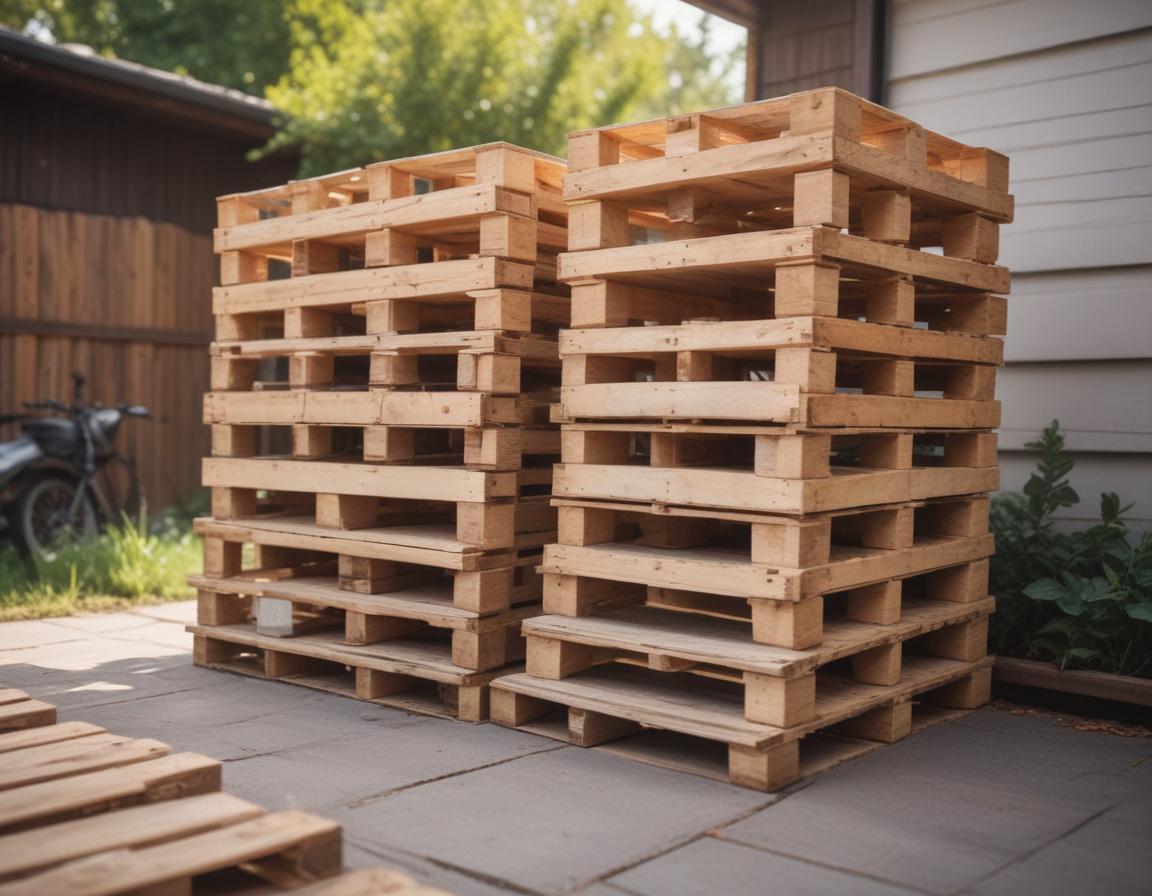
Once you’ve prepped your pallets, it’s time to dive into measuring and planning your layout. Start by measuring the height and width of your wall so you can determine the number of pallets you’ll need. This step might sound tedious, but trust us—it eliminates the surprise of running out of materials halfway through the project!
Sketch a rough design to visualize the overall look. Whether you want a uniform arrangement or prefer a staggered pattern, planning your layout will make installation a breeze. Let your creativity shine—there’s no limit to the aesthetic possibilities you can achieve when planning your modern rustic wall.
Prepping Your Supplies and Tools
Nothing derails a simple DIY project faster than missing supplies. To avoid this, gather your tools and organize them ahead of time. Here’s a checklist for what you’ll need:
- A saw (power or hand saw, depending on your preference)
- Nails or wood screws
- A drill
- A tape measure, hammer, and leveler
- Sanding tools
Don’t forget safety gear—work gloves, a safety mask, and goggles are non-negotiable. If you plan to stain or paint the wood, grab a drop cloth to protect surfaces and a brush or sponge for application. Prepping these essentials ensures that the installation flows smoothly without interruptions.
Cutting and Preparing Wood for Installation
Now comes the exciting part—customizing the pallets to fit your design. Using your pre-made layout as a guide, cut the wood slats to match your wall’s dimensions. For smaller, more precise cuts, stick to a hand saw. If you’re tackling a larger area, a power saw can save you time.
After cutting, sand the edges of each piece thoroughly. This step is not only about aesthetics—it also ensures the planks are safe to handle during installation. Taking the time to prepare each wood piece will result in a polished, clean finish that enhances the overall look of your rustic wall.
Installing the Pallet Wall
With all your wood pieces ready, it’s time for the grand reveal—installing your pallet wall. Start from the bottom corner and work your way up. Use a leveler for each plank to ensure straight lines, and secure the slats with nails or screws as you go.
As you progress, your vision will come to life row by row. This part of the DIY process is incredibly satisfying, as you watch the warmth and character of your rustic wall unfold. Remember, patience is key—take your time to ensure precision and enjoy seeing your hard work turn into a stunning centerpiece!
Adding Final Touches and Enjoying Your Work
Congratulations, you’ve reached the last step! Now that your pallet wall is securely installed, it’s time to add some final touches. Consider staining the wood to highlight its natural grains or painting it to give your wall a modern flair. Want to keep things rustic? Leave the wood unfinished for a true natural aesthetic.
Enhance the ambiance by adding warm lighting fixtures like LED strips or spotlights to highlight the textures and patterns of the wood. Finally, step back and admire your beautiful creation. You didn’t just build a wall—you created an artistic statement for your home.
“`