

Crafting a Stunning DIY Home Decor Project: Handmade Wall Art
Crafting a Stunning DIY Home Decor Project: Handmade Wall Art
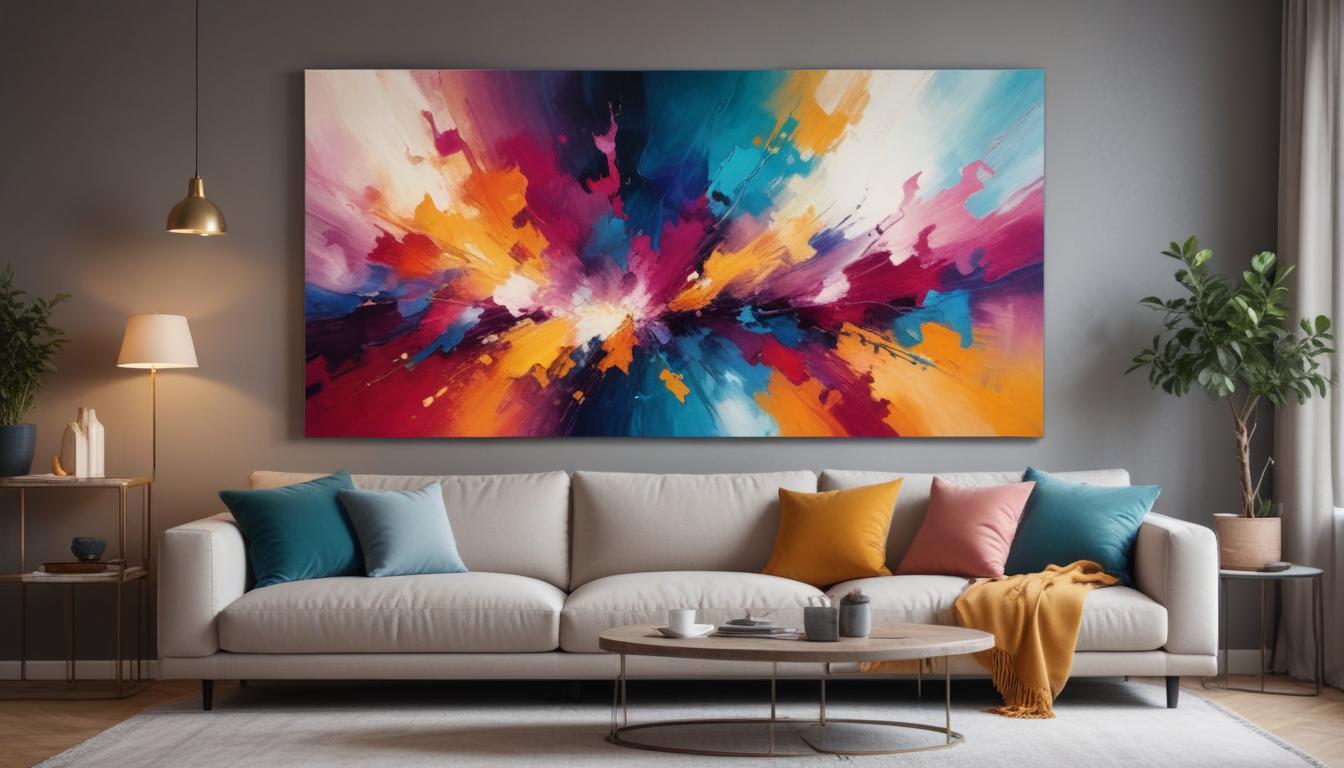
Transform Your Living Space with Handmade Wall Art
Transform your living space with the charm and warmth of personalized DIY wall art! This easy-to-follow craft tutorial will teach you how to create stunning, tailor-made decor pieces that showcase your personality and taste. With simple materials like wooden frames, fabric, and paint, you can craft unique art for your home. Whether you’re a seasoned DIY enthusiast or just starting out, this fun and affordable project is sure to bring character and creativity to your walls.
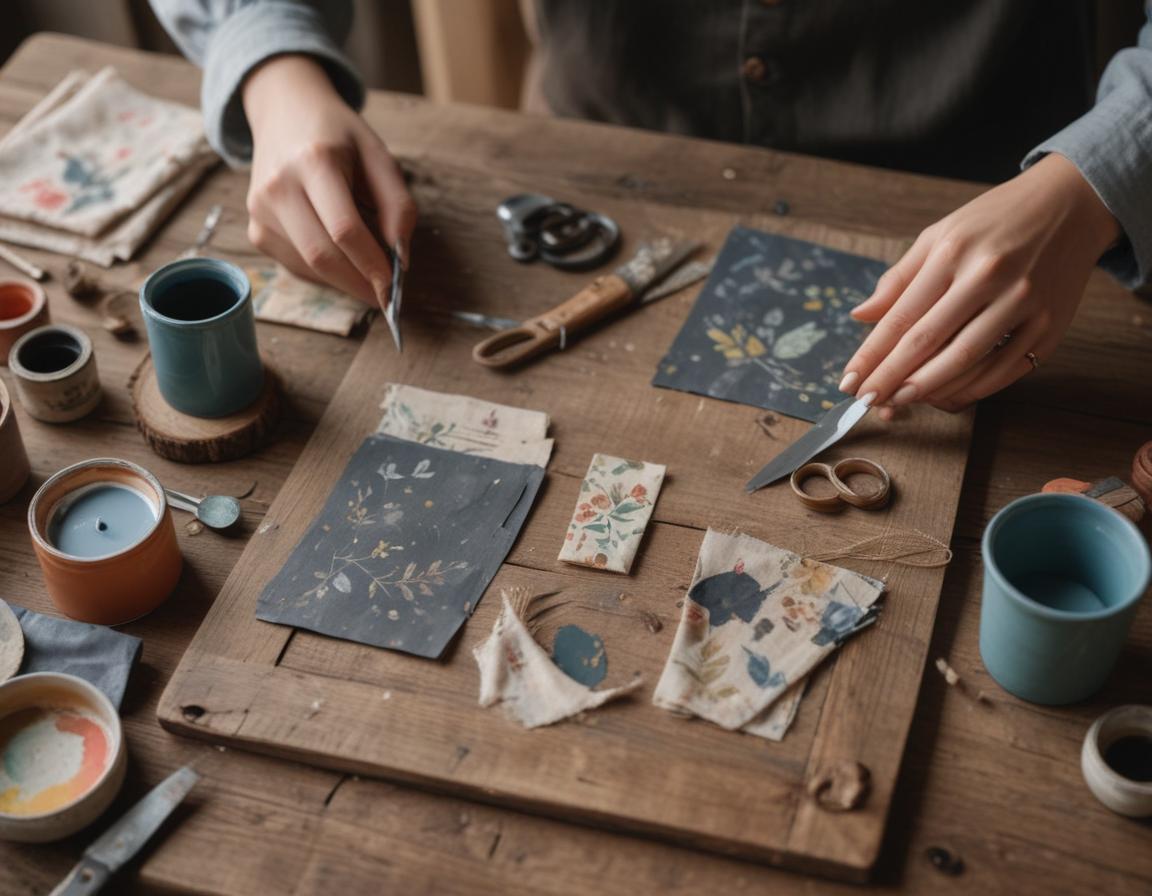
Gathering Materials for DIY Wall Art
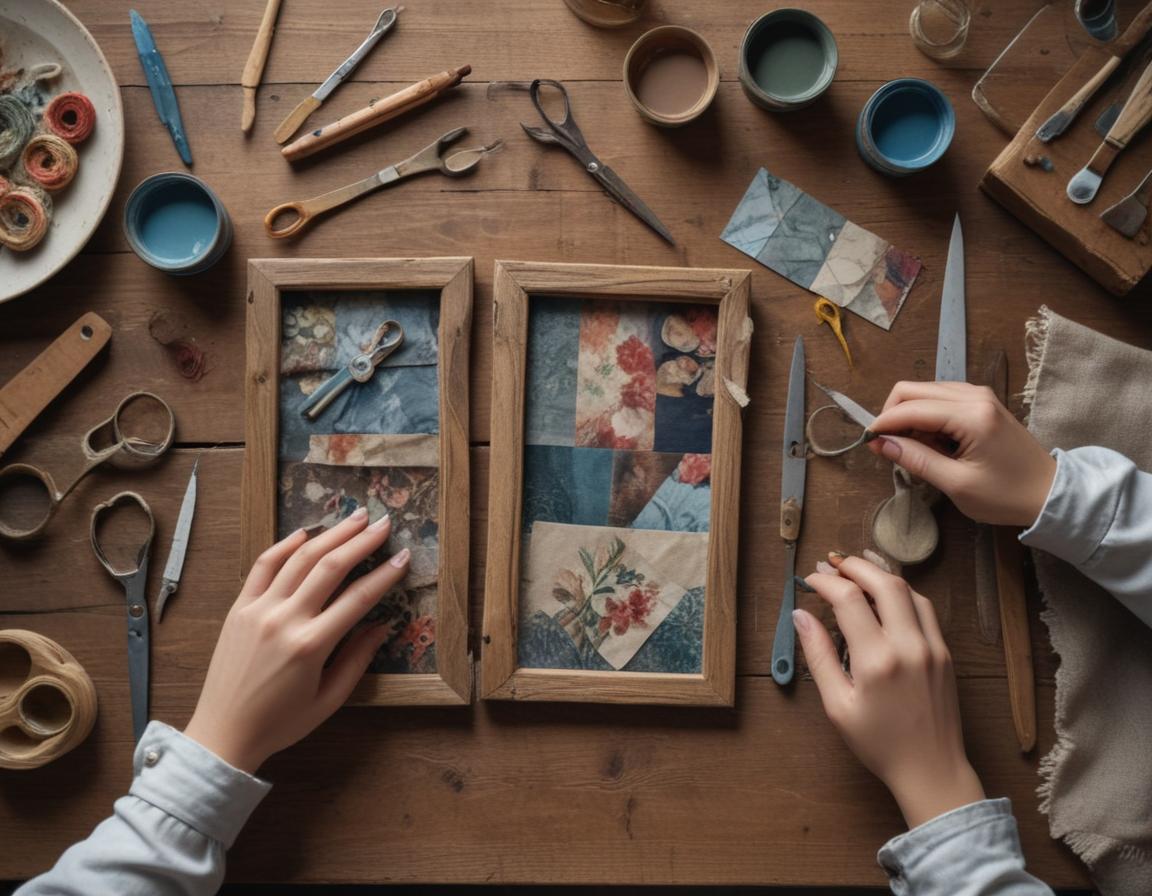
The first step to crafting stunning DIY wall art is gathering the necessary materials. Start with wooden or canvas frames, which you can purchase at craft stores or repurpose from old décor items. Choose acrylic paints or spray paints in colors that match your preferred aesthetic. Here’s a quick checklist of essential materials:
- Wooden or canvas frames
- Acrylic paints or spray paints in your desired colors
- Patterned paper, fabric swatches, or textured materials
- Adhesive sealants like Mod Podge
- Crafting tools: scissors, brushes, and craft knives
By carefully selecting your materials, you’re setting the stage for a successful and inspiring DIY project. This step not only fosters a hands-on connection with the craft, but also opens up endless possibilities for experimenting with colors, patterns, and textures!
Planning Your Wall Art Design
Once you’ve gathered your materials, the next step is to plan your wall art design. Begin by deciding on a theme or mood you want your artwork to convey. Do you love calm botanical prints, vibrant abstract shapes, or sleek geometric lines? Here’s how to make the most of this stage:
- Choose a style that complements your room’s existing decor.
- Experiment with color palettes to find the perfect combination.
- Sketch your ideas on paper to visualize your design layout.
This is the perfect stage to unleash your creativity and ensure all elements of your artwork work harmoniously together. A well-planned design is the foundation of a standout piece of wall art!
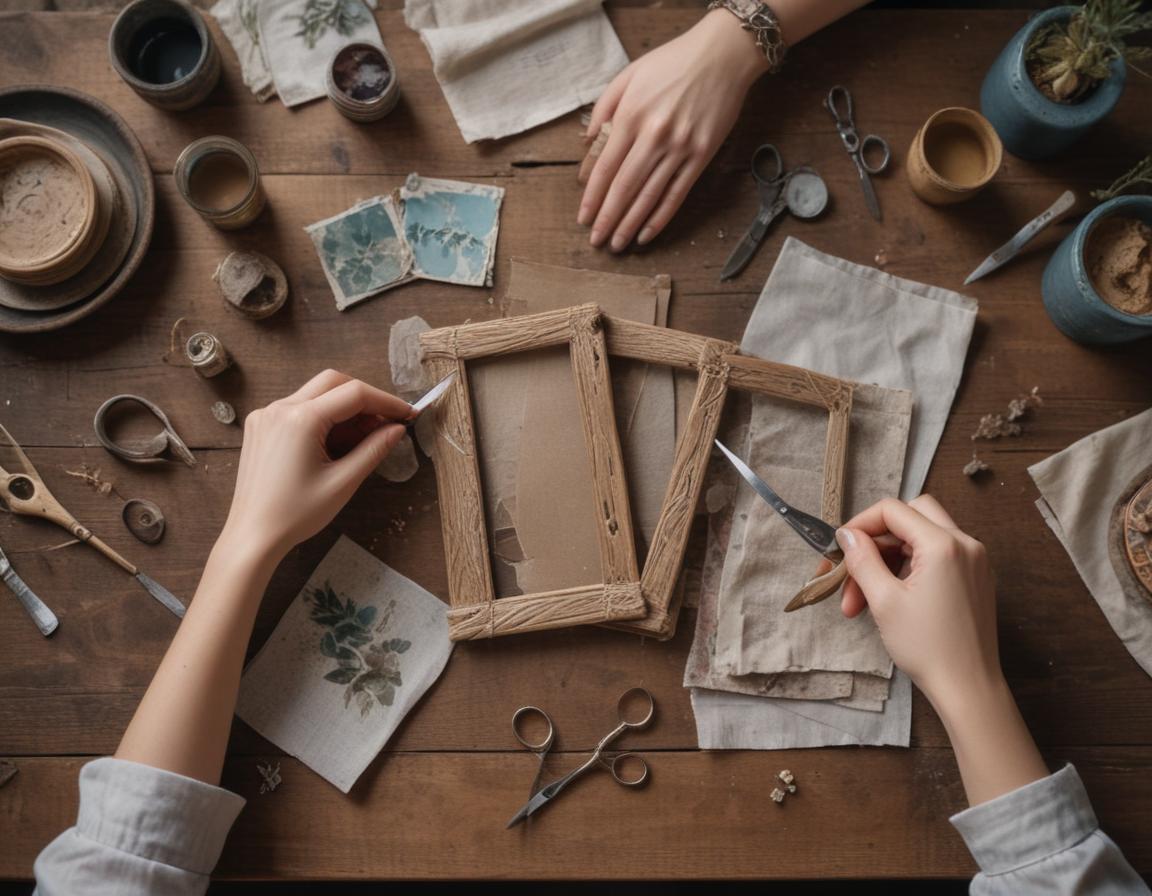
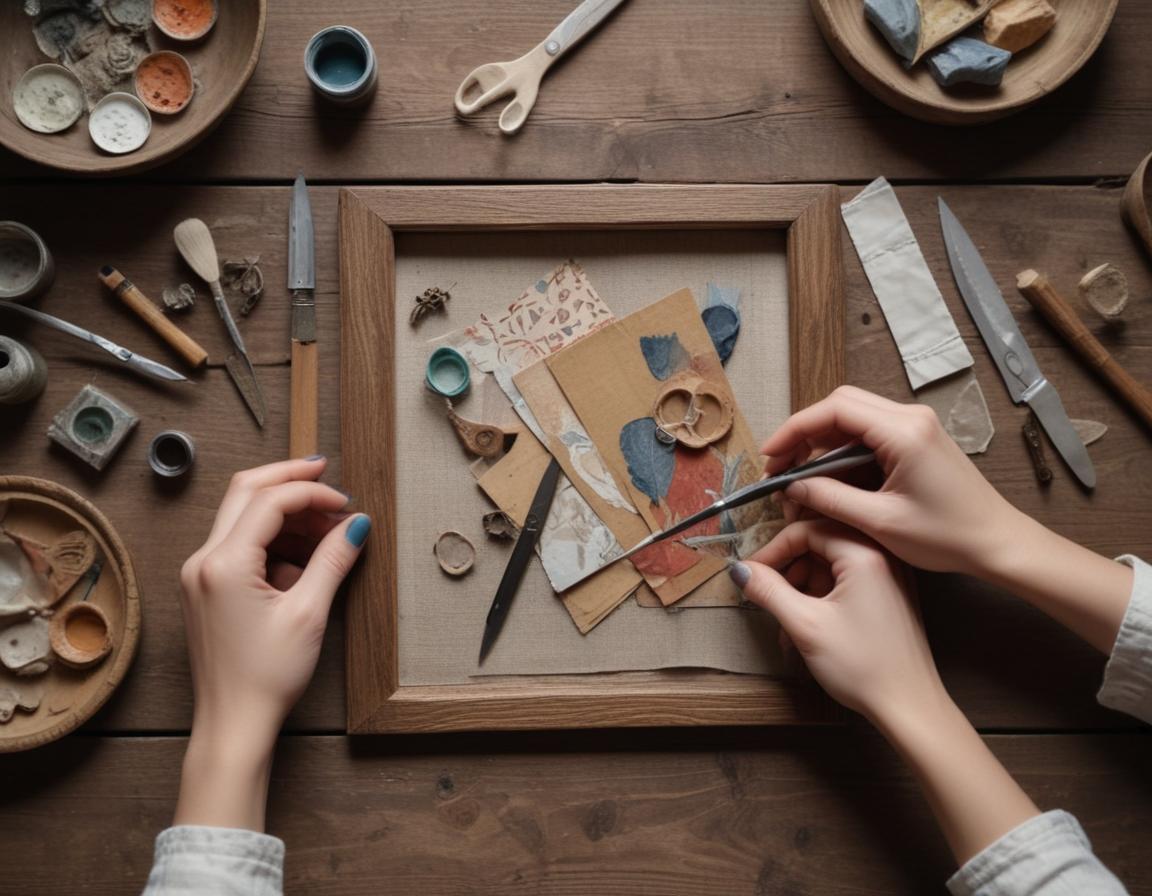
Preparing the Base of Your Artwork
Once your design plan is finalized, it’s time to prepare the base of your wall art. Start by painting your wooden or canvas frames with a base color that will complement the other elements in your design. Acrylic paints are an excellent choice due to their rich texture and quick drying time. Here are a few tips:
- Use painter’s tape to create clean edges and stylish geometric patterns.
- Apply thin layers of paint to avoid streaks and achieve a professional finish.
- Be patient and let each layer dry completely before continuing.
This step is crucial in enhancing the quality of the art and creating a seamless backdrop for your masterpiece to shine!
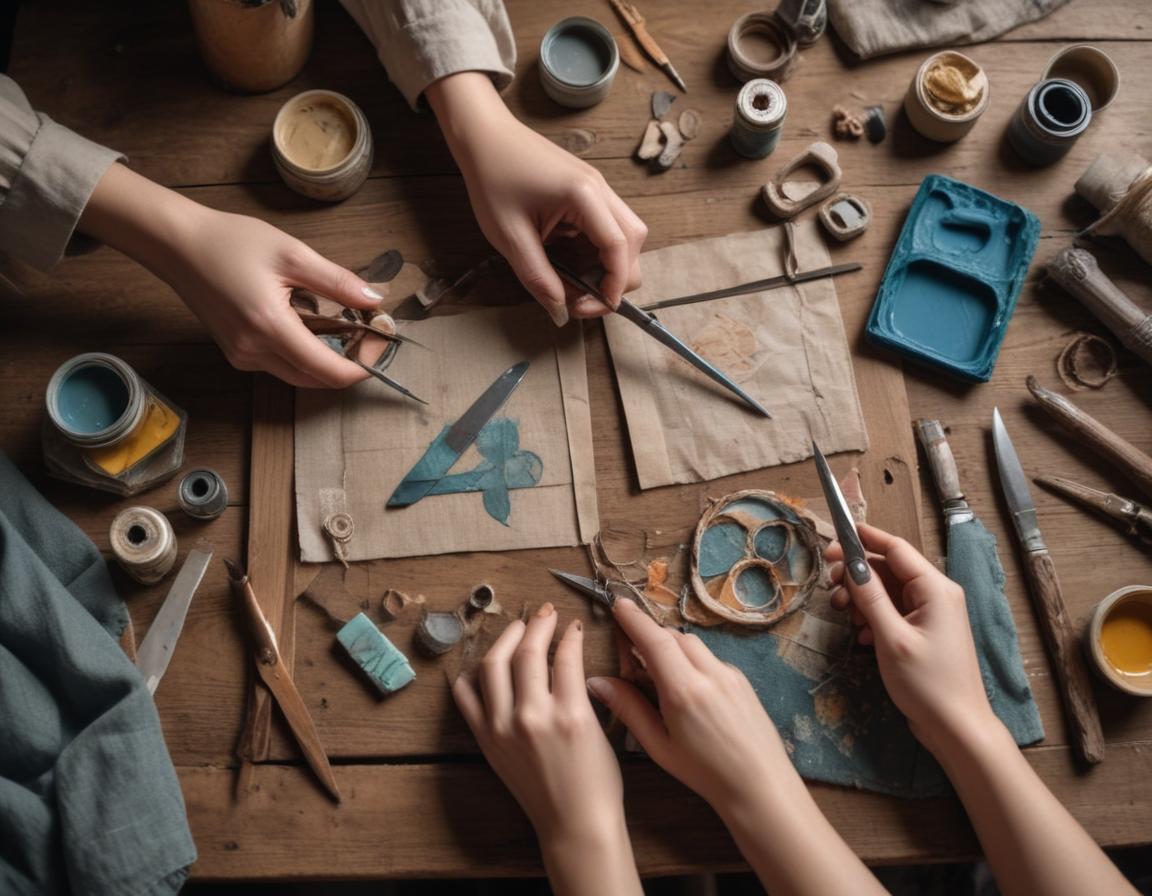
Adding Layers and Texture to Your Art
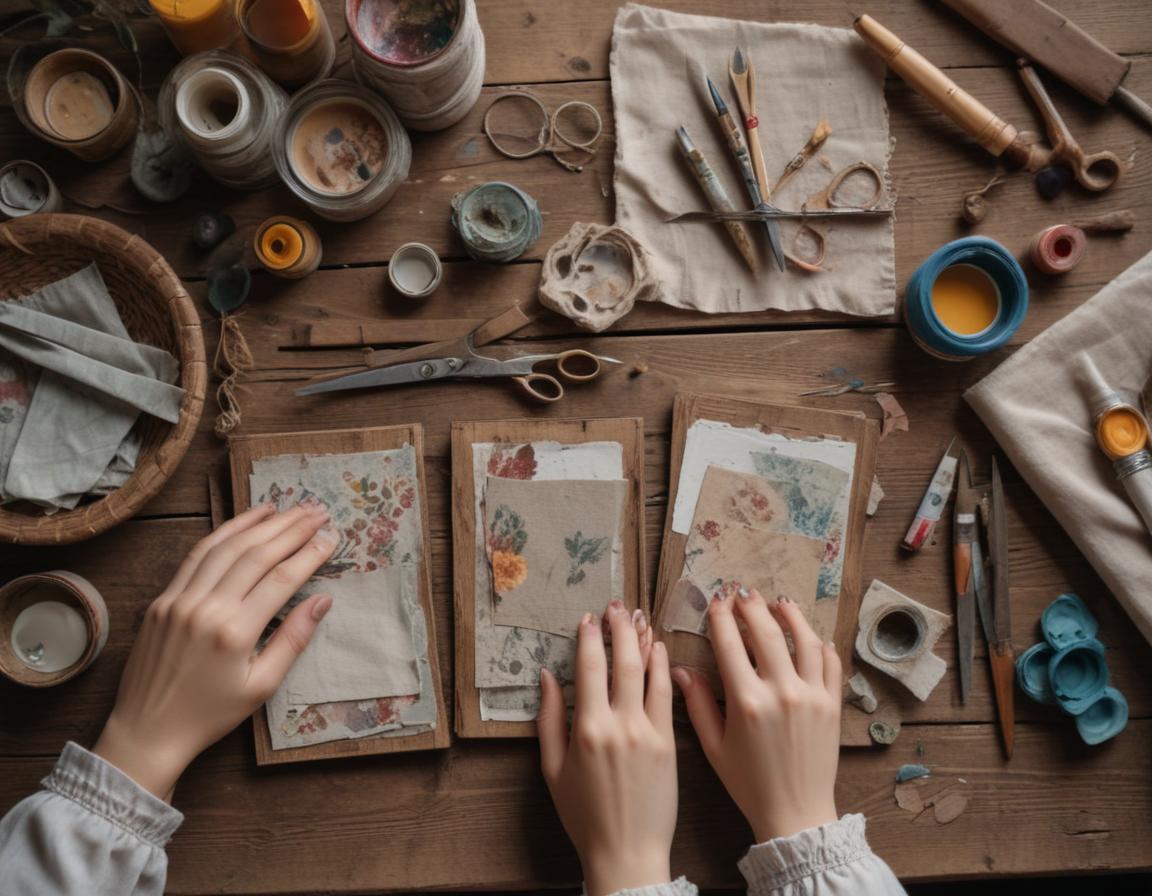
Now comes the fun part—assembling and layering the components of your artwork! Use fabric shapes, patterned papers, or other textured materials to add dimension. Here’s a step-by-step process for layering:
- Cut your decorative elements into shapes that complement your design.
- Use Mod Podge to attach fabric or paper to your canvas.
- Incorporate hand-drawn doodles, stencils, or unique embellishments like beads.
Layering gives your wall art a one-of-a-kind, three-dimensional look. This is your opportunity to experiment and infuse your art with your personal creative flair!
Finishing Touches and Sealing Your Masterpiece
Once all the layers of your art are in place, it’s time to apply the finishing touches. Take a brush and apply a protective layer of Mod Podge or clear varnish over your artwork. Here’s why sealing is essential:
- It enhances vibrancy and adds a polished, professional look.
- Ensures durability, so your piece can last for years to come.
- Protects your wall art from dust and wear.
Allow the sealant to dry completely before handling or hanging. This final step elevates your masterpiece and ensures it’s ready to display!
Displaying and Showcasing Your DIY Wall Art
With your artwork complete, the last step is finding the perfect spot to showcase your DIY wall art. Here are a few ideas:
- Hang it as a centerpiece on a prominent wall in your living room or bedroom.
- Group multiple pieces together for an eye-catching gallery look.
- Switch out your displays seasonally to keep your decor looking fresh.
Your handmade wall art not only enhances your home’s aesthetic but also serves as a meaningful, conversational piece. Display it proudly and let it spark conversations with guests!
“`