

Transform Old Furniture into Unique Home Decor with Upcycling
Transform Old Furniture into Unique Home Decor with Upcycling
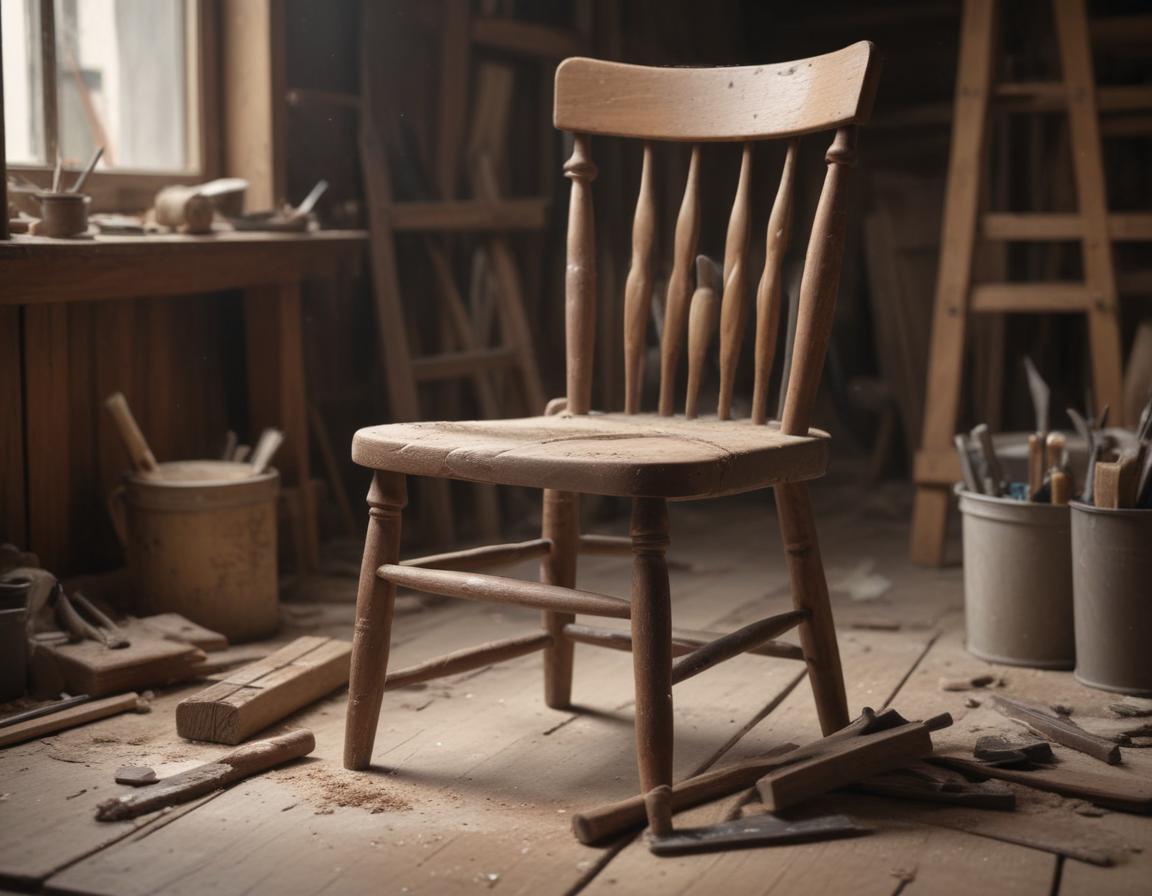
Why Upcycling is the Trend of the Moment
In a world increasingly conscious of sustainability, upcycling has emerged as a leading trend in home decor. Instead of throwing out old furniture, why not turn it into a centerpiece? Upcycling is cost-effective, reduces waste, and allows you to create pieces unique to your personality. Old wooden chairs become brightly painted works of art, and scratched tables gain new life with a coat of stain. It’s not just about aesthetics—it’s about giving meaningful purpose to items that might otherwise clutter landfills. Plus, the process of upcycling is both fun and rewarding.
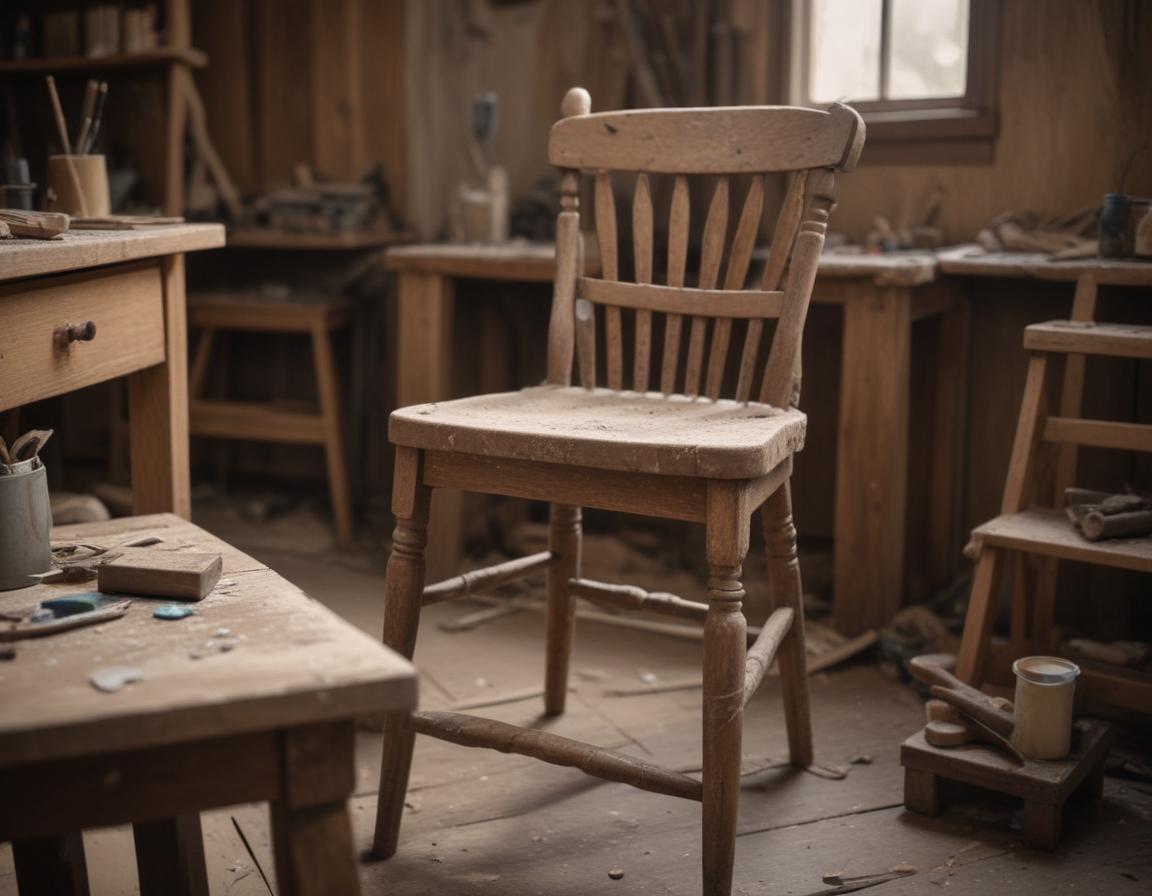
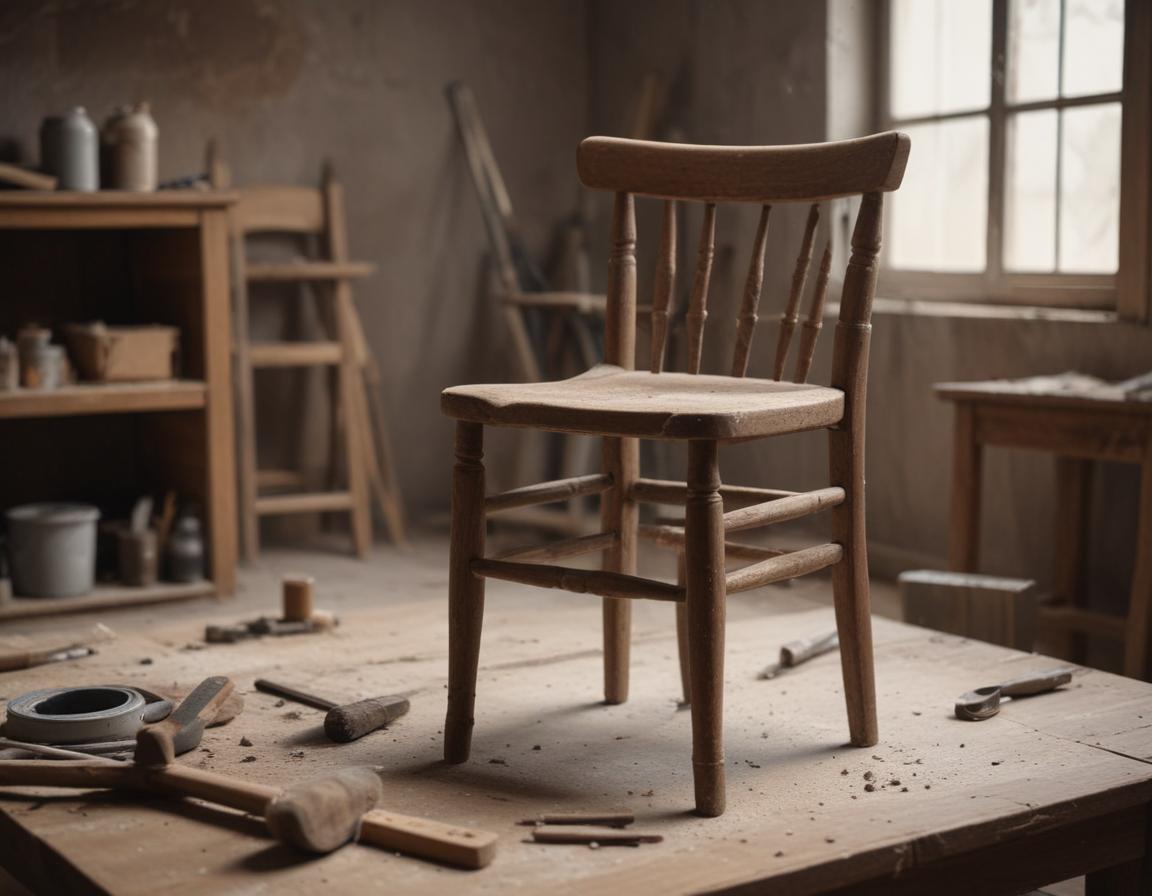
Essential Tools for Your Upcycling Adventure
To get started with upcycling, you’ll need a few basic supplies:
- Old furniture: Dig out wooden chairs, tables, or dressers ready for a makeover.
- Tools & materials: Sandpaper, paintbrushes, protective varnish, and a vibrant palette of paints or stains.
- Add-ons: Stencils, woodworking tools, or decorative decals can give your project a professional or artistic touch.
With these on hand, your workspace becomes a creative haven where ideas come to life!
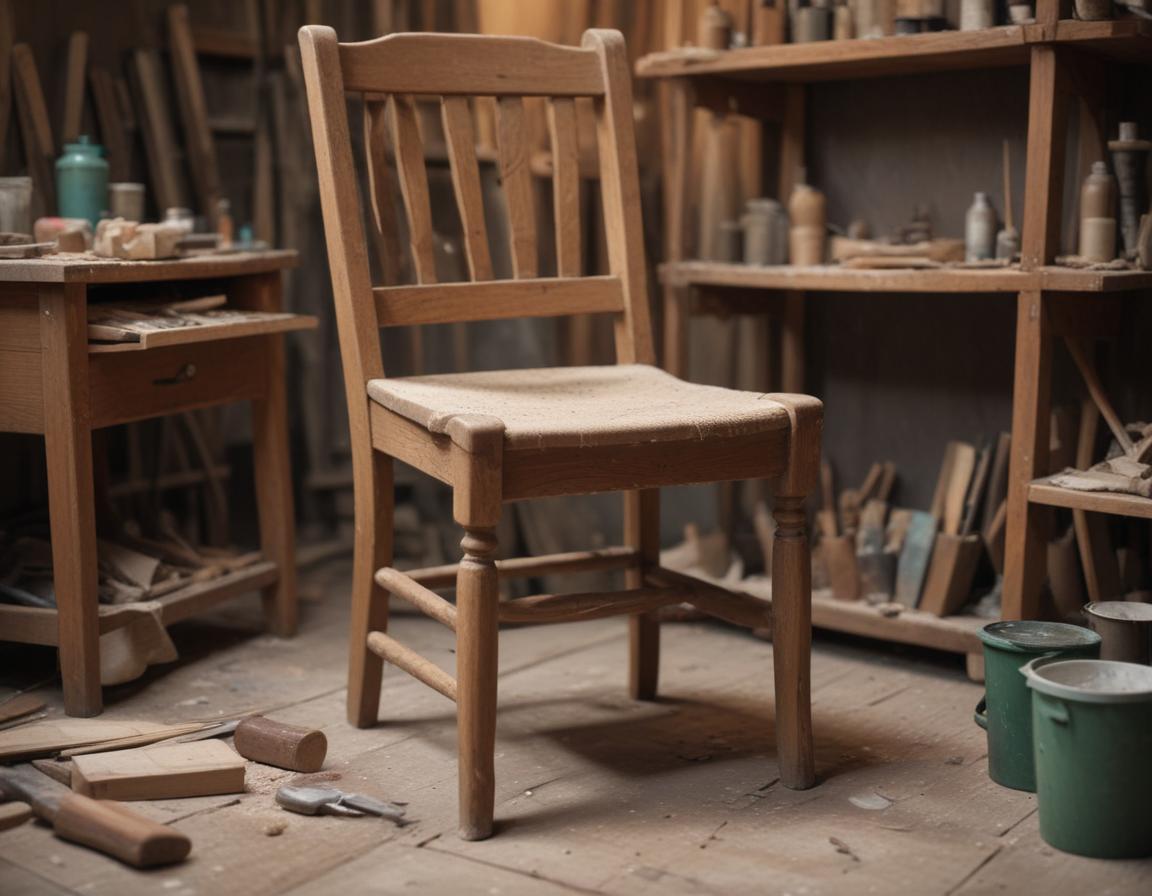
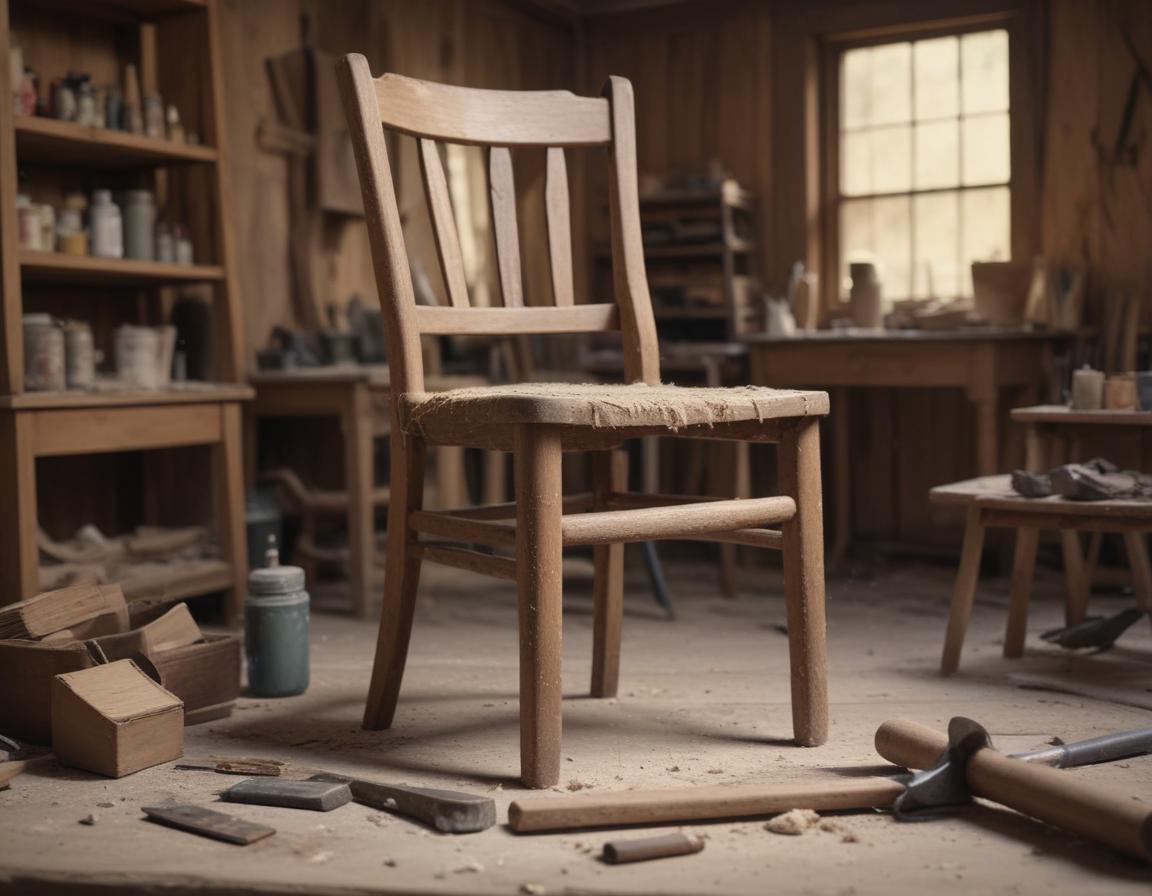
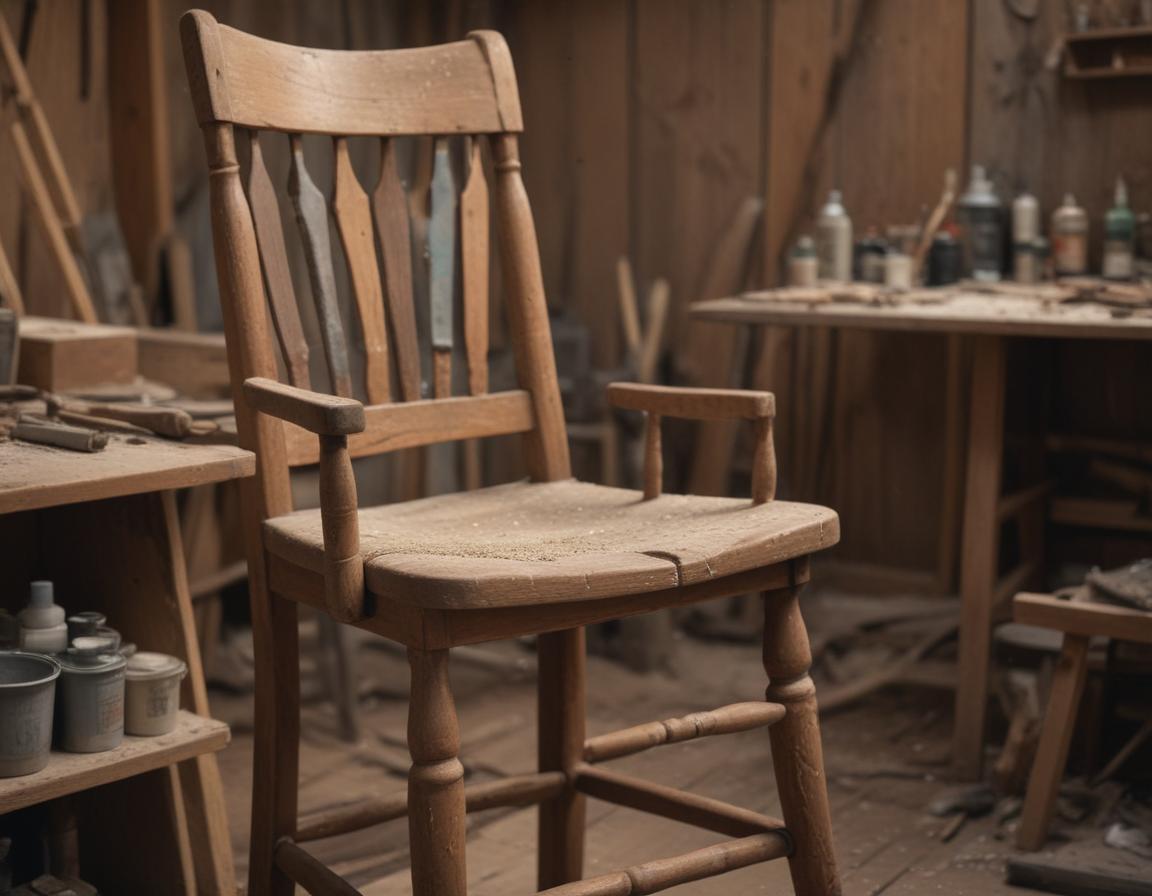
Step 1: Preparing Your Furniture for Upcycling
Preparation is everything when it comes to upcycling:
- Begin by thoroughly cleaning your furniture. Dust, dirt, or grease can prevent paints and varnishes from sticking.
- Inspect for damages. Tighten loose screws or glue wobbly joints to ensure stability.
- Sand the surface to remove old paint or finishes, creating a smooth base for your new design.
This might not be the most glamorous step, but it ensures your finished piece looks professional and polished.
Step 2: Painting and Personalization
Here comes the creative fun! Painting and personalizing let you truly make the piece your own:
- Pick colors that match your home decor or reflect your personality.
- Experiment with patterns—stenciling or freehand painting can produce intricate designs.
- Let each coat of paint dry before applying the next for a smooth finish.
- Don’t shy away from other creative touches, like upholstery changes, fabric details, or hand-carved elements.
Your imagination is your only limit! Make something that’s not just functional but also a conversation starter in your home.
Step 3: Protecting and Sealing Your Masterpiece
The final step is all about durability. Finish your project with one last detailed touch:
- Apply a protective varnish or sealant to keep paint from chipping.
- If placing furniture outdoors, use a weather-resistant finish to protect against the elements.
- Choose between glossy or matte finishes based on the look you’re going for.
Properly sealing your work ensures your revamped furniture stays stunning for years to come.
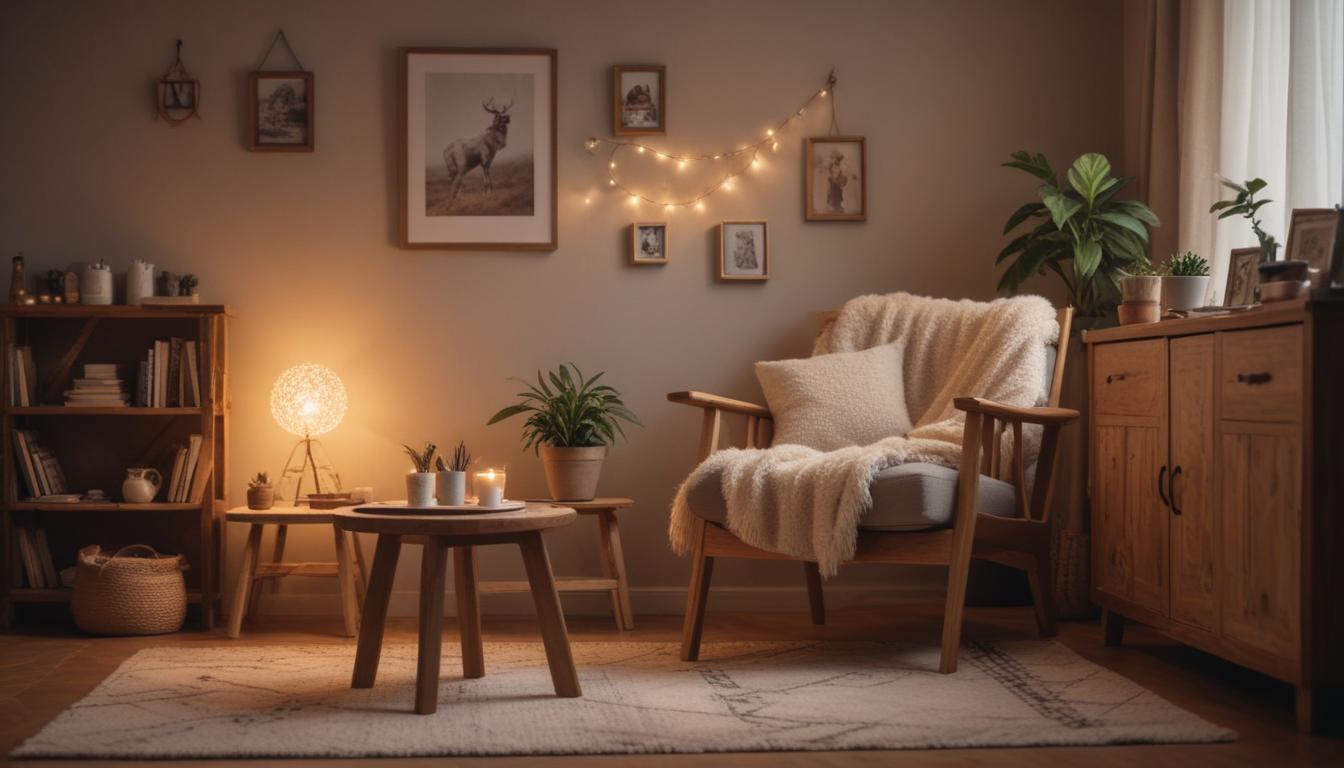
Why Every Home Needs Upcycled Furniture
Upcycled furniture isn’t just about reducing waste—it’s about adding an authentic touch to your home. Every project comes with a unique story and charm. Imagine a painted coffee table sparking a conversation like, “This is amazing! Where did you get it?” and you proudly say, “I made it myself.”
Mass-produced decor might offer convenience, but upcycled furniture delivers warmth, creativity, and character that mass-produced pieces simply cannot match.
“`