

Transforming a Tired Space: DIY Shiplap Wall Makeover That Wowed
Do you have a blank wall in your home that desperately needs a makeover? Choosing the right accent wall design can transform a dull space into something extraordinary. In today’s blog post, get inspired by Ashley’s incredible DIY journey, where she turned a builder-basic beige wall into a stylish centerpiece with just a few simple tools, plywood strips, and an idea that’s as practical as it is stunning. Stick with us as we guide you through every step of this shiplap wall transformation and offer tips to help you achieve your own stunning DIY success!
Why Choose a Shiplap Accent Wall for Your Space?
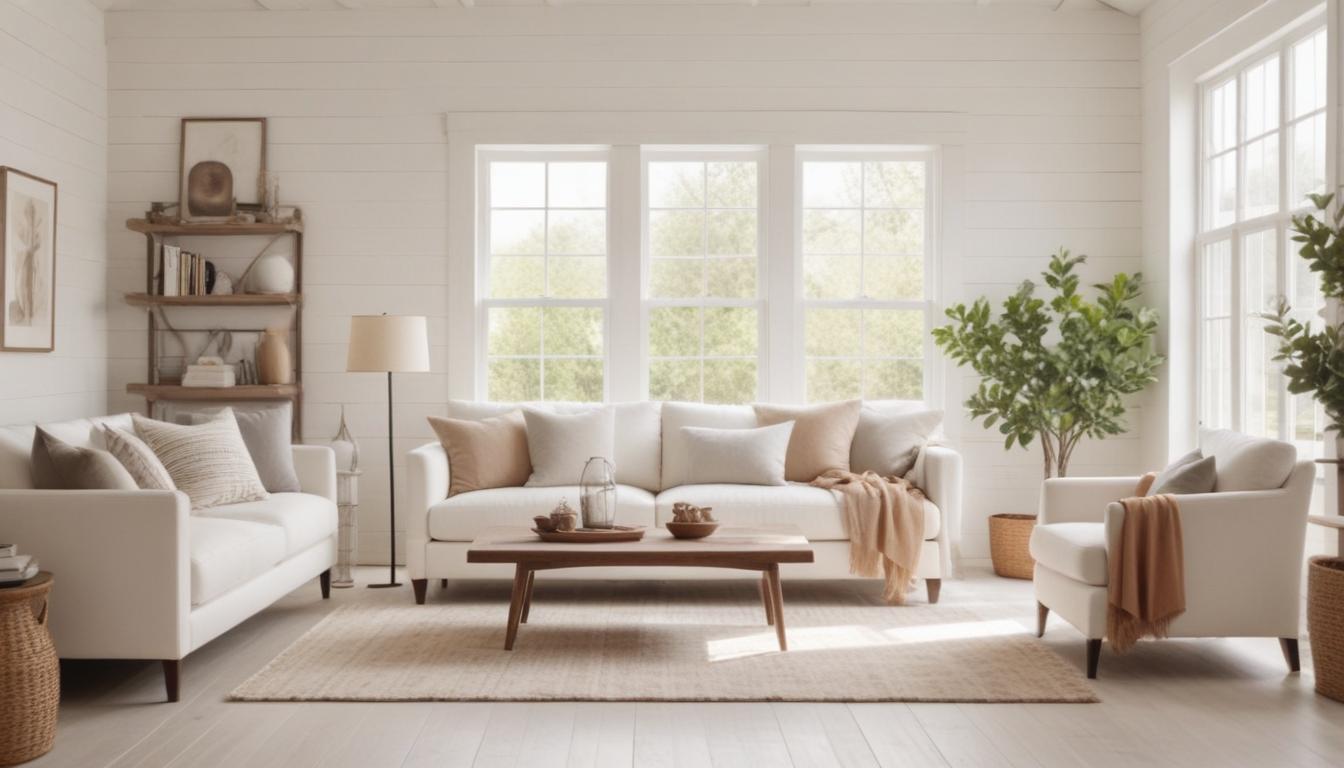
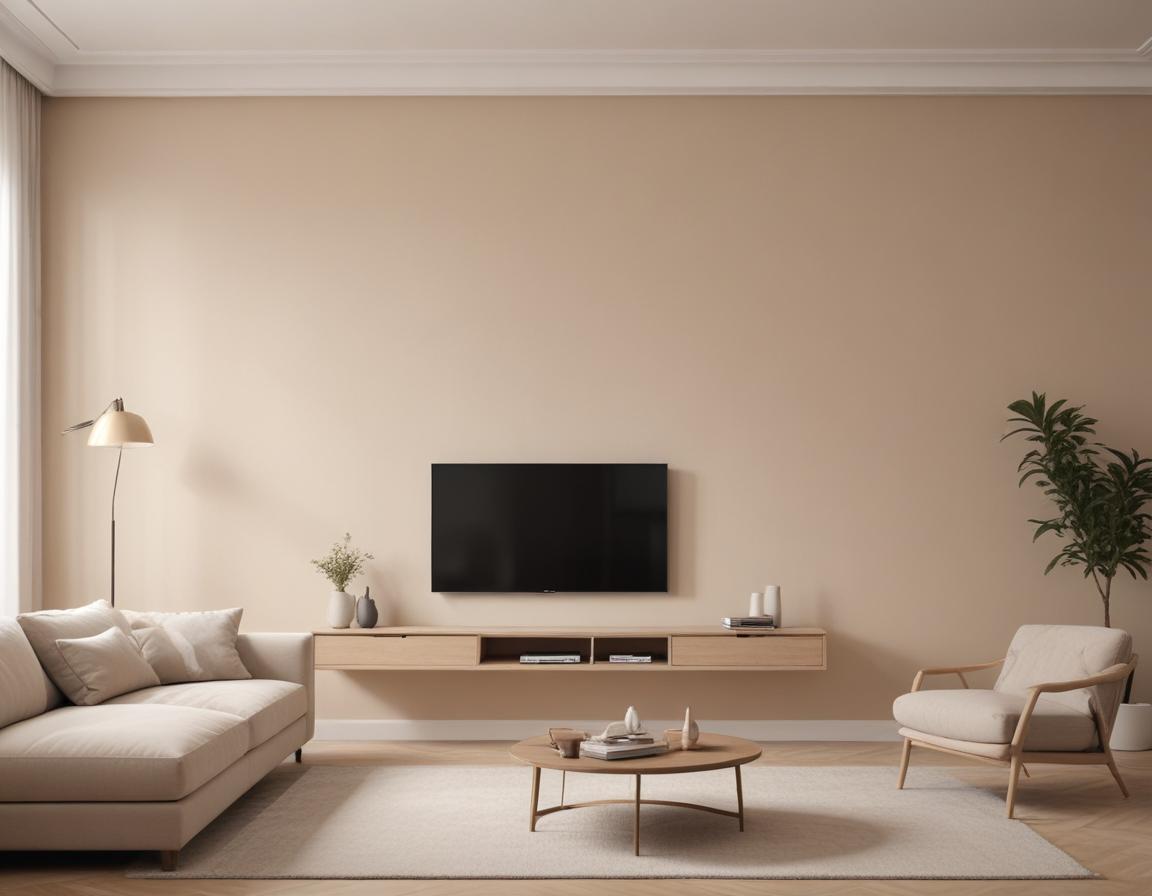
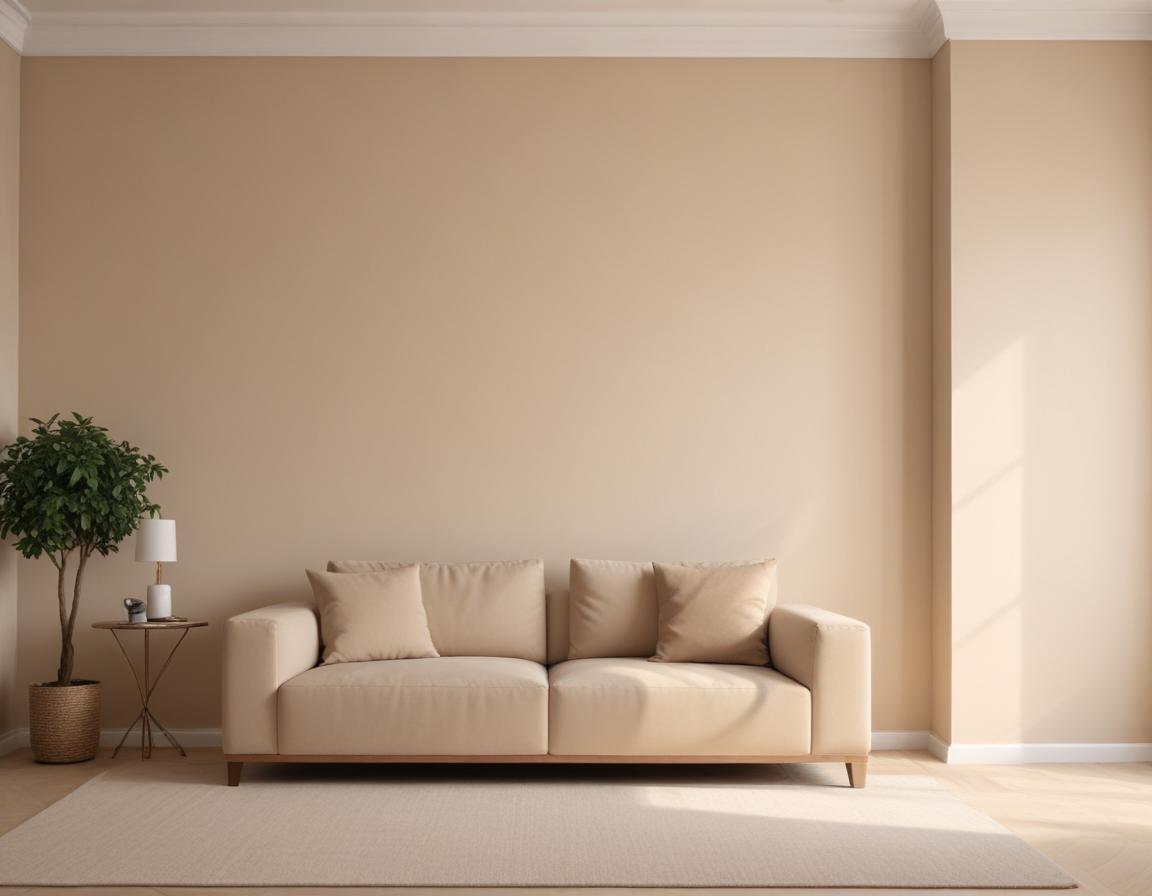
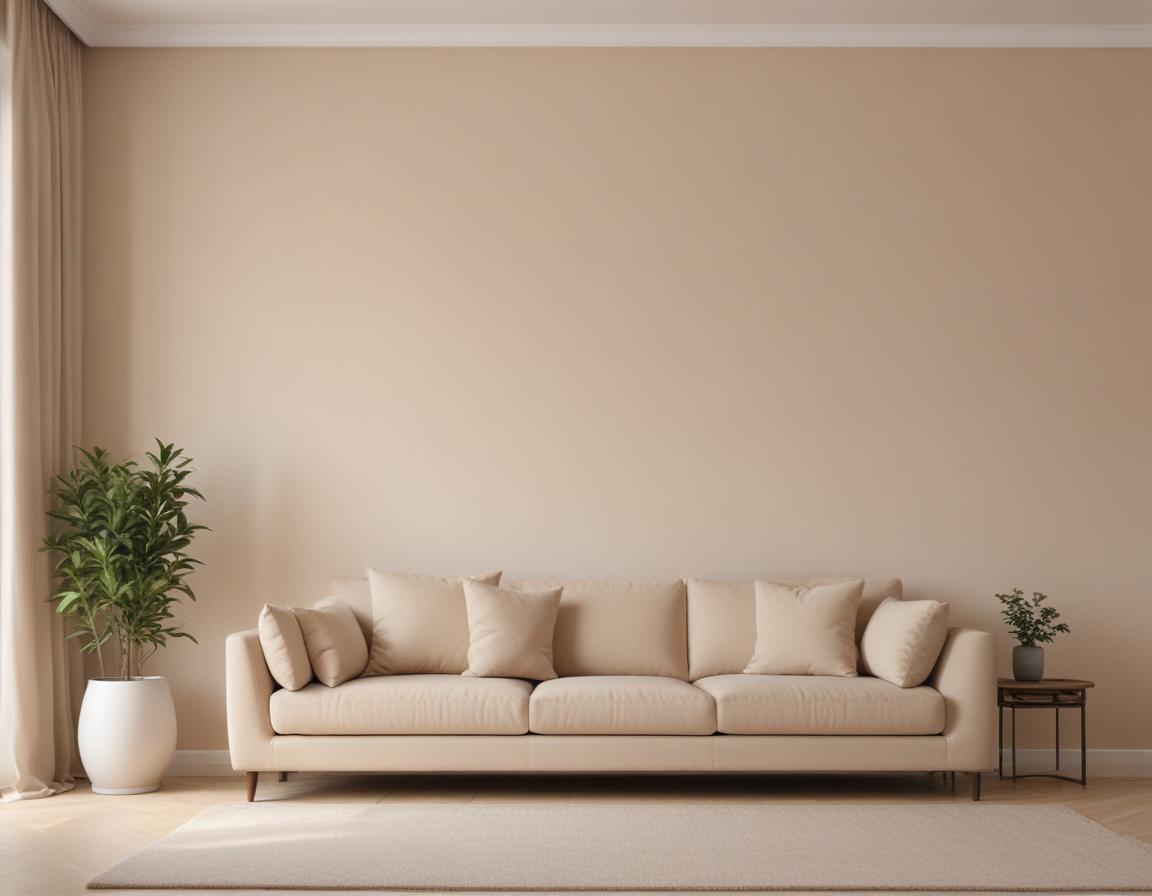
Every home has that one wall—a space that feels overlooked, lacking in character, and begging for attention. Instead of defaulting to painting or hanging generic art, you can breathe new life into your home with a **shiplap accent wall**. But what exactly is shiplap? Known for its timeless design, shiplap consists of horizontal wooden boards separated by subtle gaps, offering a charming yet polished aesthetic.
Its adaptability is one of the reasons to love it. Whether you’re after a cozy farmhouse look, sleek modern vibes, or a rustic touch, shiplap molds effortlessly to your home’s decor. In Ashley’s case, her living room wall went from a forgettable beige stretch to a magazine-worthy design moment. Equipped with **budget-friendly materials** like plywood sheets, a nail gun, and white paint, she pulled off a transformation that anyone can achieve with a little creativity and determination.
Want to envision how shiplap can transform your own space? Let’s break it down step by step.
Step 1: Plan Your Vision – Measuring and Sketching
Any great project begins with a solid plan. Before jumping into her shiplap makeover, Ashley emphasized that **measuring and sketching your layout** is crucial to avoid costly mistakes. She started by carefully measuring her wall to determine how much coverage she wanted, ultimately deciding on the dramatic look of a full-length shiplap finish.
Sketching out the design allowed her to visualize the final outcome and map out material needs. For any DIYer attempting this, having the right tools—like a tape measure, level, and pencil—is a must. A detailed plan ensures fewer surprises, making the actual installation process smoother and stress-free.
Think of this as setting the foundation for your DIY success. After all, great designs stem from great prep work!
Step 2: Choosing the Right Materials – Plywood Strips on a Budget
A common misconception about shiplap is that it needs to be expensive. In reality, budget-friendly alternatives like **economical plywood strips** make this project both affordable and accessible. Instead of splurging on pre-made specialty boards, Ashley sourced plywood from her local store and had it cut into six-inch strips for that clean, horizontal shiplap look.
This flexible material ensured she could stick to her budget while achieving a high-end appearance. Plus, plywood can be painted or stained to match virtually any color palette—giving you creative freedom to customize the wall to fit your decor.
As Ashley shows, it’s less about the cost and more about being resourceful. A bold transformation doesn’t need to break the bank!
Step 3: The Install Process – Precision and Patience Pay Off
With materials prepped, it’s time to move into the exciting stage—installation. Ashley began at the bottom of her wall, using a **nail gun to secure each plywood strip**. To get that signature shadow-line effect, she placed spacers between each board.
Patience and precision are key at this stage. By taking her time to double-check the alignment, she ensured a seamless, professional-grade finish. The best part? Even halfway through the process, you could already see the wall come alive with added texture and dimension.
If you’re attempting this yourself, don’t rush the installation step. Proper alignment not only elevates the room’s design but also guarantees long-term durability.
Step 4: Finishing Touches – From Wood to Wow
Once the boards were securely in place, Ashley added those finishing touches that made all the difference. First, she filled nail holes with wood filler, then lightly sanded the boards to ensure a smooth surface. Finally, the moment of transformation arrived—applying **a crisp coat of white paint**.
This simple step unified the entire wall, concealing imperfections while brightening the room. The result? A wall that feels both fresh and inviting, making it the perfect backdrop for decor, floating shelves, or statement furniture.
It’s incredible how much impact paint can have on a project! If white doesn’t match your aesthetic, the beauty of DIY shiplap is that you can experiment with different hues to find your perfect fit.
Final Look and Key Takeaways for DIY Success
The finished result of Ashley’s project is stunning—a wall that once felt forgotten now serves as a standout feature in her living room. The clean white shiplap bridges modern and rustic styles, making the space feel both cozy and sophisticated. By pairing this accent wall with chic decor and cozy textiles, Ashley redefined her space while staying on budget.
So, what can we learn from Ashley’s DIY success?
- Planning and precision are crucial to achieving great results.
- Affordable materials like plywood sheets can mimic high-end effects.
- A bit of creativity can turn an overlooked wall into a design statement.
Ready to Transform Your Space?
Ashley’s inspiring journey proves that with the right tools, a clear vision, and a touch of patience, you can create your dream space without heavy costs or major renovations. Why wait any longer? **Grab your supplies**, follow step-by-step guides, and bring your own transformation to life.
Looking for more tips? Be sure to check out Ashley’s full tutorial for additional details and tricks to perfect your DIY process. Happy creating!