

How to Give Old Furniture a Modern Makeover with DIY Upcycling
Upcycling old furniture can be an exciting way to elevate your living space while supporting sustainability. By applying modern techniques and adding creative flair, you can transform outdated or worn-out pieces into stunning showpieces. In this guide, we’ll share essential tips and tricks to help you give your old furniture a new modern life in just a few steps. Let’s dive into the world of DIY upcycling together!
Step 1: Assess and Prepare Your Furniture
It all begins with assessing your piece of furniture. Check its structural integrity—an unstable or damaged piece may require fixes before moving forward. Use tools to tighten loose joints or replace worn-out parts as needed.
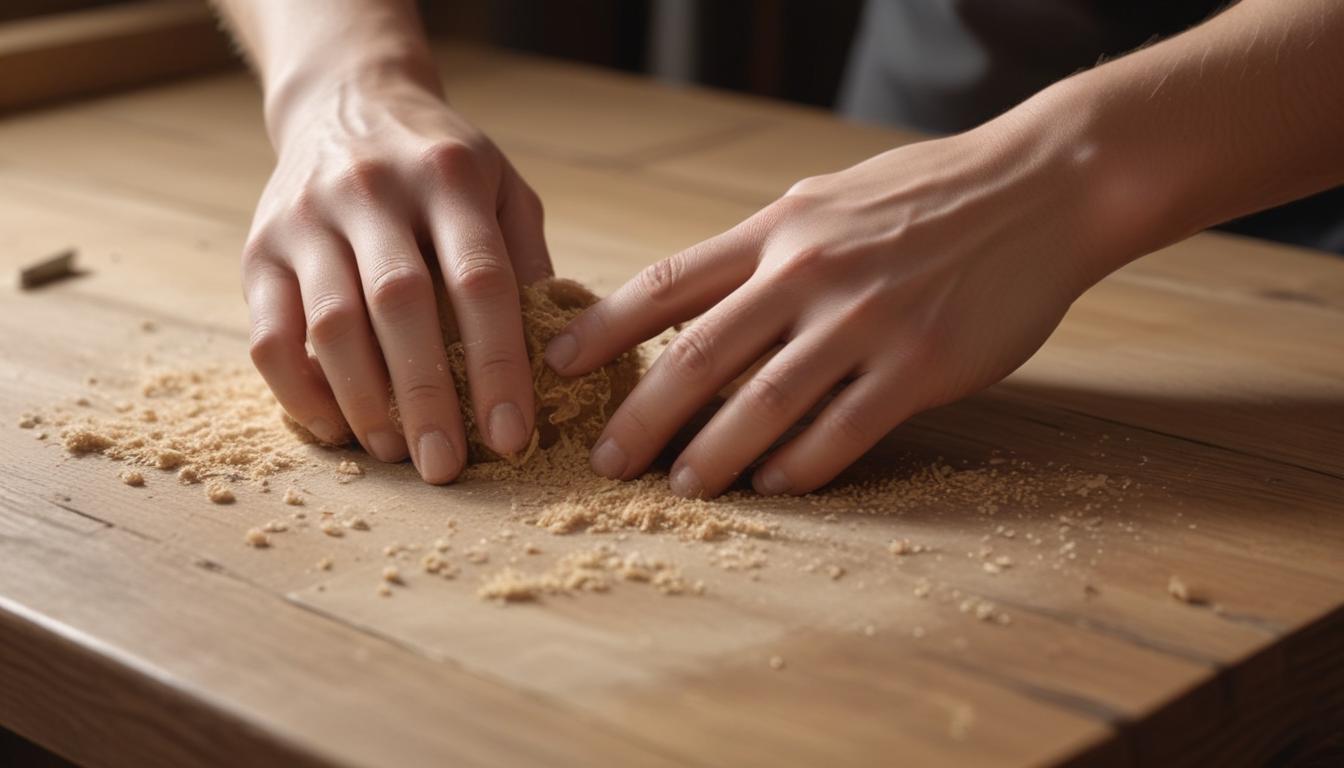
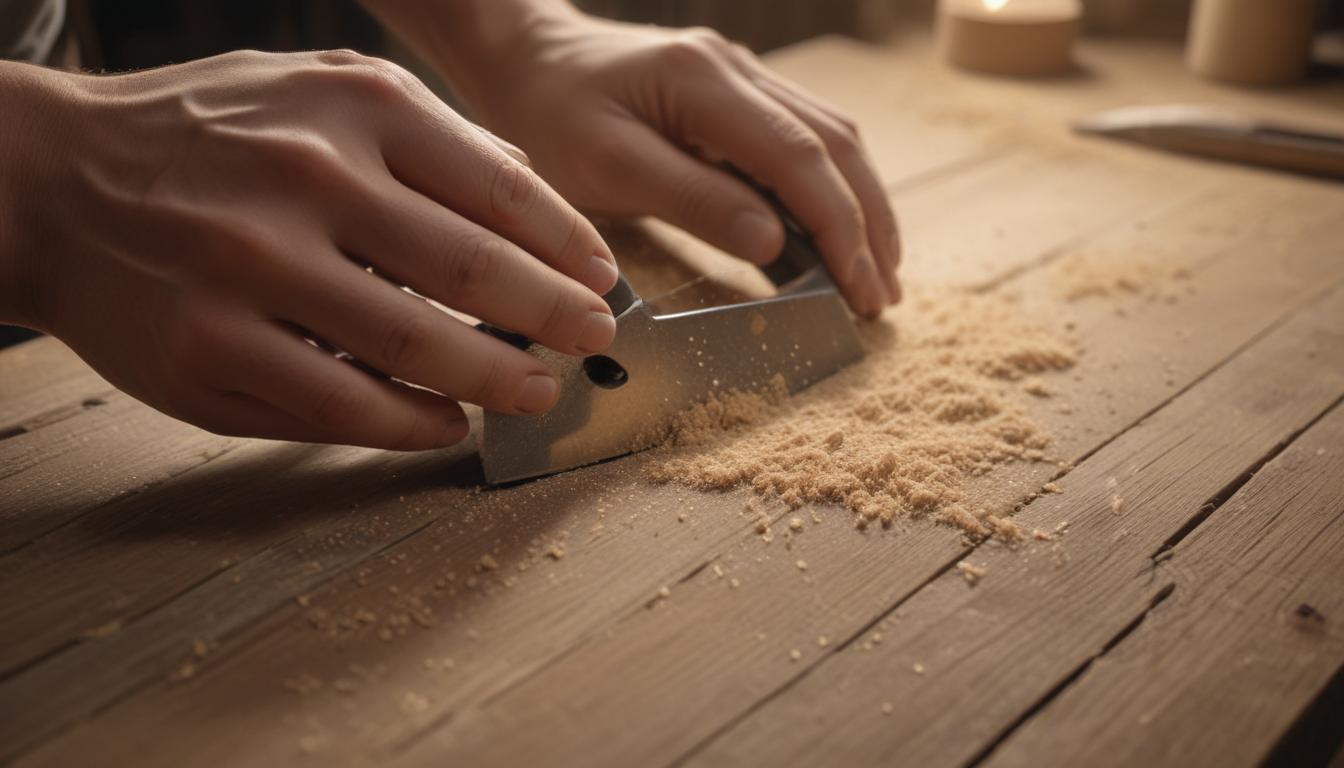
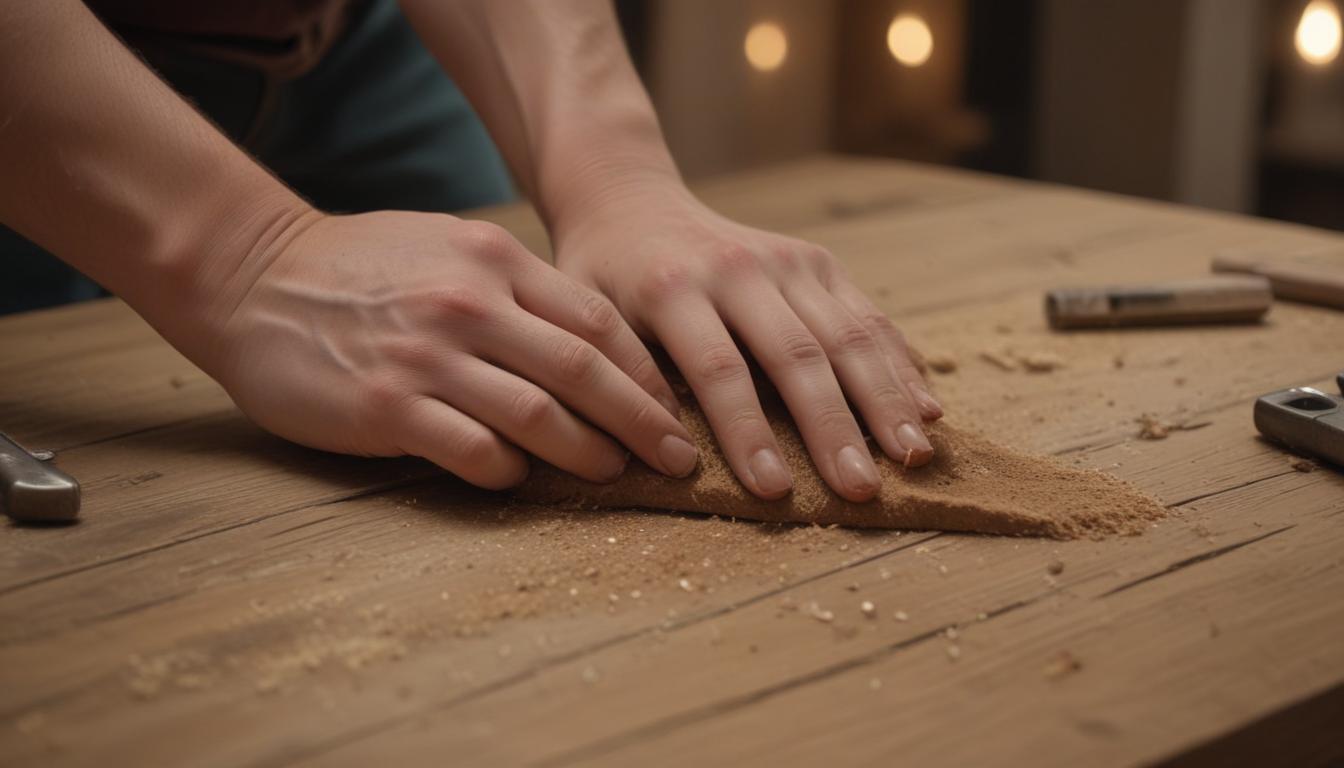
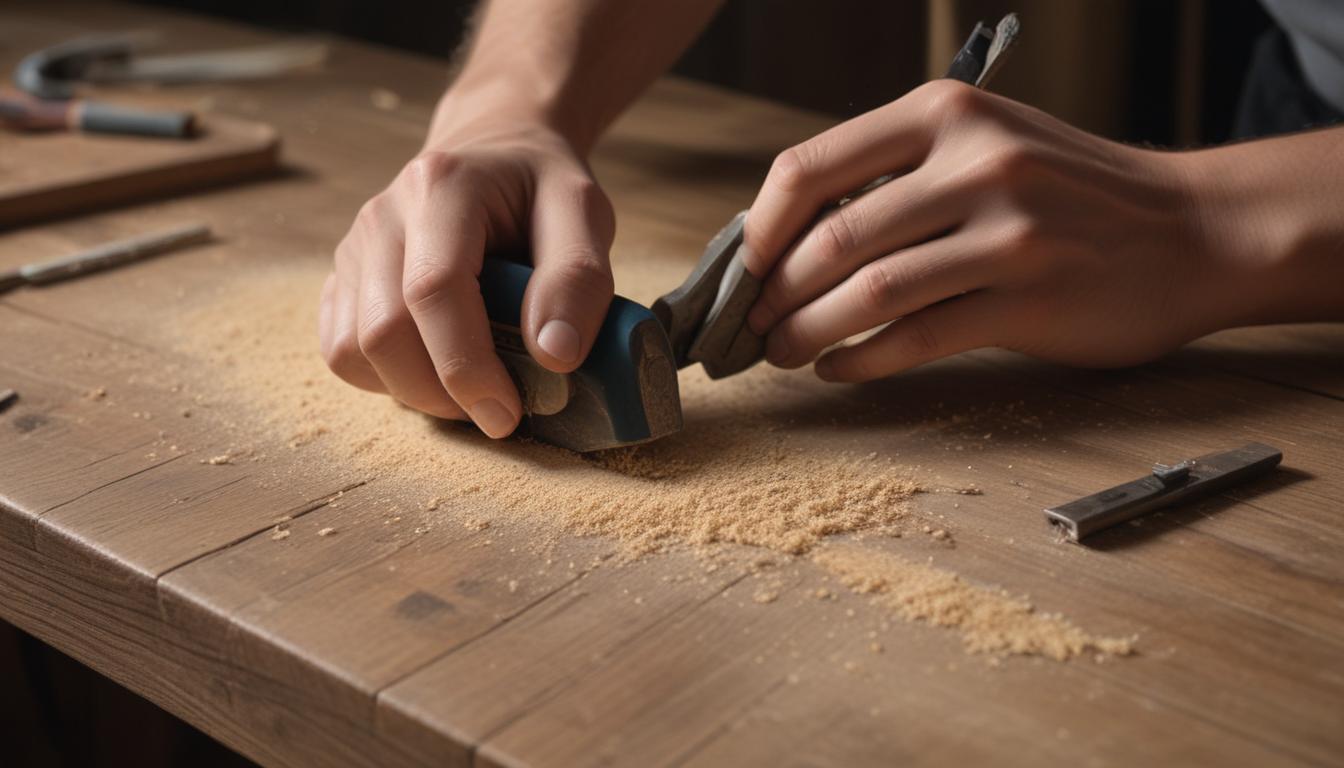
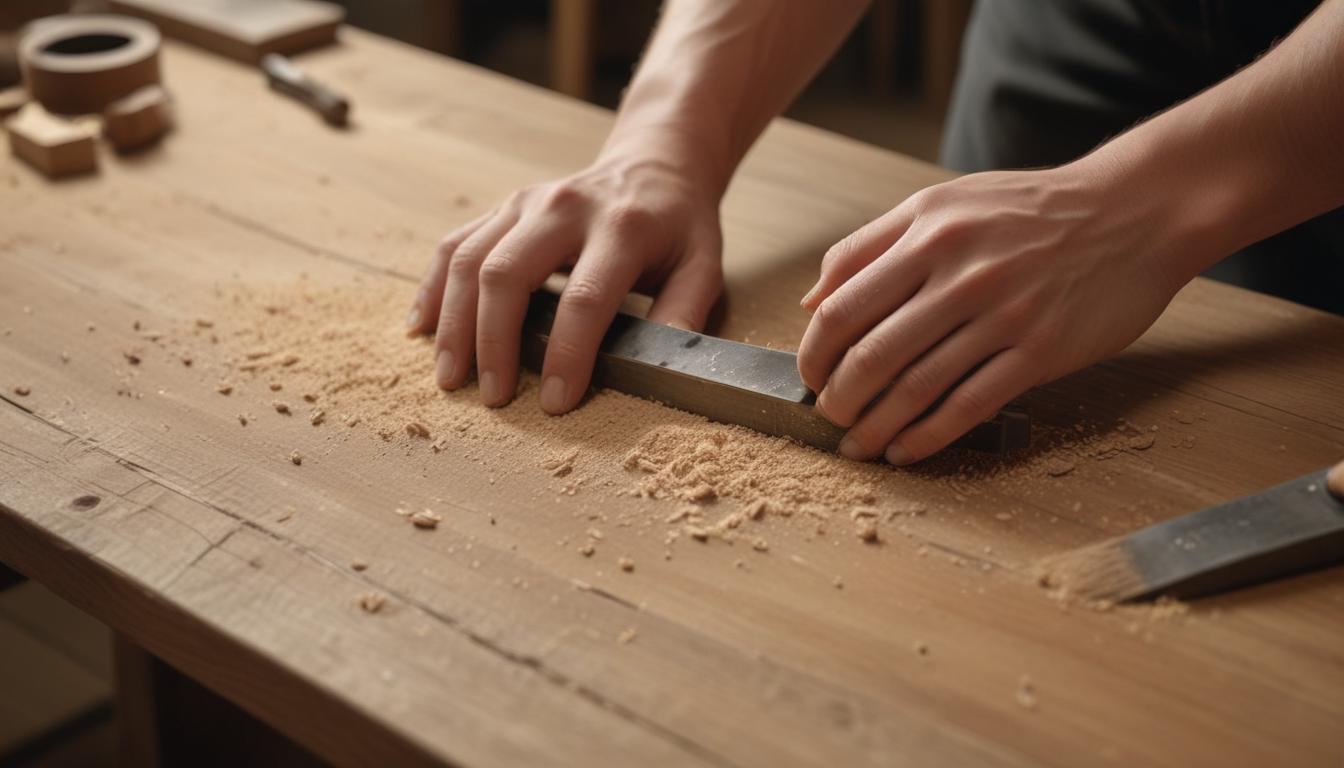
Next, prep your piece for its makeover. Start by sanding surfaces lightly to remove old finishes and create a suitable base for paint or stain. Ensure the furniture is clean and free of dust particles. This preparation phase ensures long-lasting results and prevents peeling or uneven coatings.
Step 2: Add Color and Personality
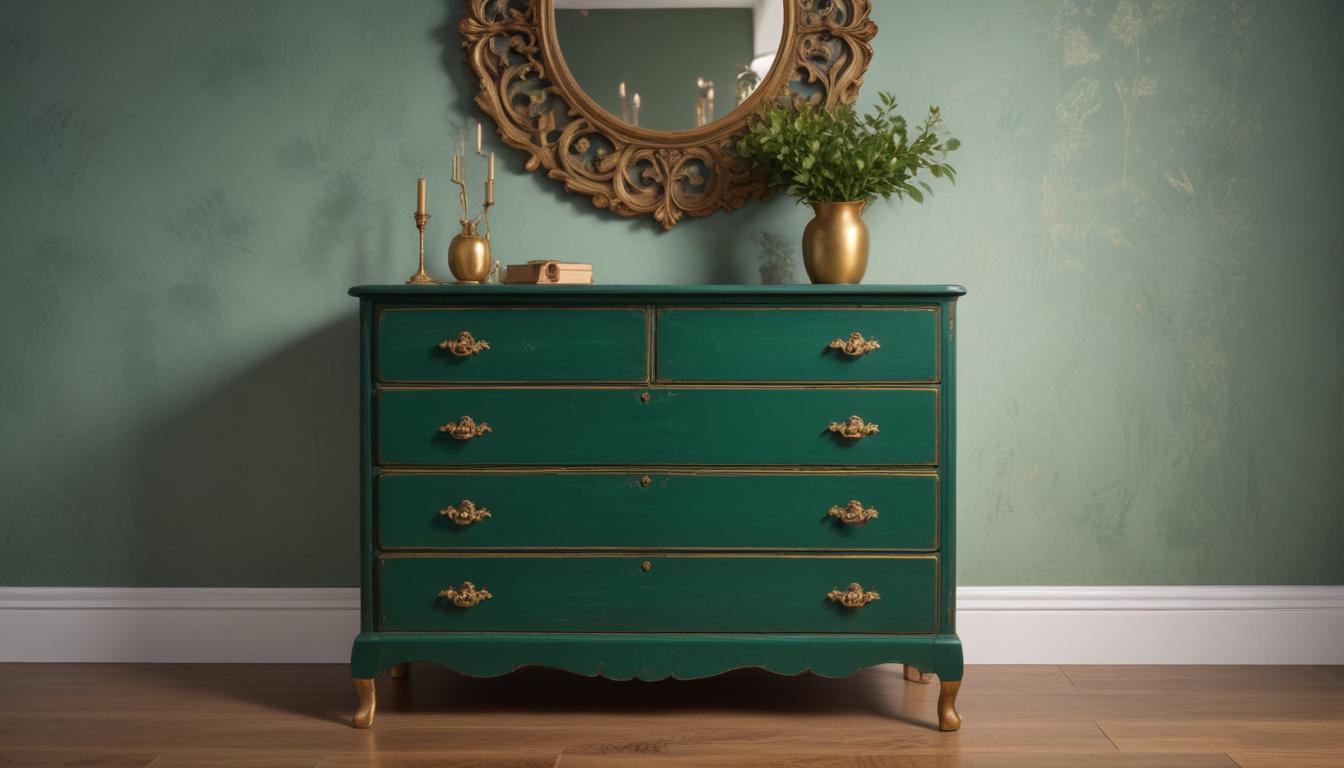
Now comes the fun part—bringing color and creativity to your furniture. Opt for chalk-based paints for easy application without the need for extensive prep. Choose shades that complement your existing decor. For instance:
- Emerald green or pastel tones for a modern yet classic look
- Metallic accents, like gold hardware or stencils, to add luxury
Don’t be afraid to play with patterns or textures for a personal touch. The goal here is to blend personality and style while ensuring compatibility with the furniture’s design and purpose.
Step 3: Seal and Protect Your Work
Adding a protective layer is critical to ensuring durability. Whether wax or polyurethane is used, this step safeguards your work against scratches, spills, and wear over time. A good sealant also enhances the overall look by adding either a glossy or matte finish.
Here are some tips for sealing and protecting your upcycled furniture:
- Apply thin coats with a high-quality brush for a smooth finish
- Allow sufficient drying time between layers
This simple step elevates the piece from a DIY project to a professional-grade makeover.
Step 4: Tools and Accessories to Consider
The right tools and supplies make all the difference when undertaking an upcycling project. For a smooth and efficient process, consider investing in the following essentials:
- High-quality brushes and fine-grain sandpaper
- Non-toxic paints for safety and durability
- Reclaimed wood or upcycled hardware for added uniqueness
You can also explore additional items such as stencils, distress sprays, and decorative trims for an artistic touch. These tools will not only enhance the quality of your work but also allow you to confidently explore new techniques.
Step 5: Showcase Your Creativity
One of the most exciting aspects of upcycling is the endless possibilities for customization. Showcase your creativity by mixing materials and styles. Try pairing:
- Rustic reclaimed wood with bold, modern colors
- Vintage knobs and metallic accents for a nostalgic touch
Experimentation is all part of the process, and documenting each step can serve as both inspiration for others and a lasting memory of your work.
With a touch of imagination, you can transform what was once an old, unloved piece into a stunning conversation starter for your home.