

Crafting a Charming DIY Home Decor Project: A Step-by-Step Guide
Transform your living space with a stunning DIY project that combines practicality, style, and sustainability. Using reclaimed wood, you can create charming shelving units that suit your home decor while showcasing your personality. Whether you’re an experienced DIYer or someone looking for a simple, creative outlet, this guide will walk you through every step of the process. Ready to start crafting? Let’s jump in!
Step 1: Preparing the Wood
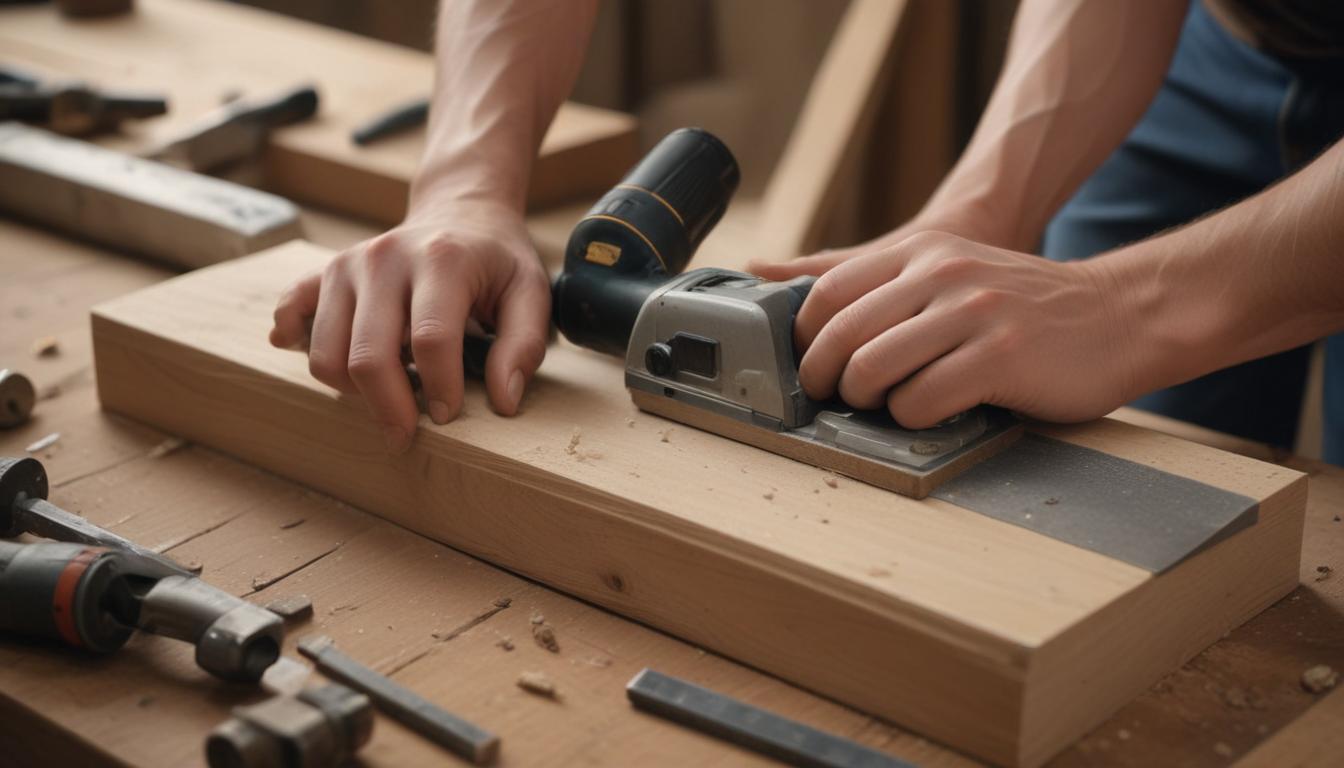
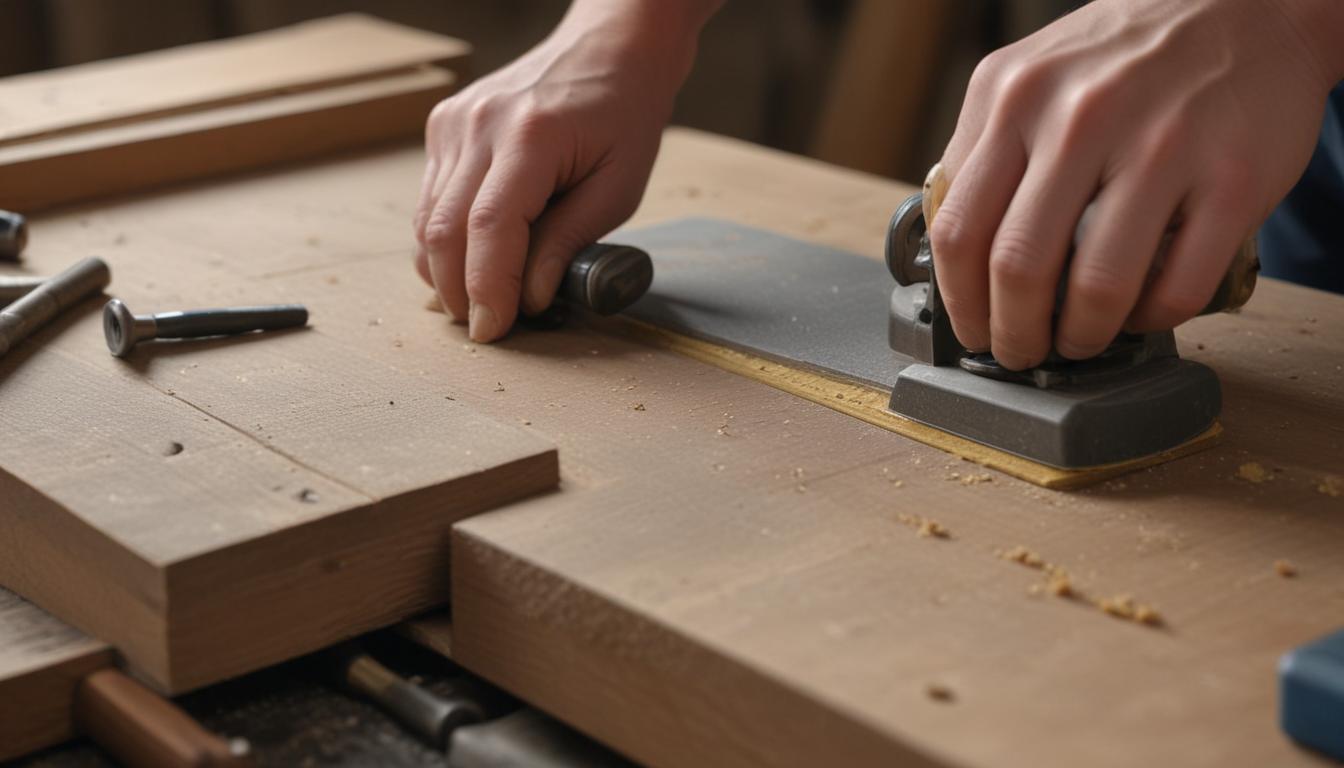
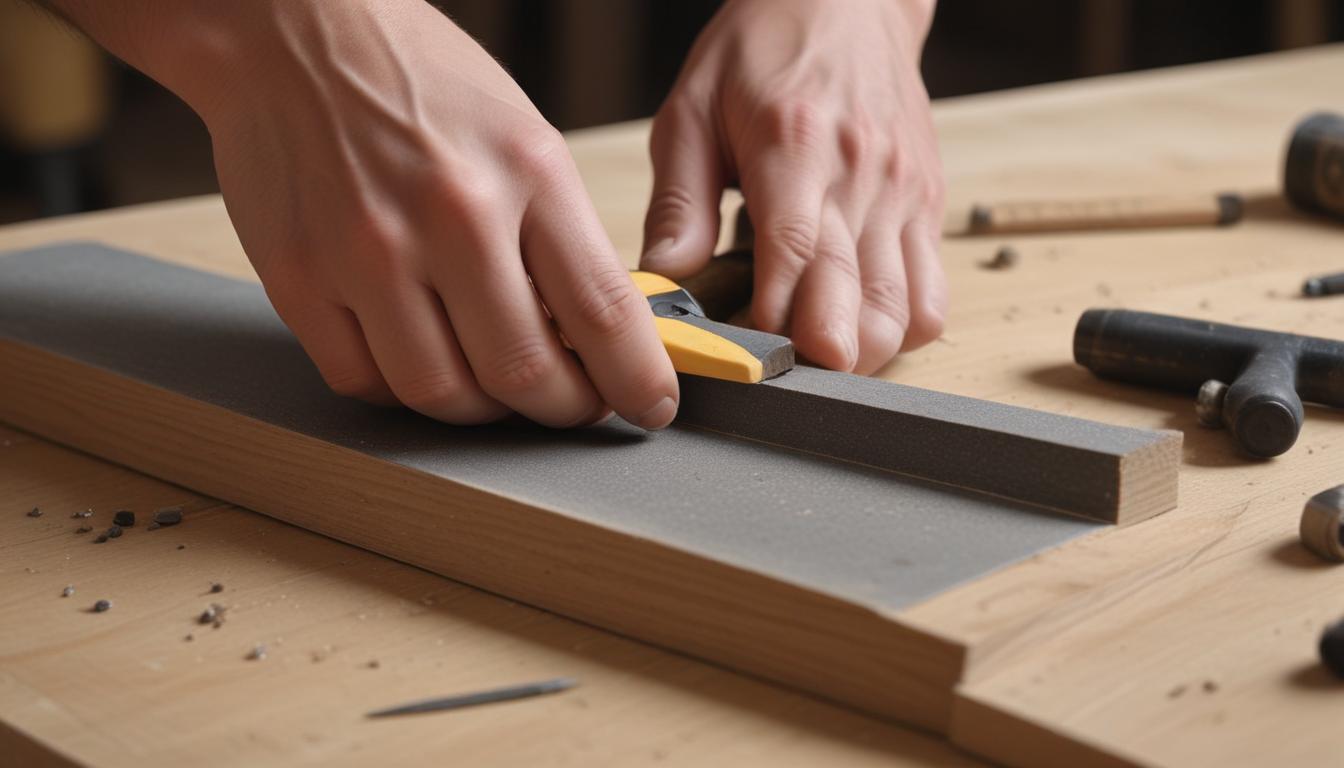
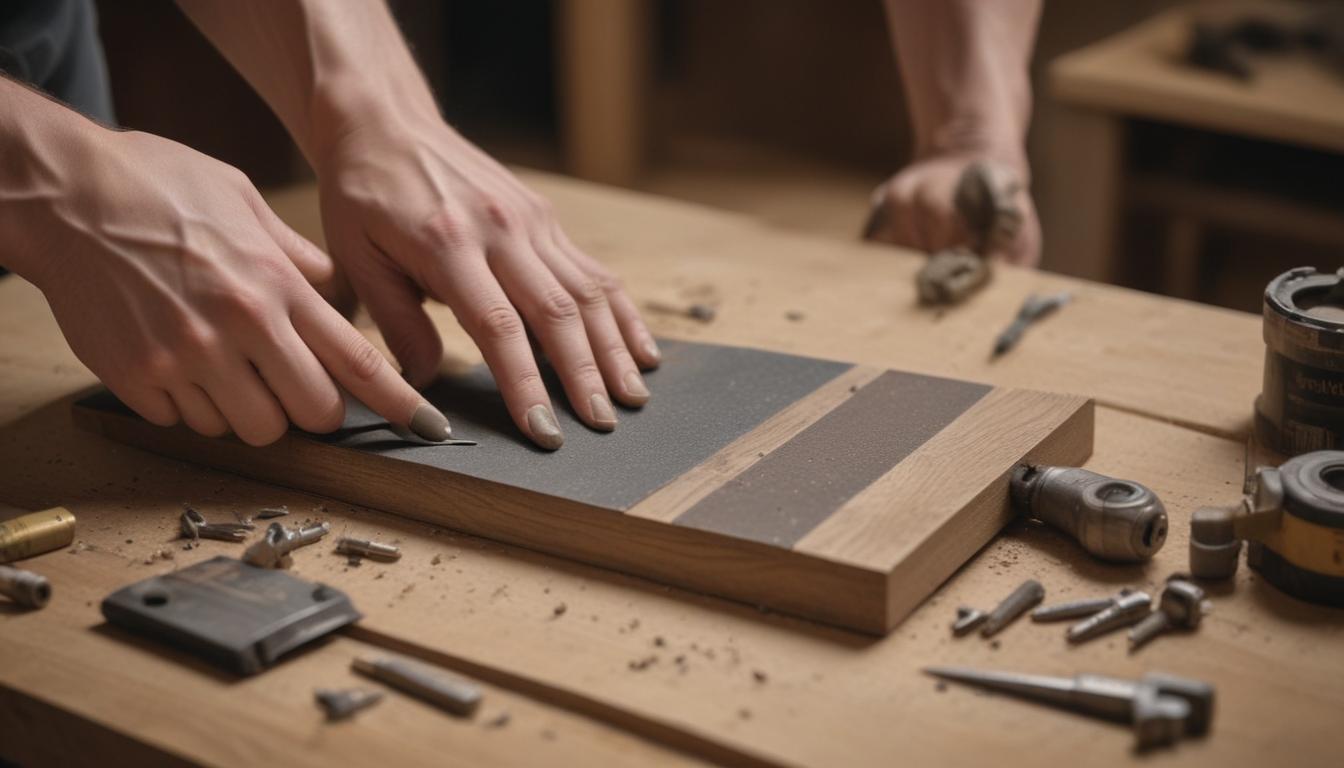
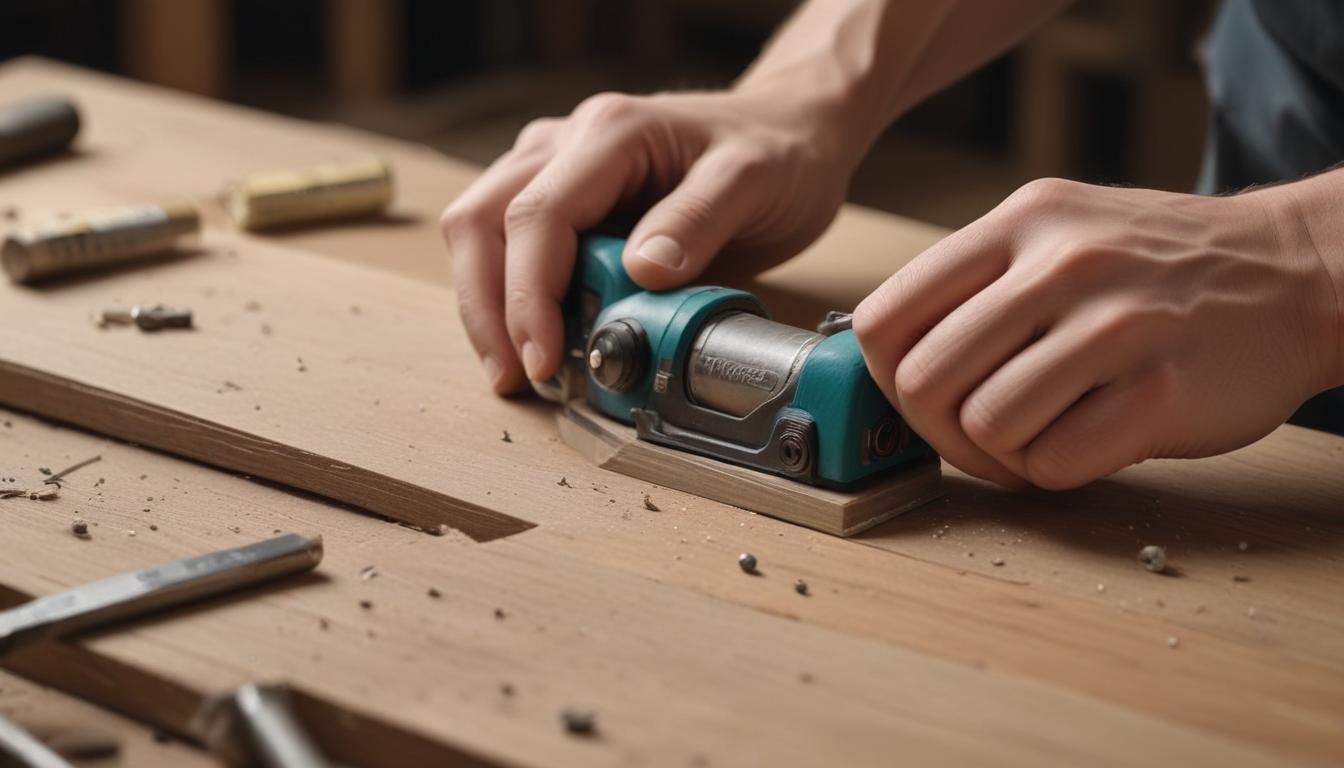
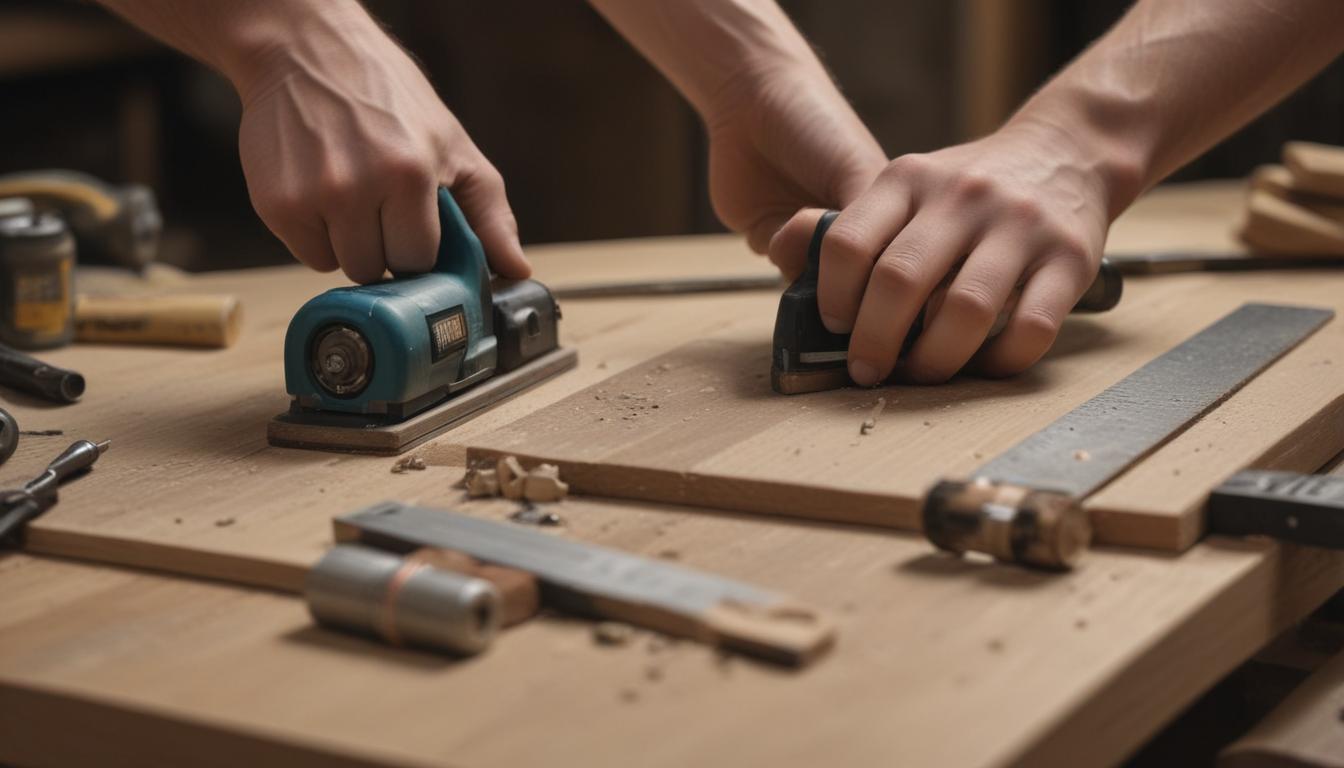
The foundation of this project lies in preparing your wood. Start by carefully disassembling pallets or crates to retrieve individual planks. Be mindful of nails or screws—remove them gently with pliers to avoid damage.
For a smooth and safe finish:
- Sand each plank thoroughly using fine-grit sandpaper, with extra focus on edges to remove splinters.
- Wipe the wood down with a damp cloth to eliminate any remaining dust or debris.
Pro Tip: Select woods like pine or cedar for a rustic aesthetic or use a high-quality stain to complement your current home decor. These touches don’t just enhance the beauty of your shelves—they ensure they last for years to come.
Step 2: Designing the Shelving Unit
Once your wood is ready, it’s time to visualize your project by designing your shelving unit. This step saves time and makes assembly a breeze:
- Sketch a layout using graph paper to define shelf dimensions, spacing, and mounting points.
- Allocate approximately 12 inches of vertical spacing for books and around 18 inches for decorative items to ensure practicality.
- Mark mounting points with a ruler or stencil to maintain a balanced look when installing.
Careful planning ensures a visually appealing and functional shelving unit while reducing the risk of errors during assembly. So, grab that pencil and let your creative vision take shape!
Step 3: Assembling the Shelving Unit
Now comes the exciting part—bringing your design to life! Follow these steps to assemble your shelving unit:
- Attach decorative brackets or supports to the back of your planks. Choose stylish hardware such as black iron, brass, or wooden brackets for added flair.
- Mount each shelf onto the wall using your pre-marked points for precise alignment.
For heavier shelves, use sturdy screws and wall anchors to safely secure them. If your shelves are more for decorative purposes, adhesive hooks will suffice. Safety Tip: Always ensure the shelves are level and well-supported to prevent accidents.
Enhancing Aesthetic Appeal
Now that your shelves are mounted, it’s time to infuse them with charm. Small tweaks go a long way! Here are a few ideas to take your shelving unit to the next level:
- Swap screws: Opt for brass or copper hardware to add elegance.
- Add lighting: Use LED strips, fairy lights, or small lamps to create an inviting ambiance.
- Personalize it: Carve names, patterns, or meaningful dates into the wood for a sentimental touch.
Remember: It’s the thought and personal touches that make your shelving unit truly special and artful.
Tips for Blogging About DIY Projects
If you’re as passionate about sharing DIY inspiration as you are about creating it, here are some blogging tips to connect with a wider audience:
- Use SEO-friendly keywords like “upcycled home decor” and “rustic wood projects” to attract readers.
- Organize your post well using structured headers, bullet points, and concise paragraphs to improve readability.
- Incorporate high-quality, optimized images that showcase your project beautifully and load quickly.
- Include compelling metadata, such as a catchy title and description, to boost search visibility.
Don’t forget to link to other related posts for added value, and invite readers to share their own creations in the comments!
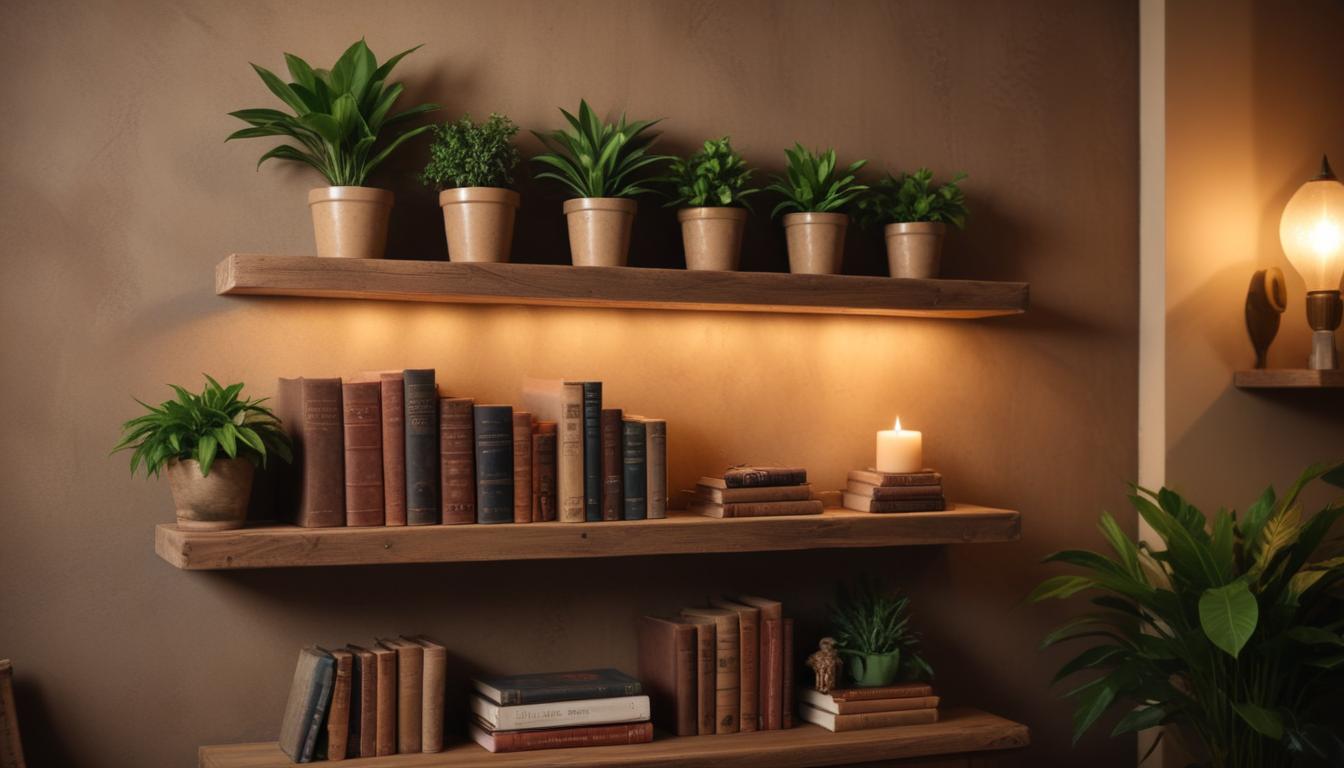
The Final Transformation
From splintered pallets to an eye-catching centerpiece, this project demonstrates how creativity and sustainability can turn ordinary materials into extraordinary decor. Be sure to capture and share “before” and “after” photos to highlight your progress and inspire others to try their hand at this DIY magic.
Not only are these shelves practical, but they’re also a testament to the beauty of upcycling and personal craftsmanship. Display yours proudly in your living room, bedroom, or office—and watch as it transforms the vibe of your space.
Conclusion
Transforming old wood into beautiful, functional shelves is a gratifying way to blend creativity and sustainability. With just a few tools and a bit of effort, you can create custom storage solutions that reflect your unique style. Share your finished projects using #DIYHomeDecor to inspire others and explore new ideas. Stay tuned for more innovative and easy home decor projects—your next masterpiece is just one DIY away!
“`