

4 DIY Upcycled Furniture Projects to Refresh Your Space on a Budget
Transform your living space with creative and eco-friendly furniture upcycling projects. Whether it’s an old dresser or a forgotten coffee table, upcycling offers a sustainable way to create stylish decor. In this guide, we’ll walk you through four amazing upcycled furniture projects, all budget-friendly and perfect for adding character to your home.
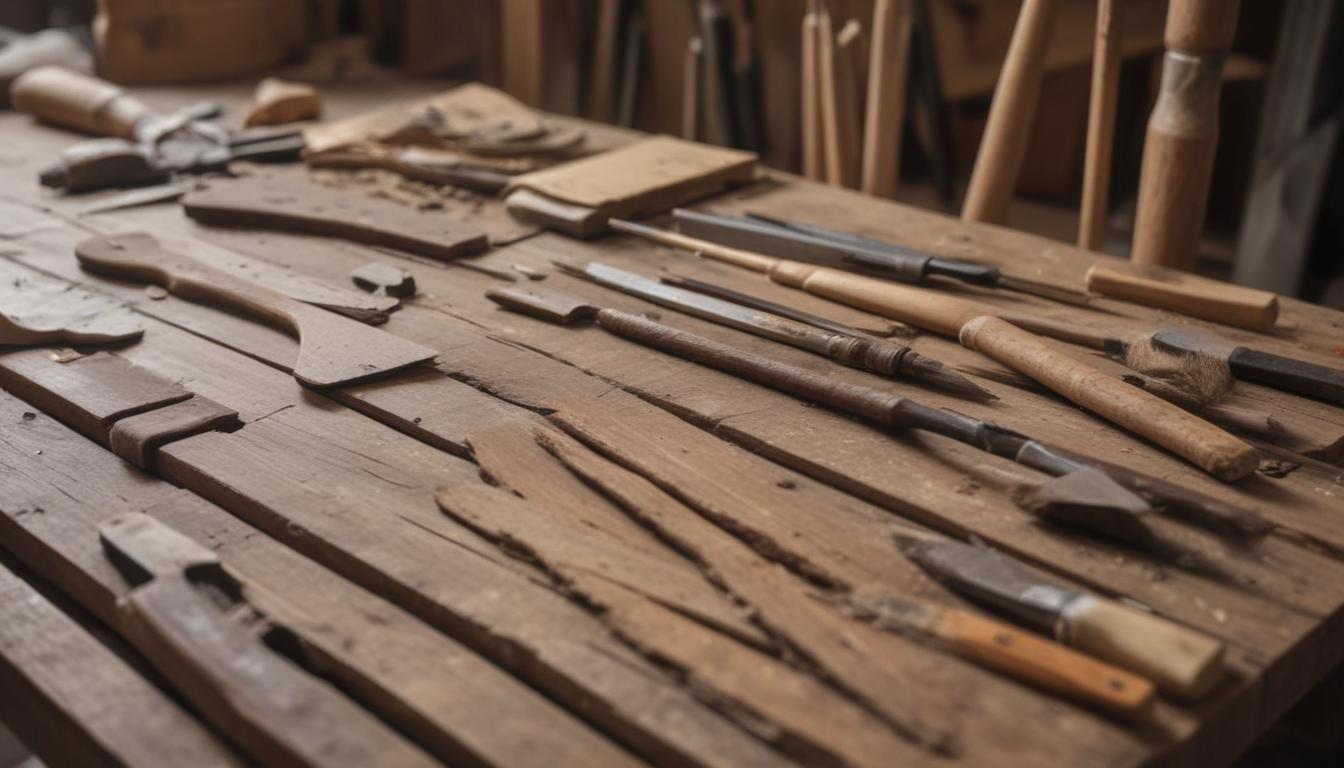
Choosing the Right Furniture Pieces for Upcycling
When it comes to furniture upcycling, the first step is choosing the right pieces to transform. Check out local thrift stores, flea markets, or even your garage for potential treasures.
- Look for furniture made from solid, durable materials
like wood or metal that can withstand refinishing efforts.
Pay attention to the structure—inspect for weak joints, water damage, or warped surfaces that may compromise the integrity of the item. Sturdy side tables, dressers, and chairs with unique shapes are excellent starting points for beginners. Remember, a vintage piece with slight imperfections often turns out to have the most charm after a little TLC.
Before purchasing thrifted items,
- clean and inspect thoroughly
to ensure no signs of pests or irreparable damage. Upcycling allows for endless design possibilities, so think about the potential transformation it could bring to your living space. Starting with the right piece ensures you’re set up for success, so don’t rush the process—hunt for projects that inspire!
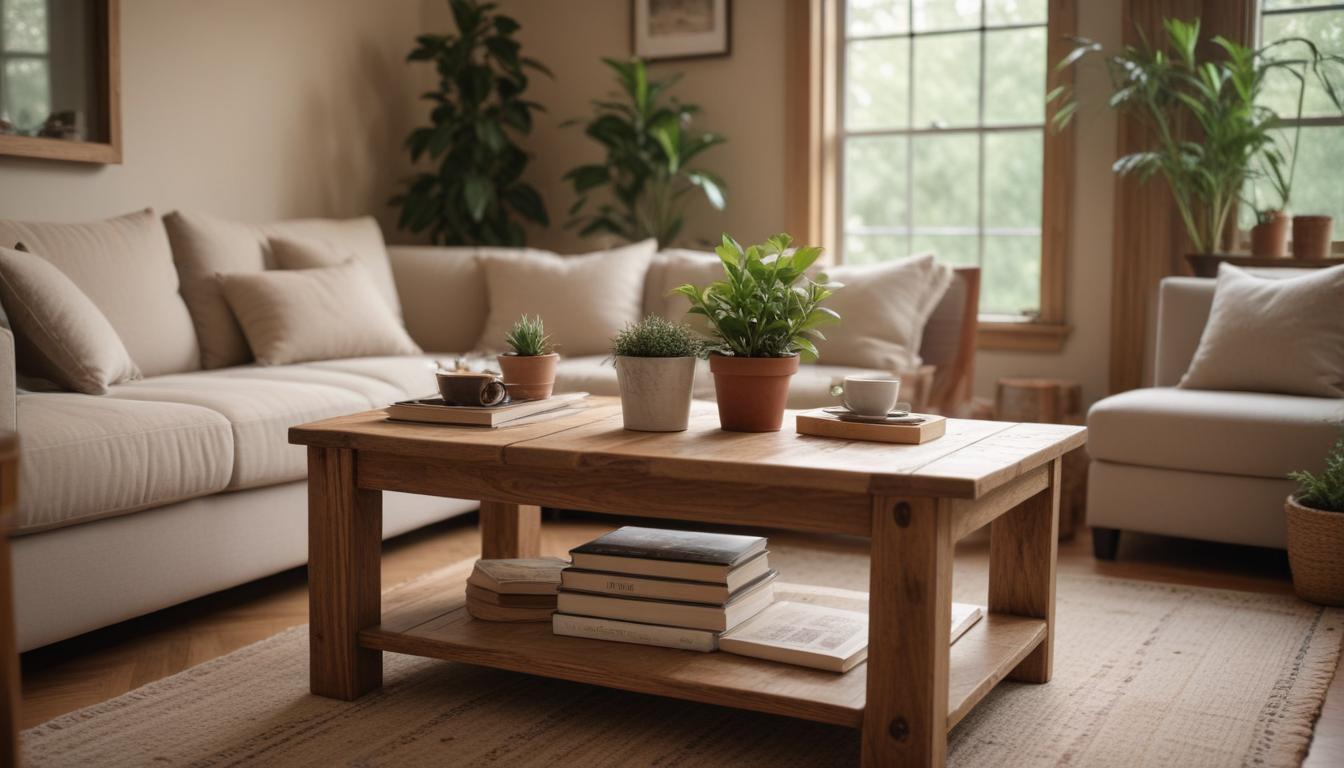
DIY Rustic Coffee Table Makeover
Turn a weathered wooden door or unused plank into a stunning coffee table that adds rustic charm to your living room. Here’s how:
- Sand the surface to remove rough edges and prepare it for staining.
- Apply a wood stain of your choice to achieve the desired color, then seal the surface with a polyurethane finish.
- Select hairpin legs or metal brackets to attach, giving the table a modern rustic vibe.
Once the build is complete, style the table with some greenery, a stack of books, or unique knick-knacks to create a centerpiece that wows your guests. The simplicity of this project makes it perfect for both novice DIYers and seasoned pros. Take it step-by-step, and enjoy crafting a piece that balances function and personality while making a statement in your home.
Chalk Painted Dresser Project
Breathe new life into an old dresser with a splash of character-filled chalk paint. Why is chalk painting such a popular furniture upcycling technique? It’s an easy way to refresh worn furniture without intensive prep work!
- Start by cleaning the dresser thoroughly to remove any dust or grease.
- Tape off certain sections to create geometric patterns or stencil shapes for a custom look.
- Apply two layers of chalk paint, allowing the first coat to dry fully before proceeding.
- Replace outdated hardware with stylish knobs for a modern touch.
Finish by sealing the paint with a protective wax coating to ensure durability. This upcycled dresser can become the new centerpiece in your home, offering both practicality and charm. Personalize your project and reduce waste in the process—what could be better?
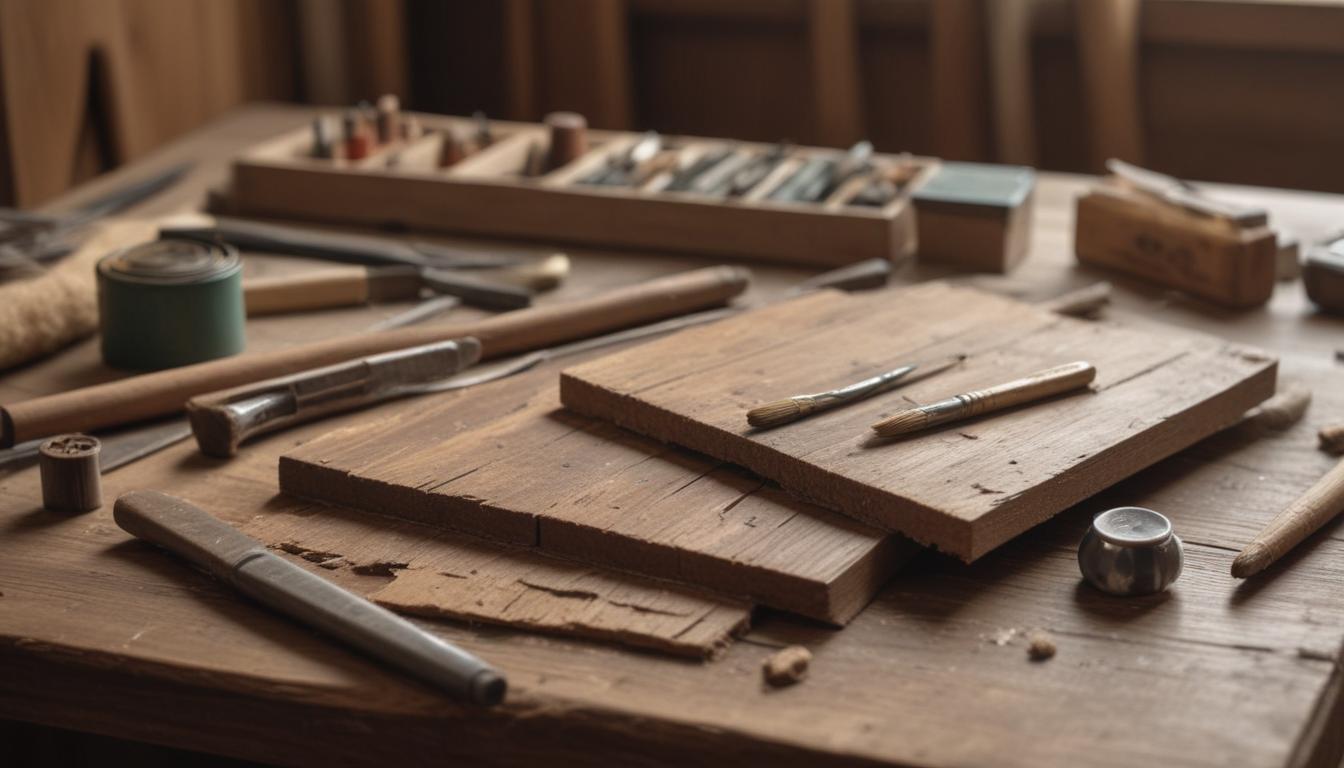
Pro Tips for Successful DIY Upcycling
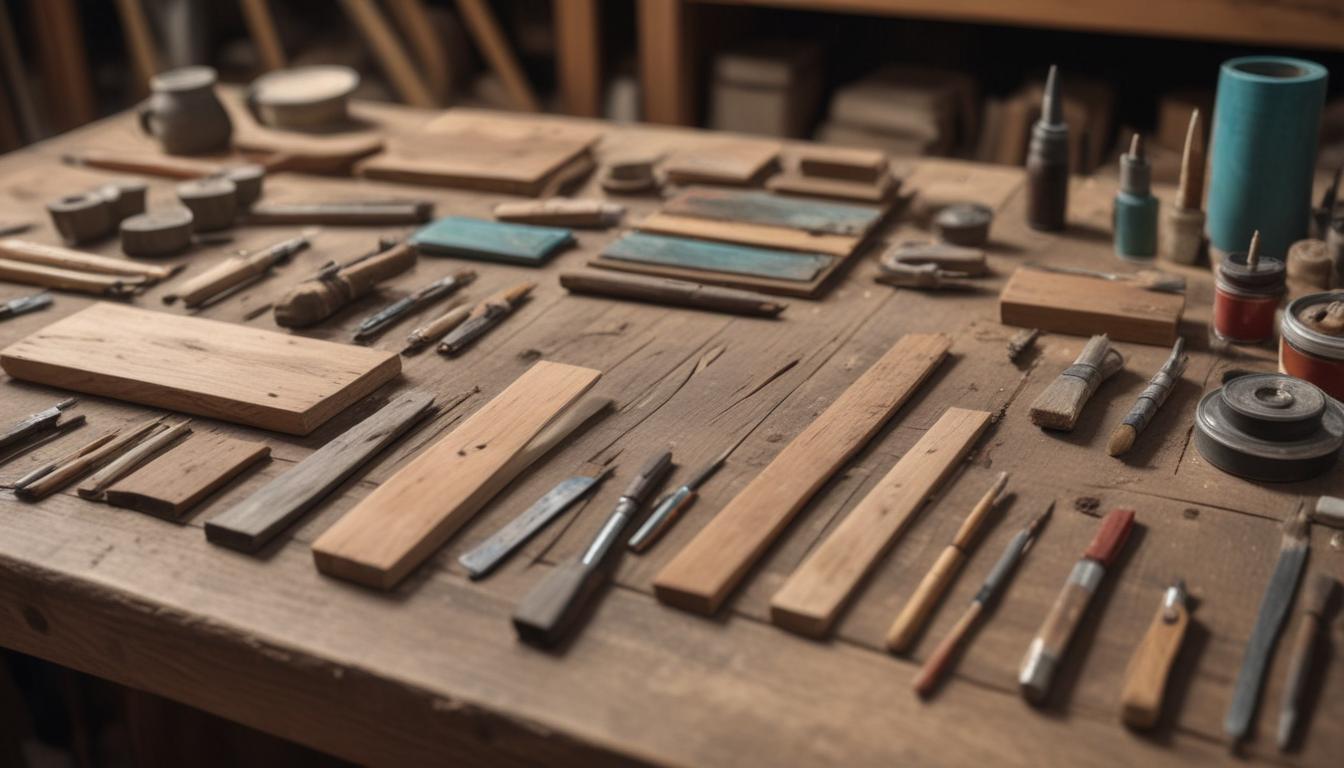
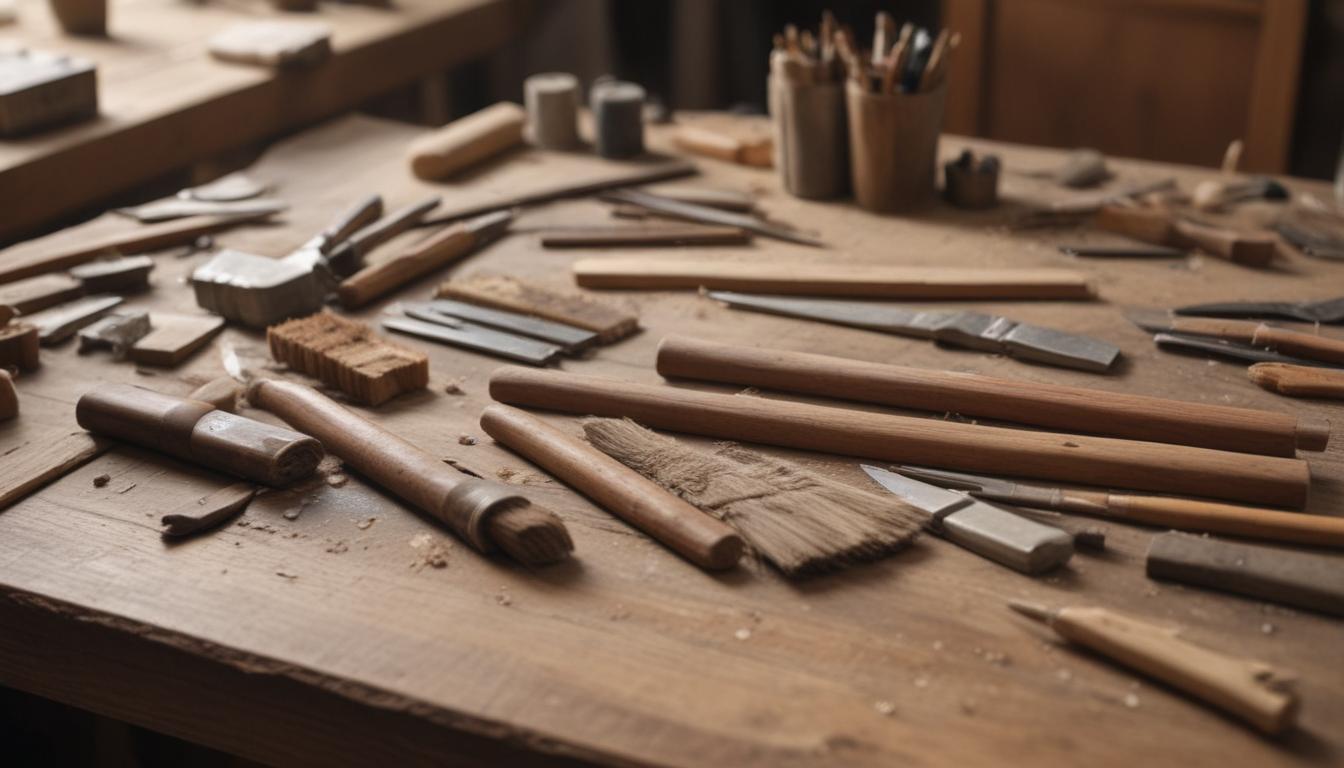
To make your furniture upcycling journey as smooth as possible, preparation and organization are key. Here are a few pro tips to guide you:
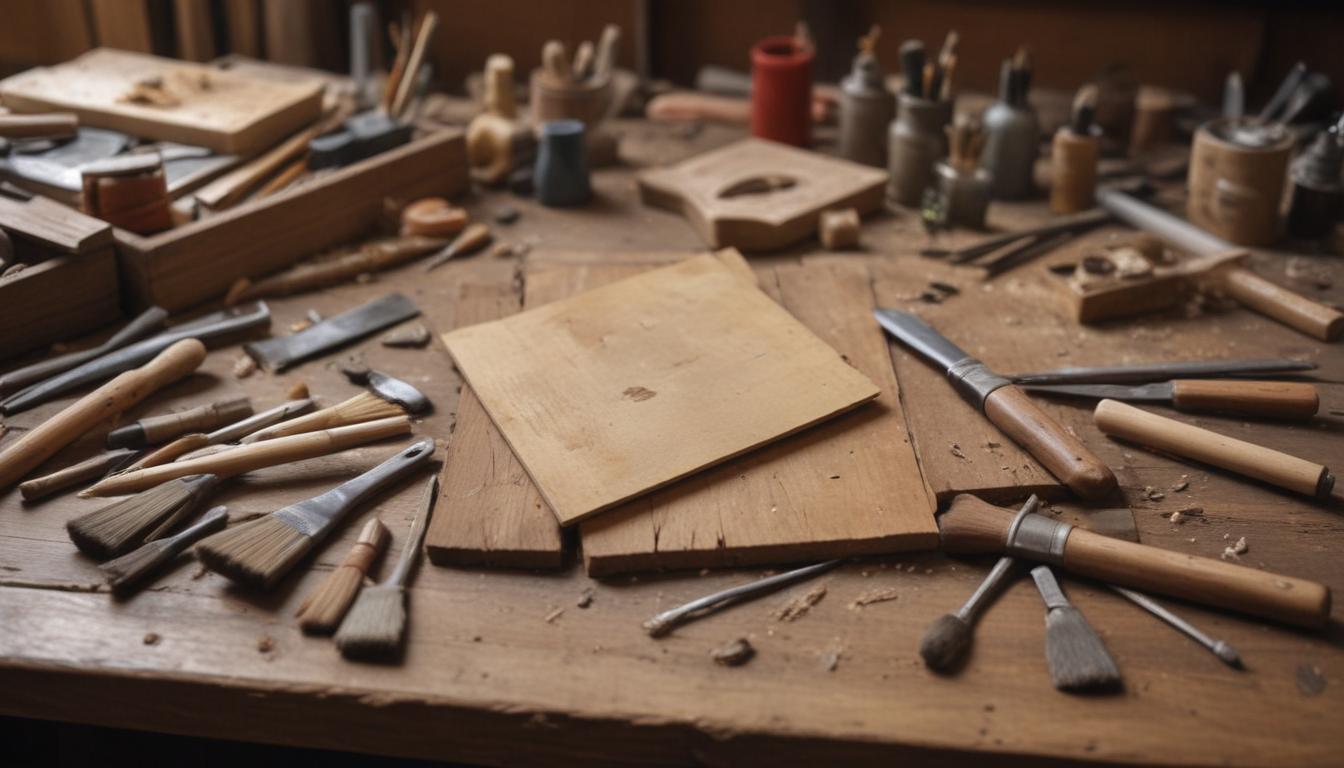
- Set up a dedicated workspace equipped with essential tools like sandpaper, paintbrushes, and assembling kits.
- Always prepare furniture by cleaning, sanding, and priming surfaces as needed.
- Follow safety measures—wear goggles, gloves, and a mask when working with stains or materials that emit fumes.
Don’t shy away from experimenting with vibrant colors, layering techniques, or mixed materials. Most importantly, be patient. Each project will teach you something new, and the results will be worth the effort!
Encouraging Readers to Get Started
With these doable, budget-friendly projects, there’s no reason to let upcycling intimidate you. Tap into your creative side and embrace imperfections—they often add the most charm and character to your DIY furniture.
Start small with projects like the rustic coffee table or chalk-painted dresser and watch your confidence grow. Share your progress on social media to inspire others and connect with fellow DIY enthusiasts. Ready to take on more advanced projects? Combine different materials or experiment with woodworking for a more personalized creation.
The best part? Your efforts are great for the environment, reducing waste and promoting sustainable living. So, what are you waiting for? Grab those tools, and let’s transform your home together!